Former Macy's Information
Macy's Building - 1st Floor documentation hub for drawings, panels, breakers, fire alarm, transformers, photos, AutoCAD files, and future tenant / contractor reference.
📐
Drawings
PDF / CAD / Dropbox
⚡
Electrical
Breakers / panels / closets
🚨
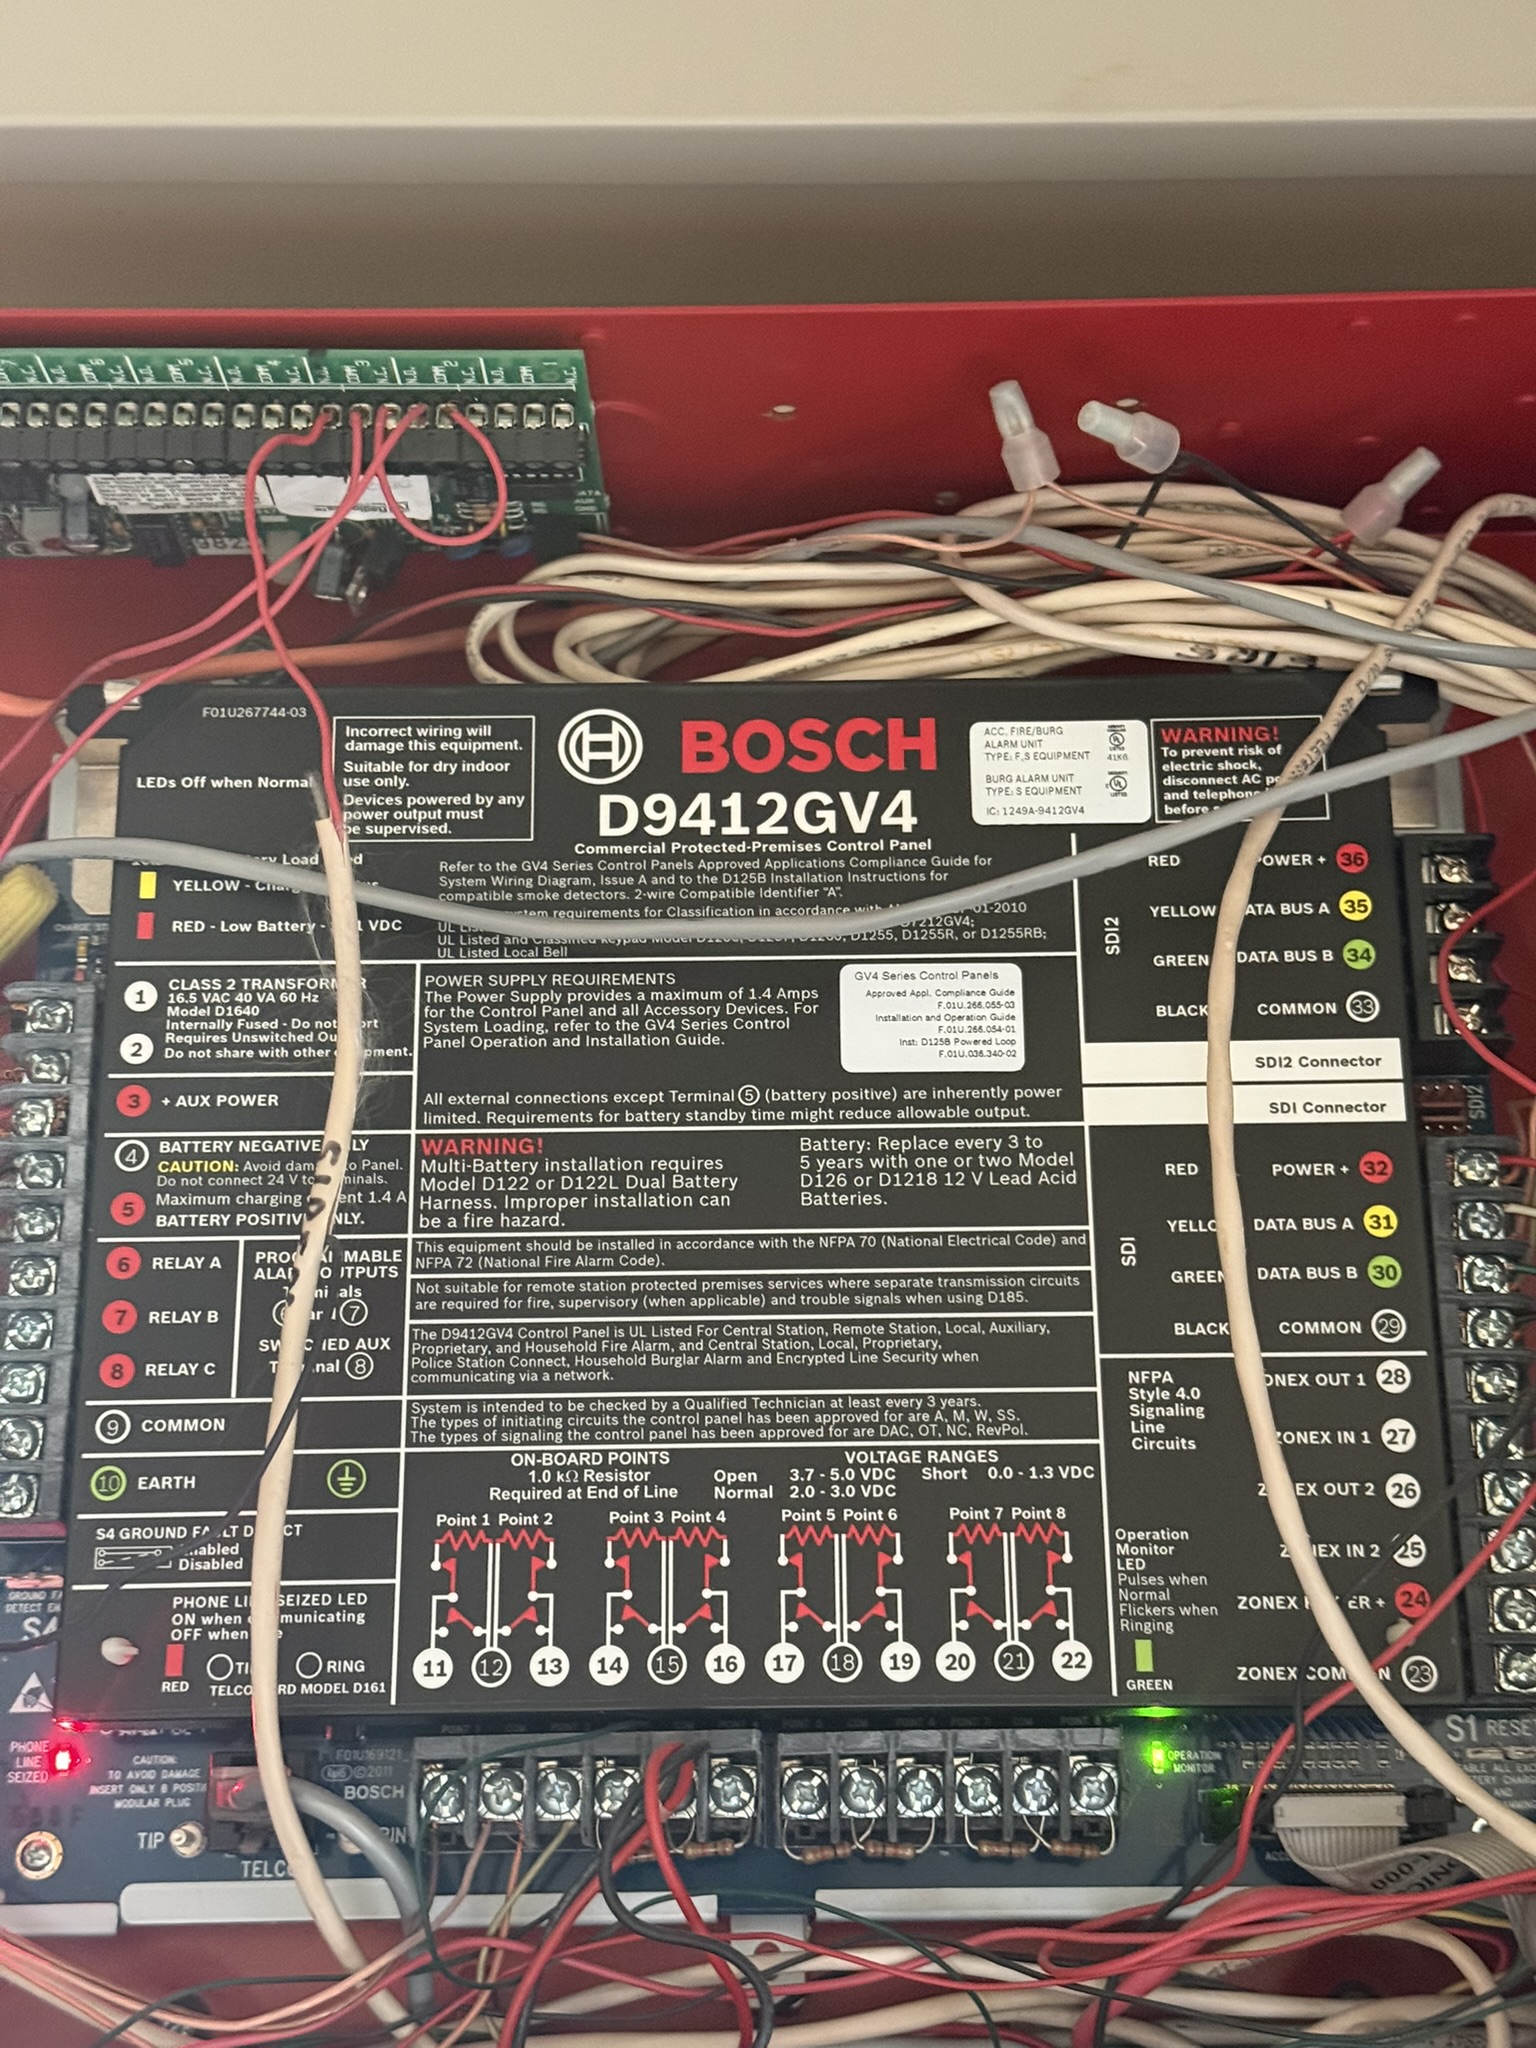
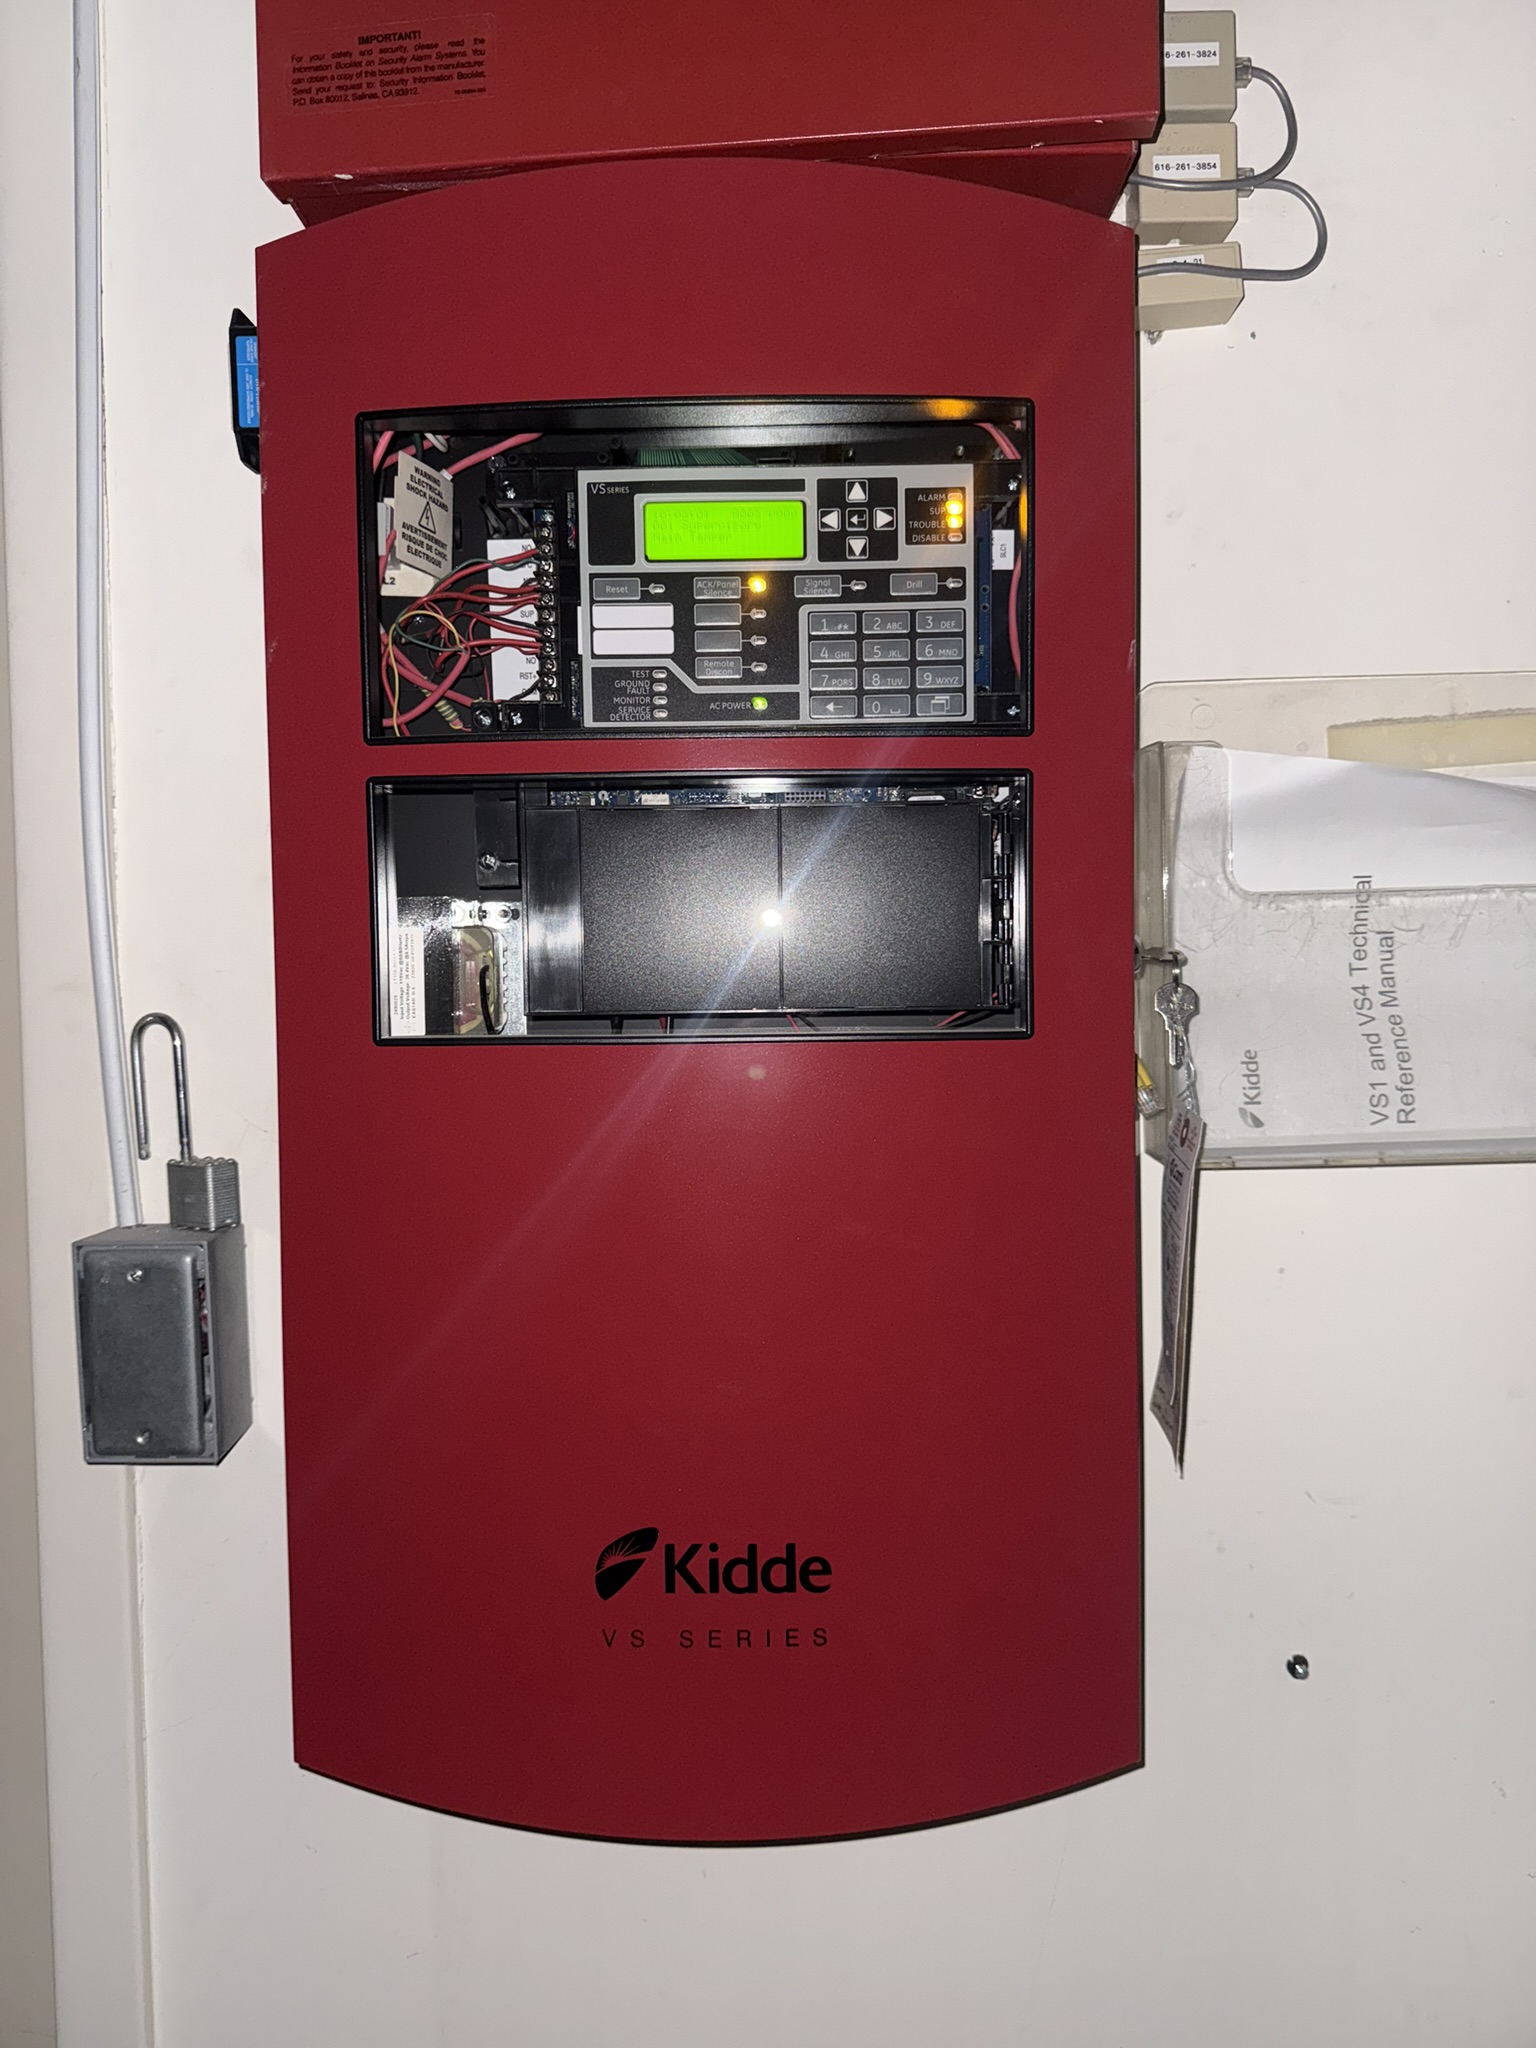
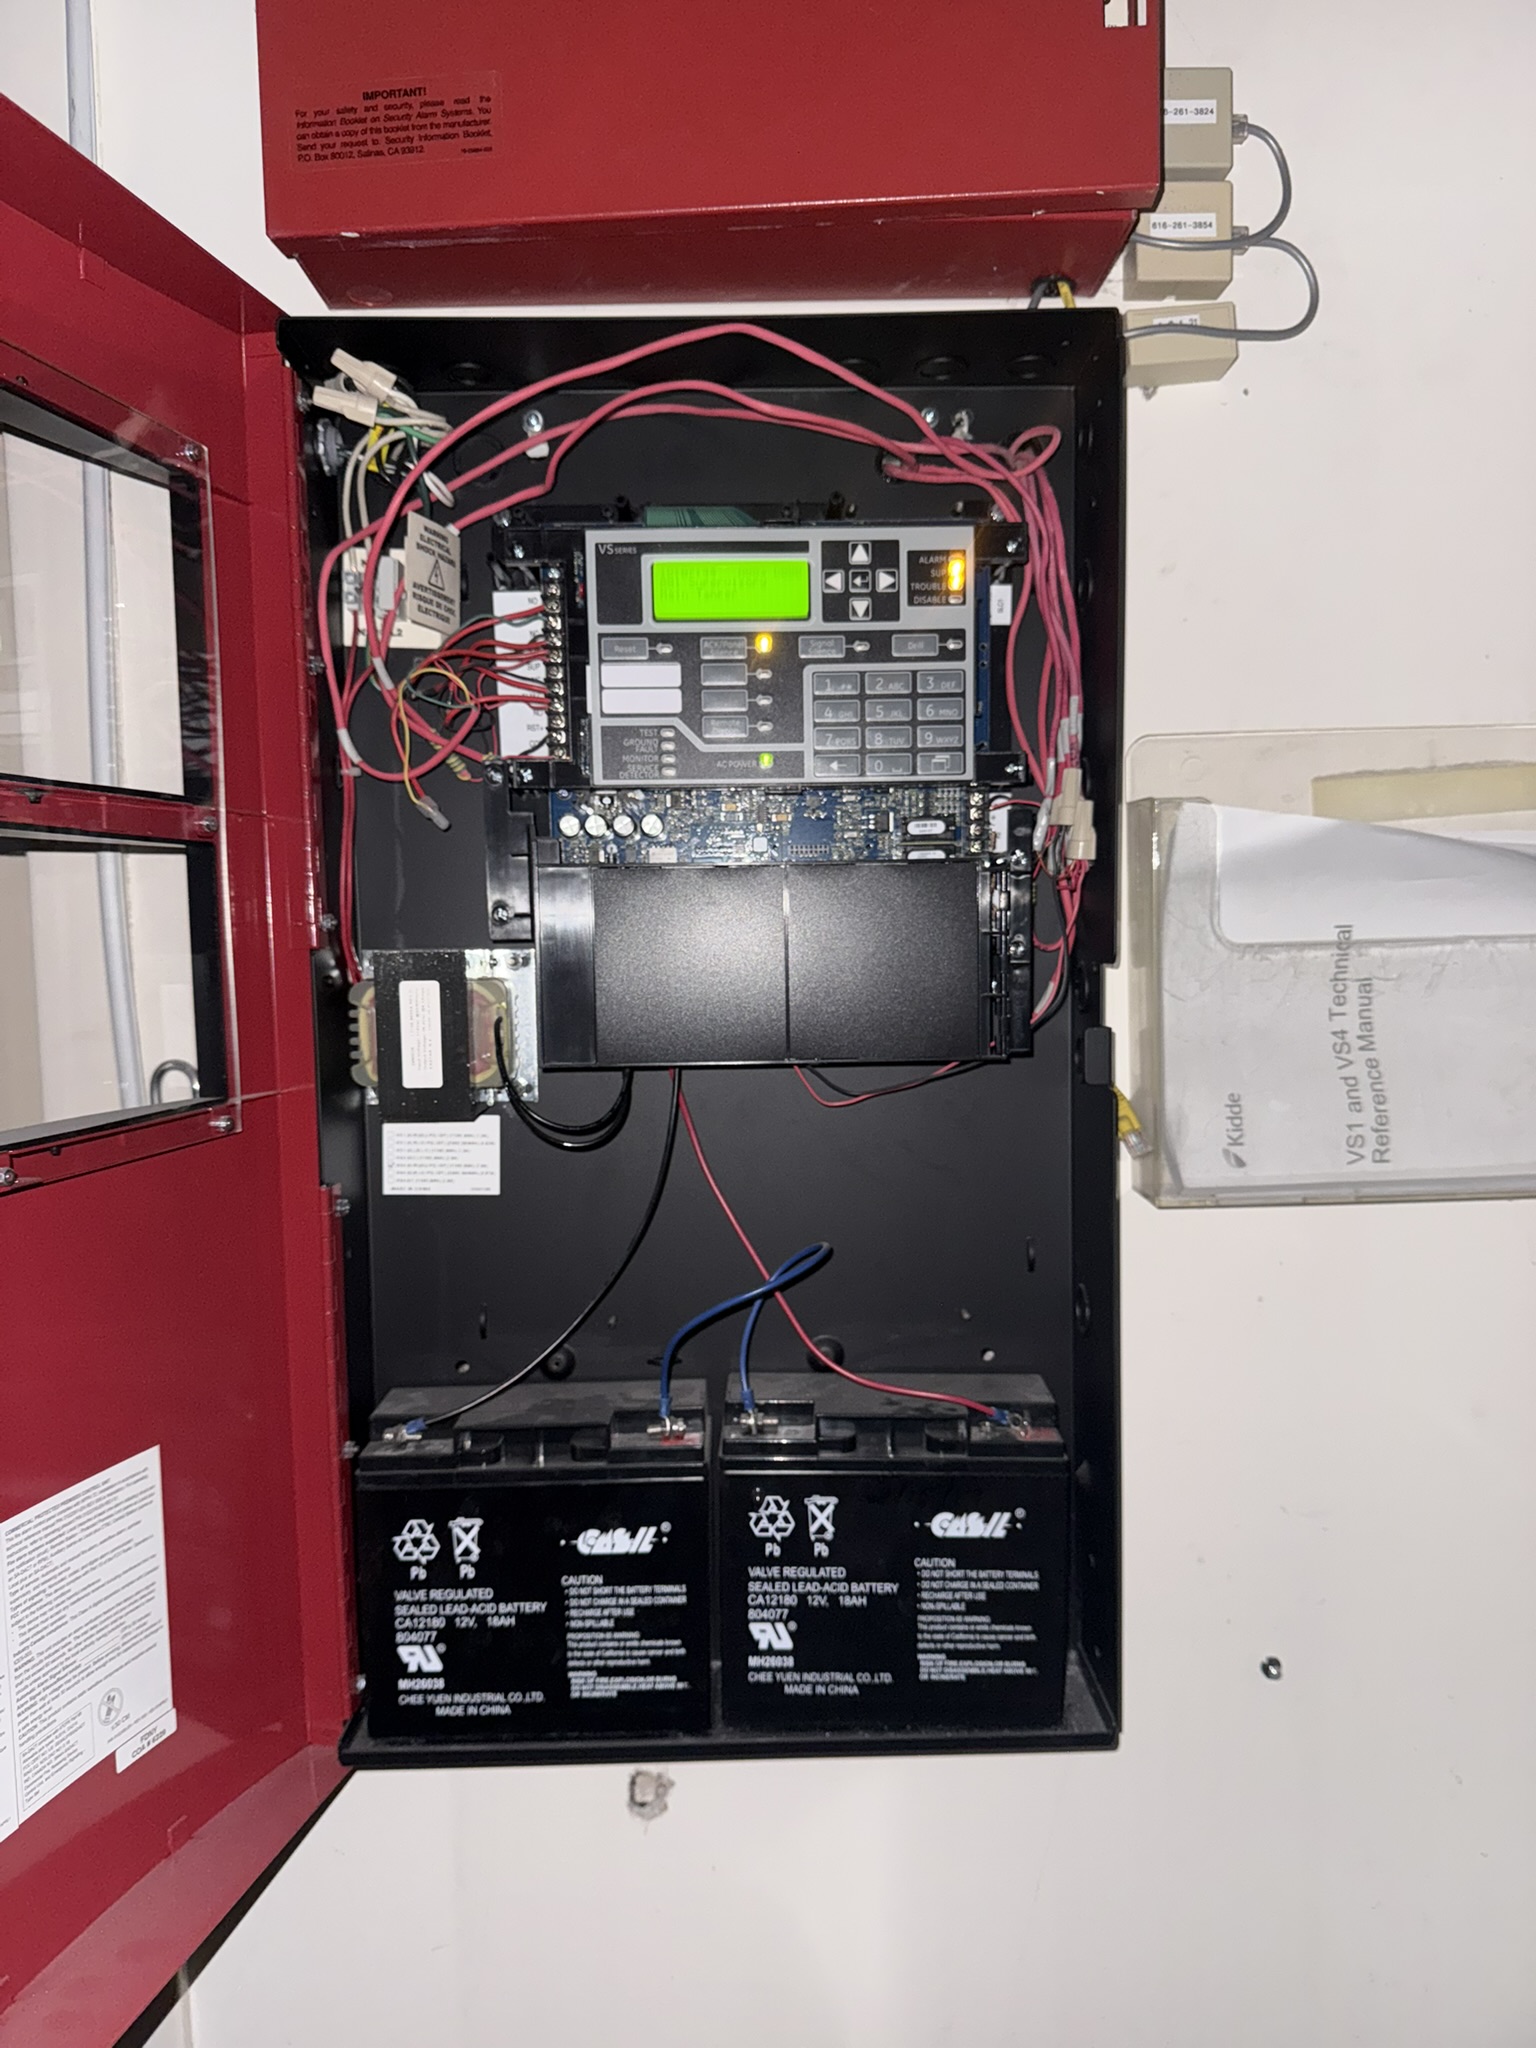
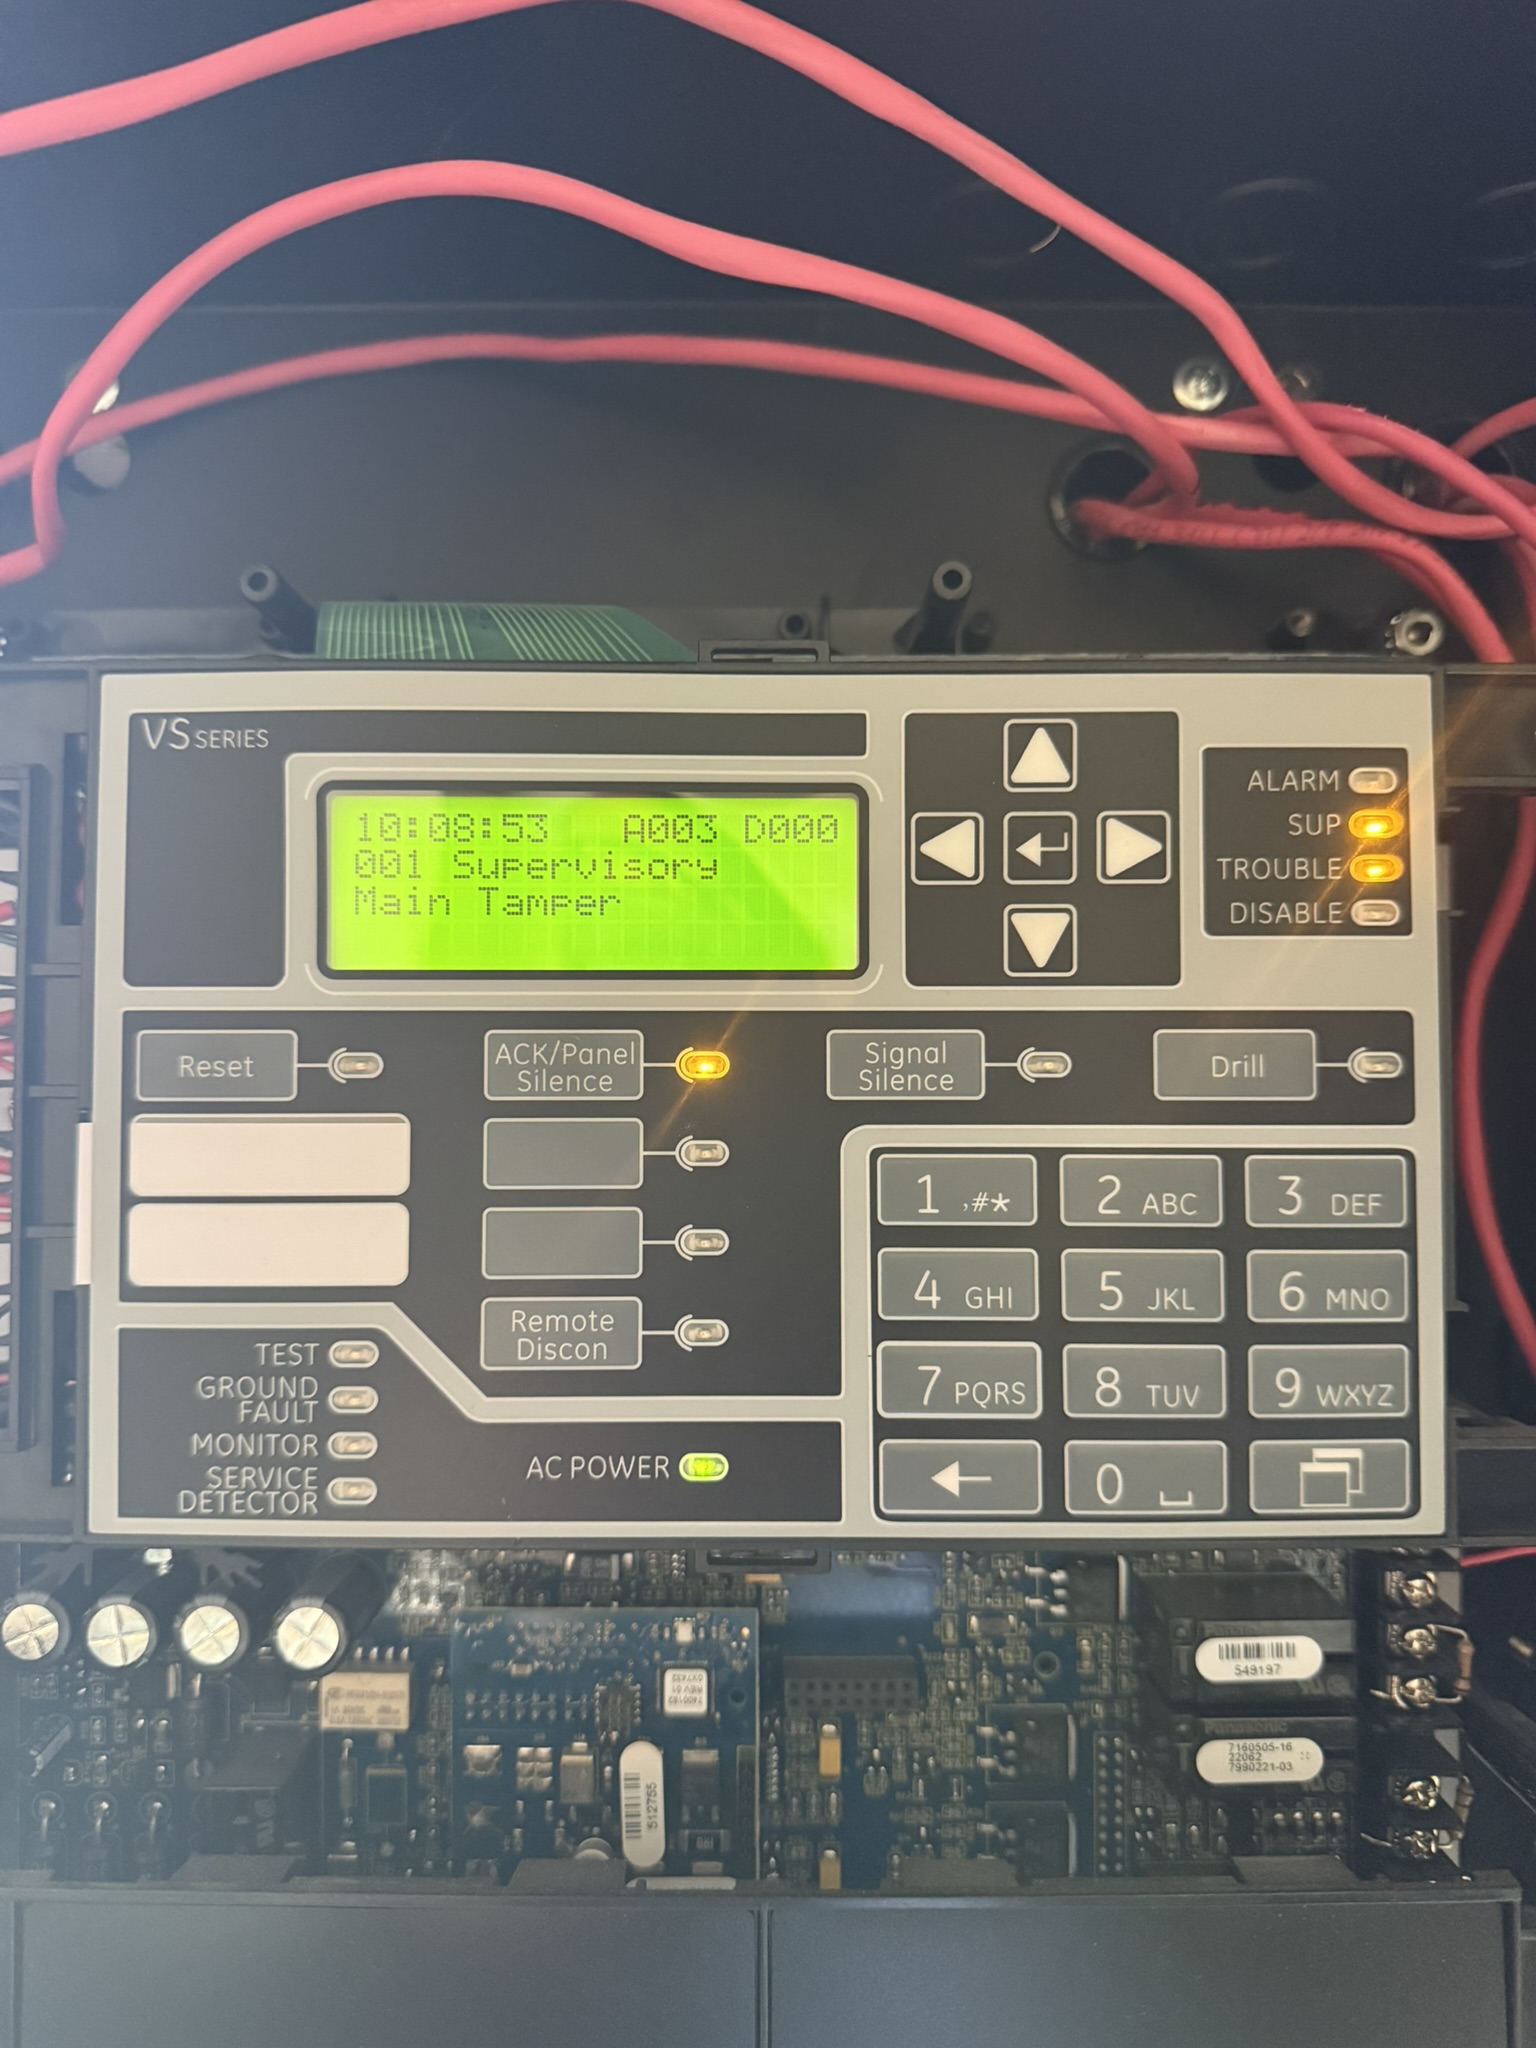
Fire Alarm
Dead system photos
📷
Panel Photos
Electrical closet index
📁
Exhibit E
Due Diligence Materials
Main Drawings & Documentation
| Category | Status | Link | Notes |
|---|---|---|---|
| Whole Mall PDF / CAD Drawings | External | Dropbox Link | Web server cannot handle this capacity. |
| Architectural - As Built | Acquired | RVC318F01.dwg | Main floor architectural drawings (AUTOCAD). |
| Mechanical | Acquired | Mechanical PDF | Mechanical / HVAC drawings. |
| RTU Location (Lower) | Acquired | RTU Layout PDF | Mechanical / HVAC drawings. RTU 1, 2, 7, 8, 9 |
| Electrical (Primary) | Acquired | 1st Floor Primary Power | Breakers, panels, transformers, closets, amperage. |
| Electrical (Secondary) | Acquired | 1st Floor Secondary Power | Secondary Power |
| Plumbing | No Pre-Existing Plans | Plumbing drawing set. | |
| Structural - Live Load | Acquired | Structural Directory | Live load information for first floor. |
| Structural - Foundation Plan | Acquired | 3850 Rivertown Foundation Plan.pdf | Foundation plan for 3850 Rivertown Parkway. |
| Fire Protection | 1st Floor Acquired | Fire Protection | System exists drawings are being rebuilt. |
| Fire Alarm | Acquired | View Photos | Existing panel photographed. |
Fire Alarm Panel
Existing fire alarm equipment photo documentation.

Electrical Organization
First floor electrical info: breaker sheet, amperage, panels, closets, locations, and transformers.
Electrical Excel Sheet
Main spreadsheet for breaker / amperage information.
Electrical Closet Goal
- Label each closet location in the building.
- List which panels are in each closet.
- Identify breakers serving 1st floor lighting / tenant areas.
- Track transformers and emergency panels.
| Panel | Type | Closet / Location | Photo |
|---|---|---|---|
| NW Electrical Closet | |||
| L1AA | Lighting Panel | NW Electrical Closet | View |
| EL1A | Emergency Lighting | NW Electrical Closet | View |
| EH1A | Emergency Power | NW Electrical Closet | View |
| DPL1A.2A.2C.2 | Distribution Panel | NW Electrical Closet | View |
| L1AB | Lighting Panel | NW Electrical Closet | View |
| L1AG | Lighting Panel | NW Electrical Closet | View |
| L1AC | Lighting Panel | NW Electrical Closet | View |
| H1A | Heat Panel | NW Electrical Closet | View |
| SW Electrical Closet | |||
| L1BA | Lighting Panel | SW Electrical Closet | View |
| EL1B | Emergency Lighting | SW Electrical Closet | View |
| EH1B | Emergency Power | SW Electrical Closet | View |
| DPL1B | Distribution Panel | SW Electrical Closet | View |
| H1B | Heat Panel | SW Electrical Closet | View |
| NE Electrical Closet | |||
| L1CD | Lighting Panel | NE Electrical Closet | View |
| L1CE | Lighting Panel | NE Electrical Closet | View |
| H1C | Heat Panel | NE Electrical Closet | View |
| EL1C | Emergency Power | NE Electrical Closet | View |
| L1CA | Lighting Panel | NE Electrical Closet | View |
| L1CB | Lighting Panel | NE Electrical Closet | View |
| DPL1C | Distribution Panel | NE Electrical Closet | View |
| L1CC | Lighting Panel | NE Electrical Closet | View |
| SE Electrical Closet | |||
| L1DA | Lighting Panel | SE Electrical Closet | View |
| L1DB | Lighting Panel | SE Electrical Closet | View |
| DPL1D | Distribution Panel | SE Electrical Closet | View |
| H1D | Heat Panel | SE Electrical Closet | View |
| L1BS | Lighting Panel | SE Electrical Closet | View |
| Main Power Room | |||
| EH1E | Emergency Power | Main Power Room | View |
| EL1E | Emergency Power | Main Power Room | View |
| H1E | Heat Panel | Main Power Room | View |
| DPL1E | Distribution Panel | Main Power Room | View |
| L1EA | Lighting Panel | Main Power Room | View |
Lower Level Electrical Panel Photo Index
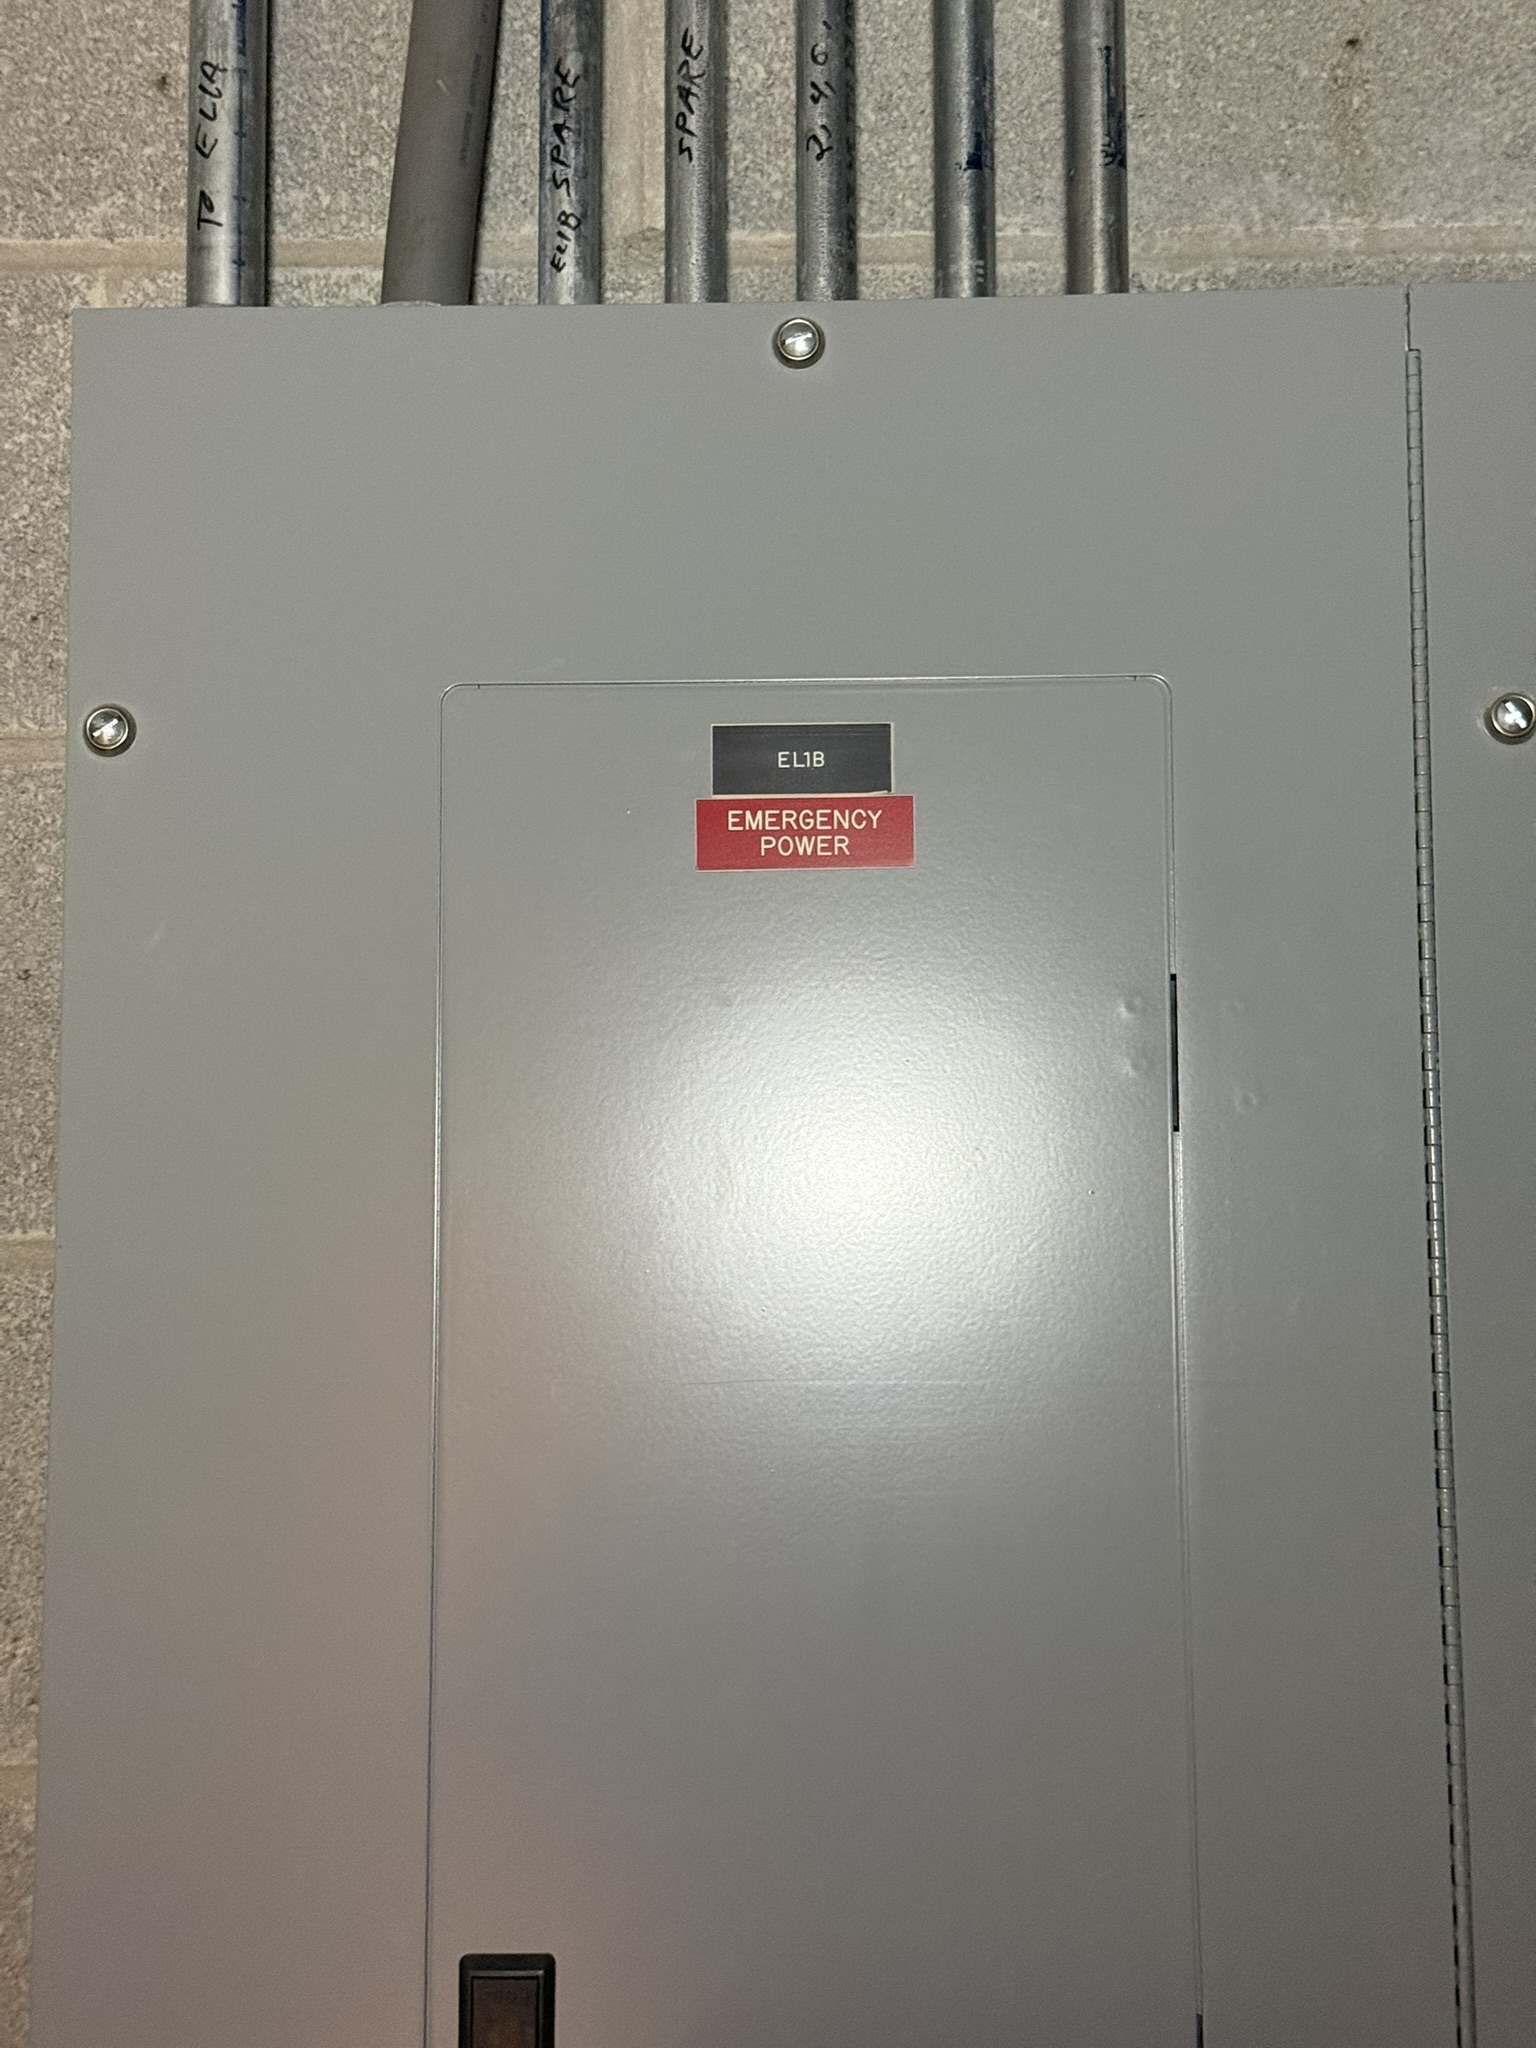
EL1B
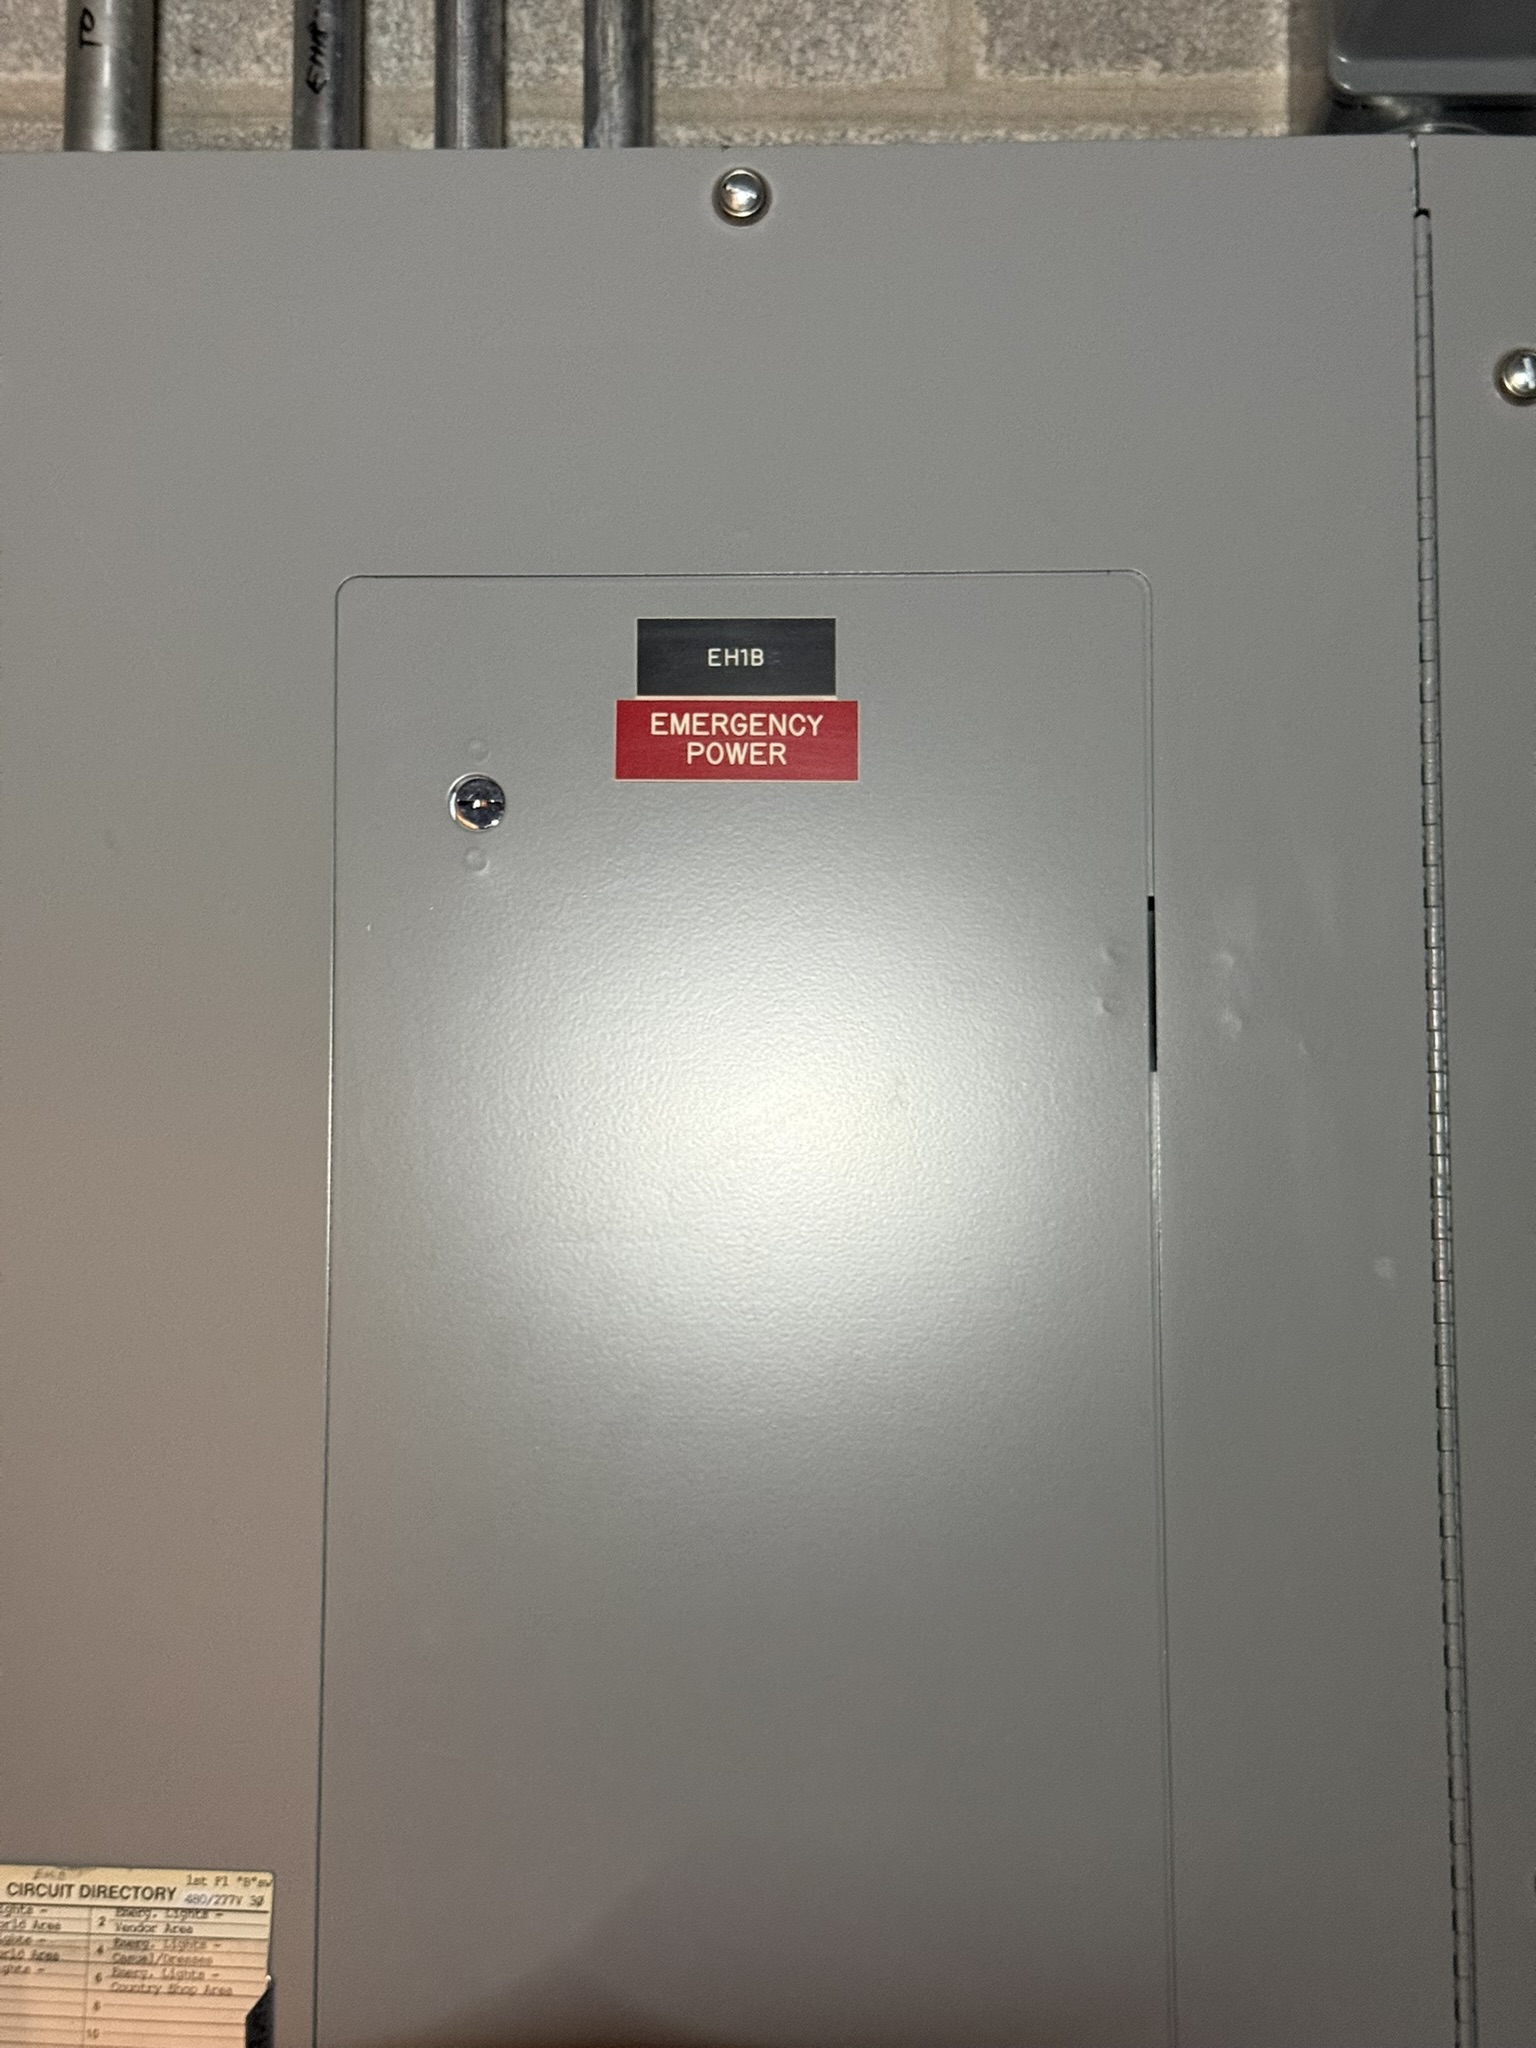
EH1B
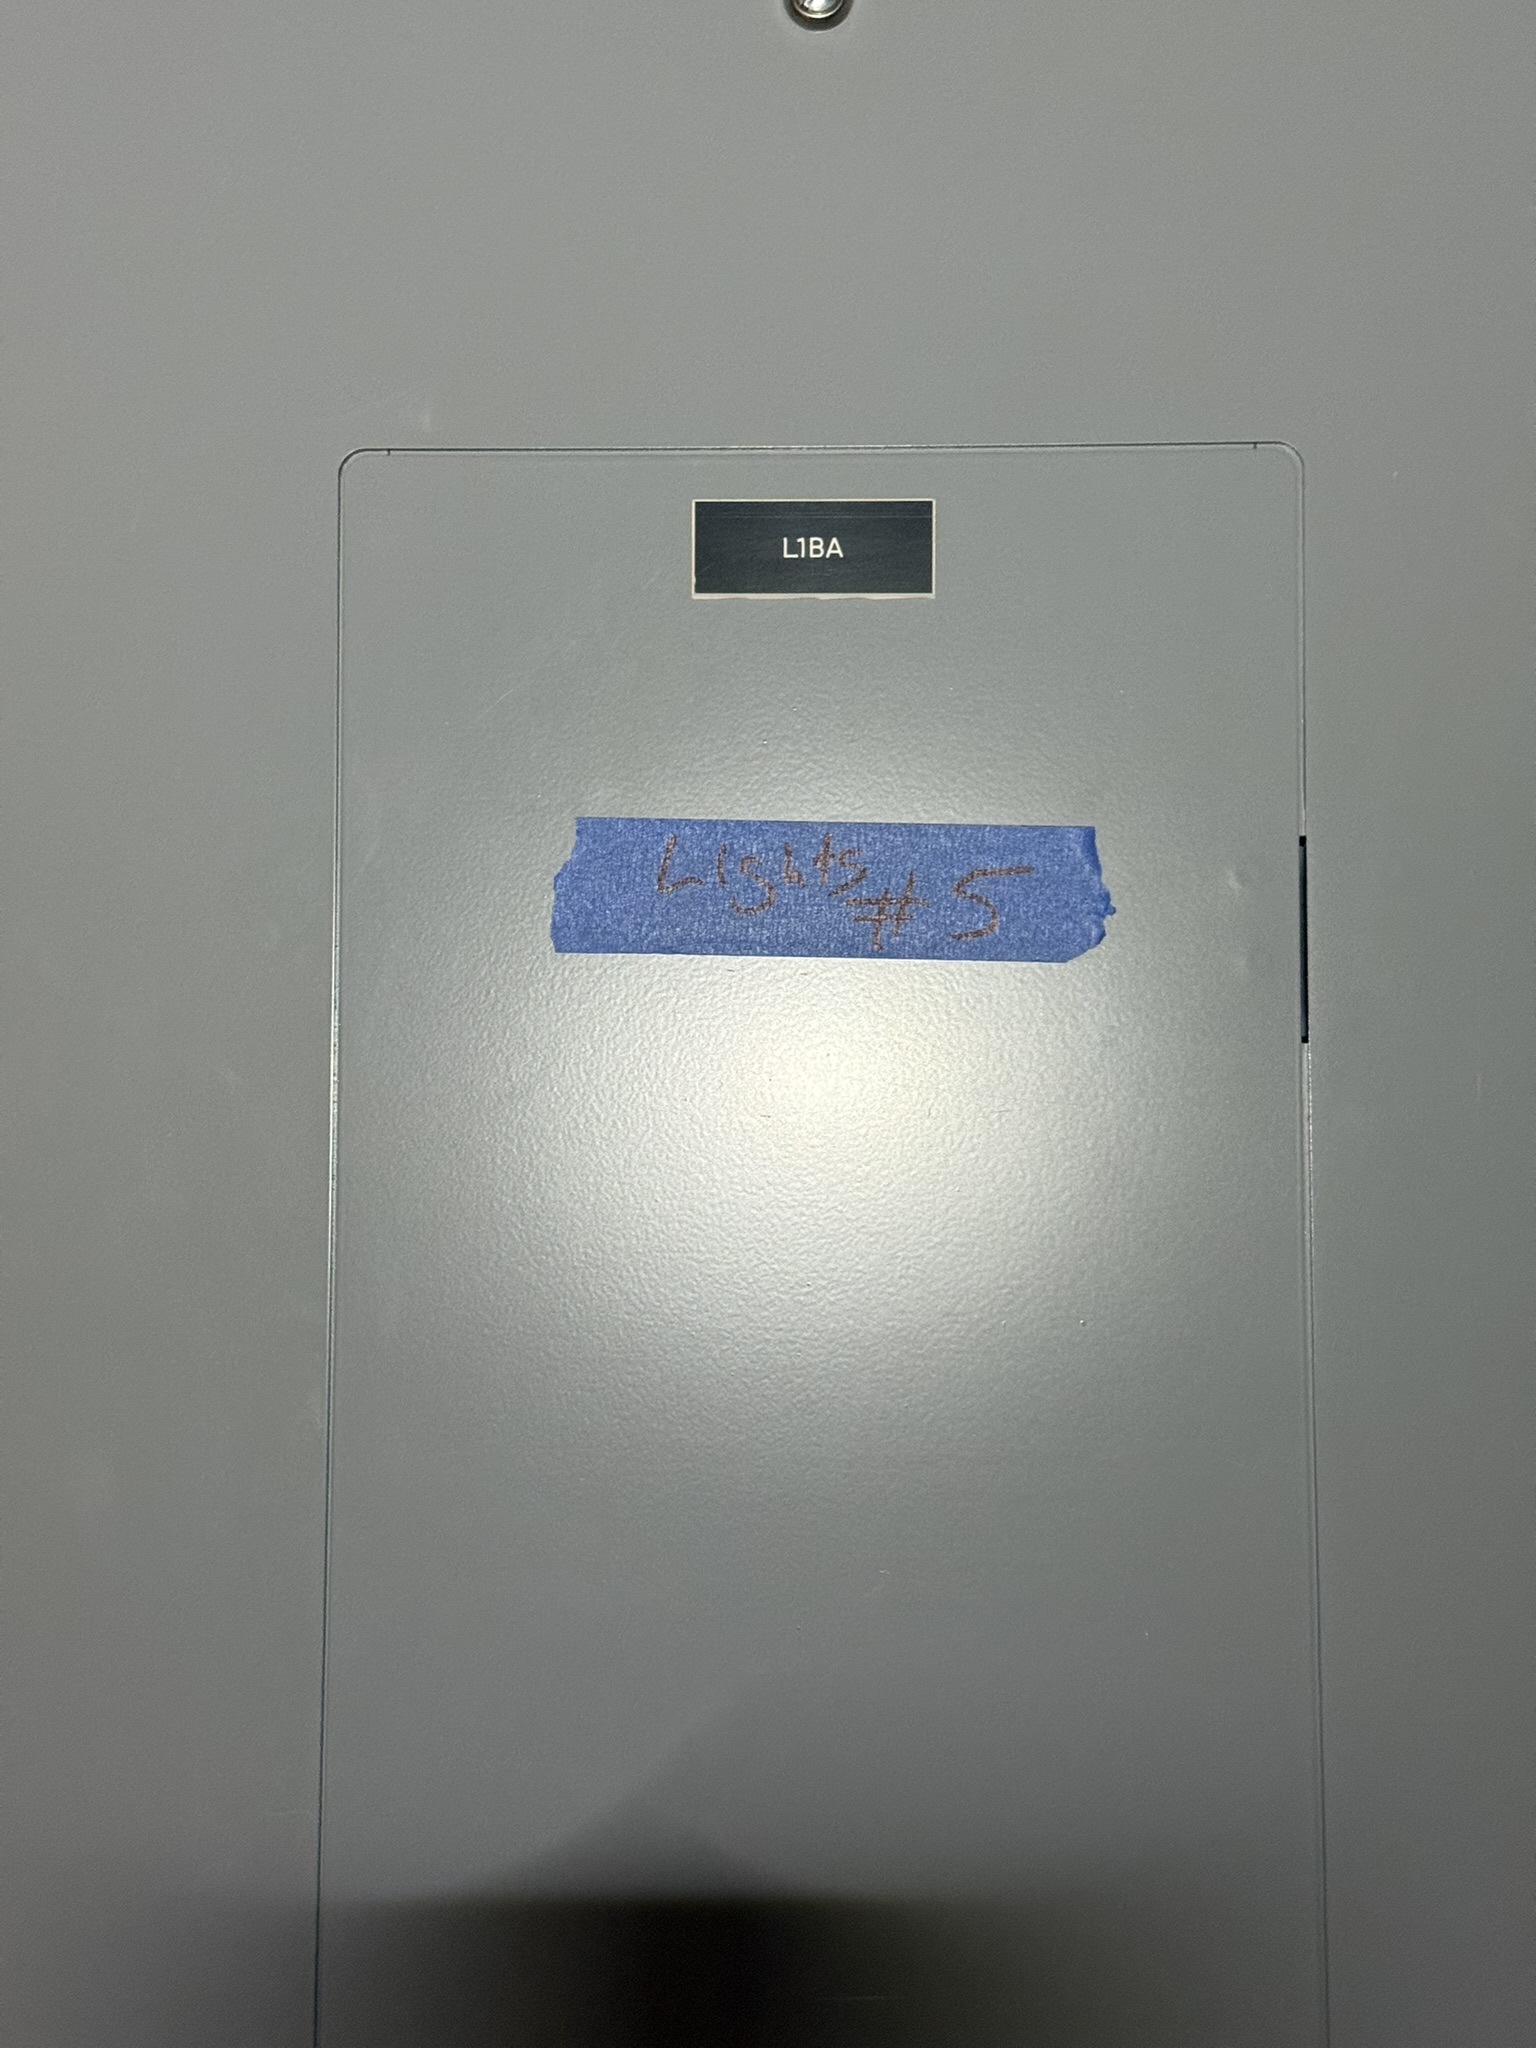
L1BA
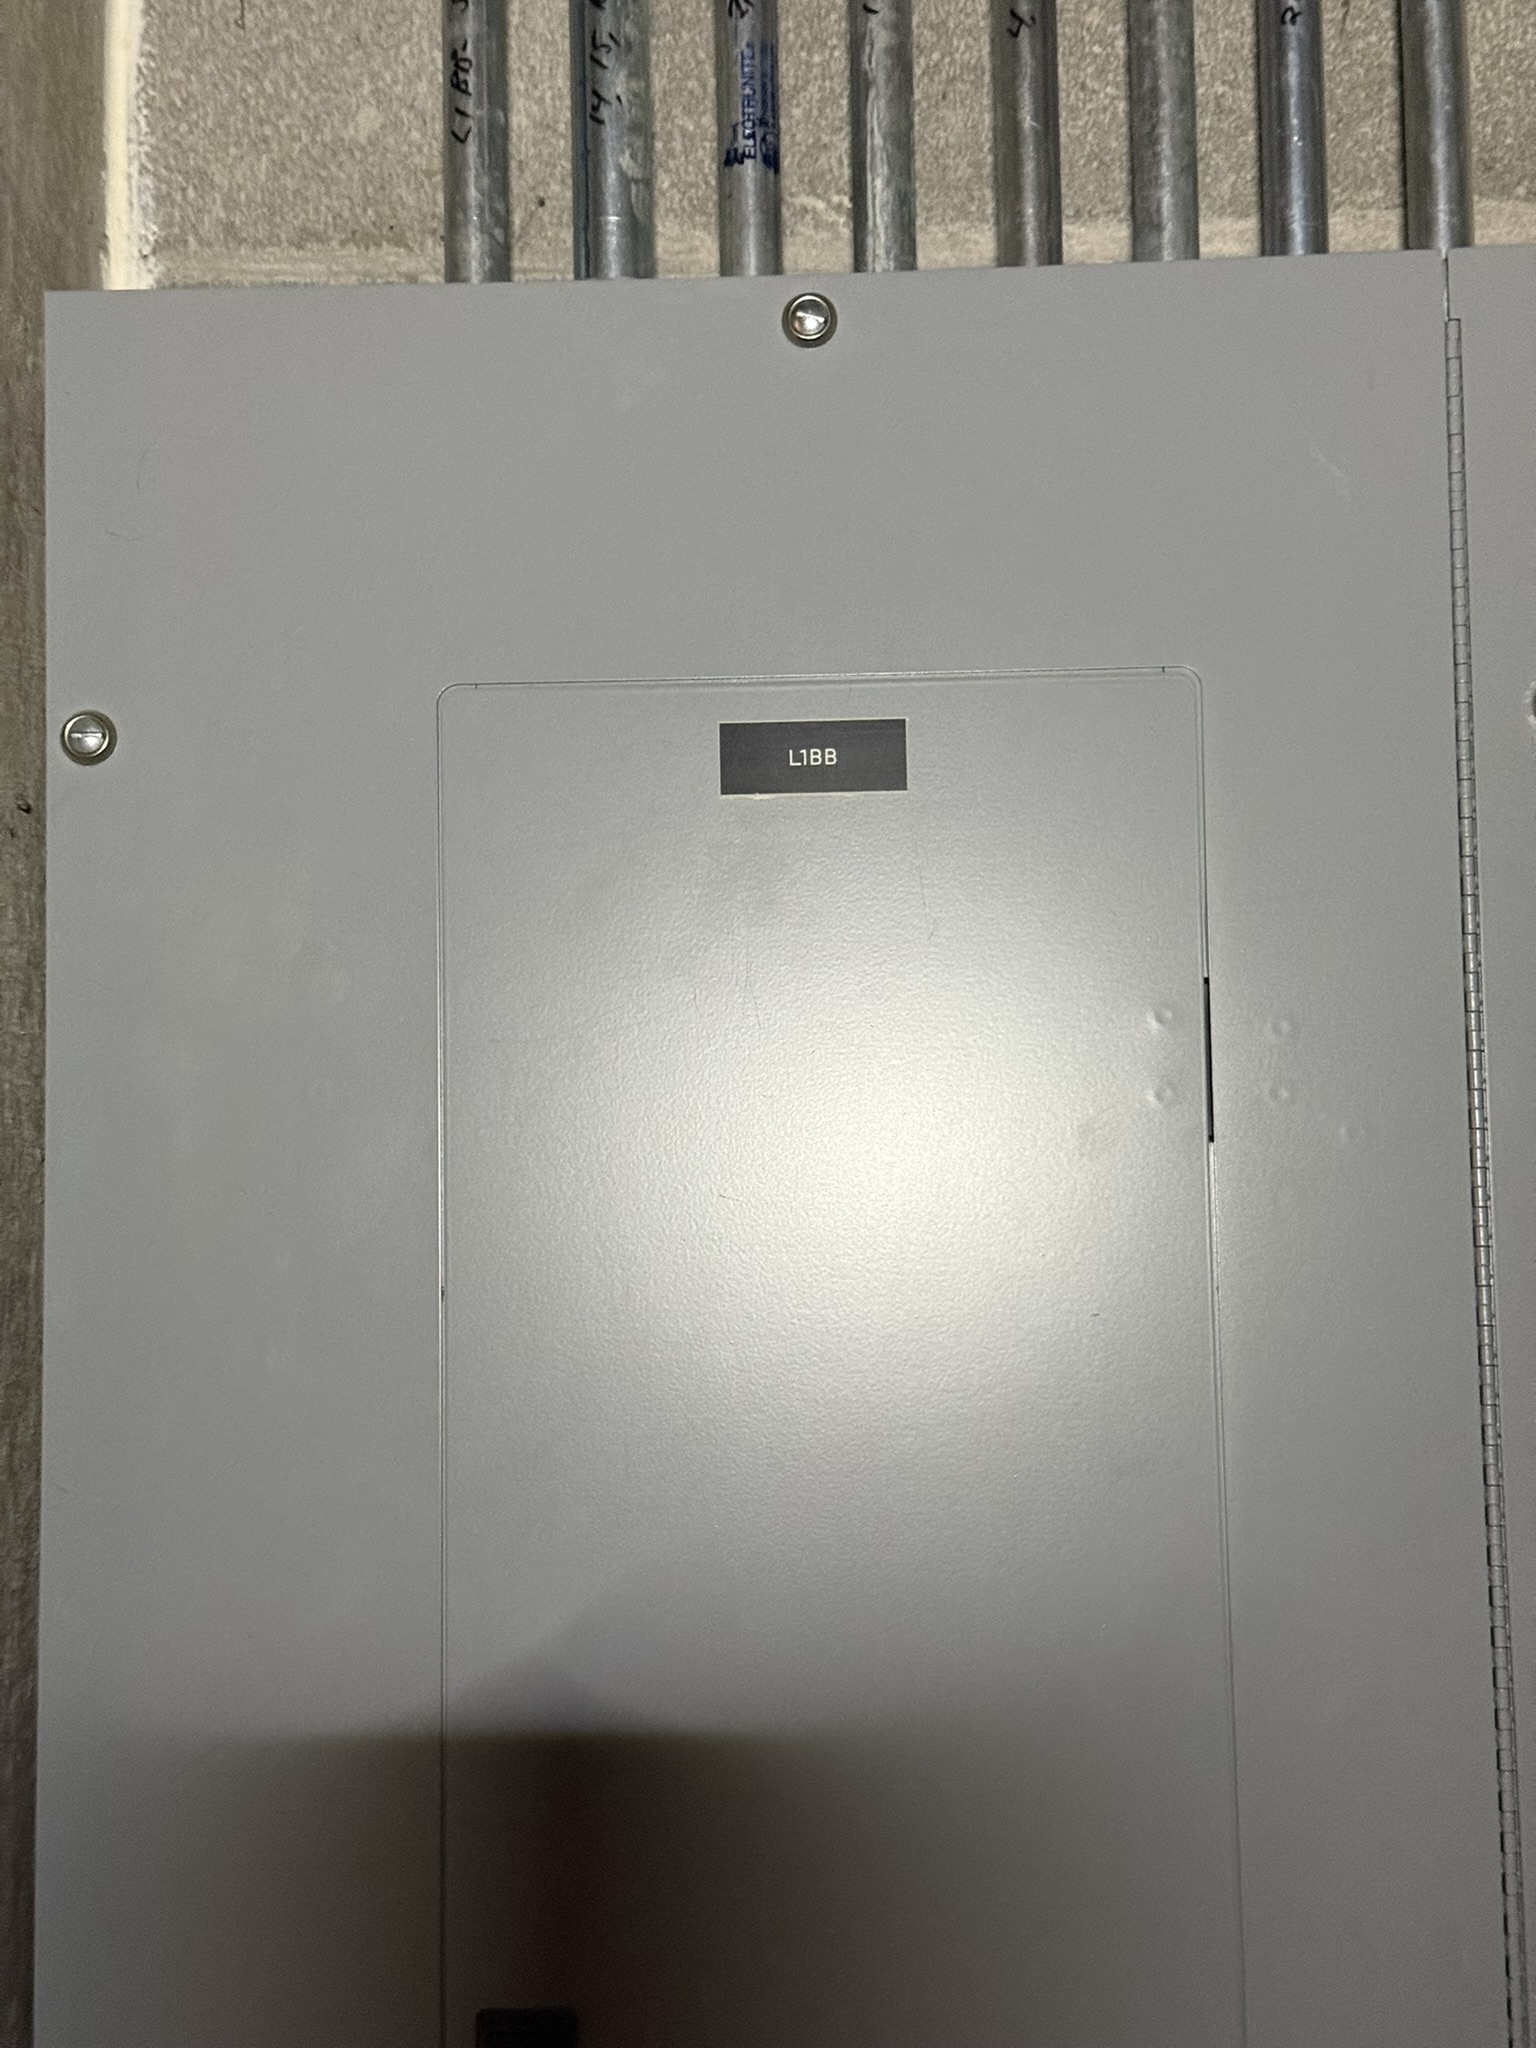
L1BB
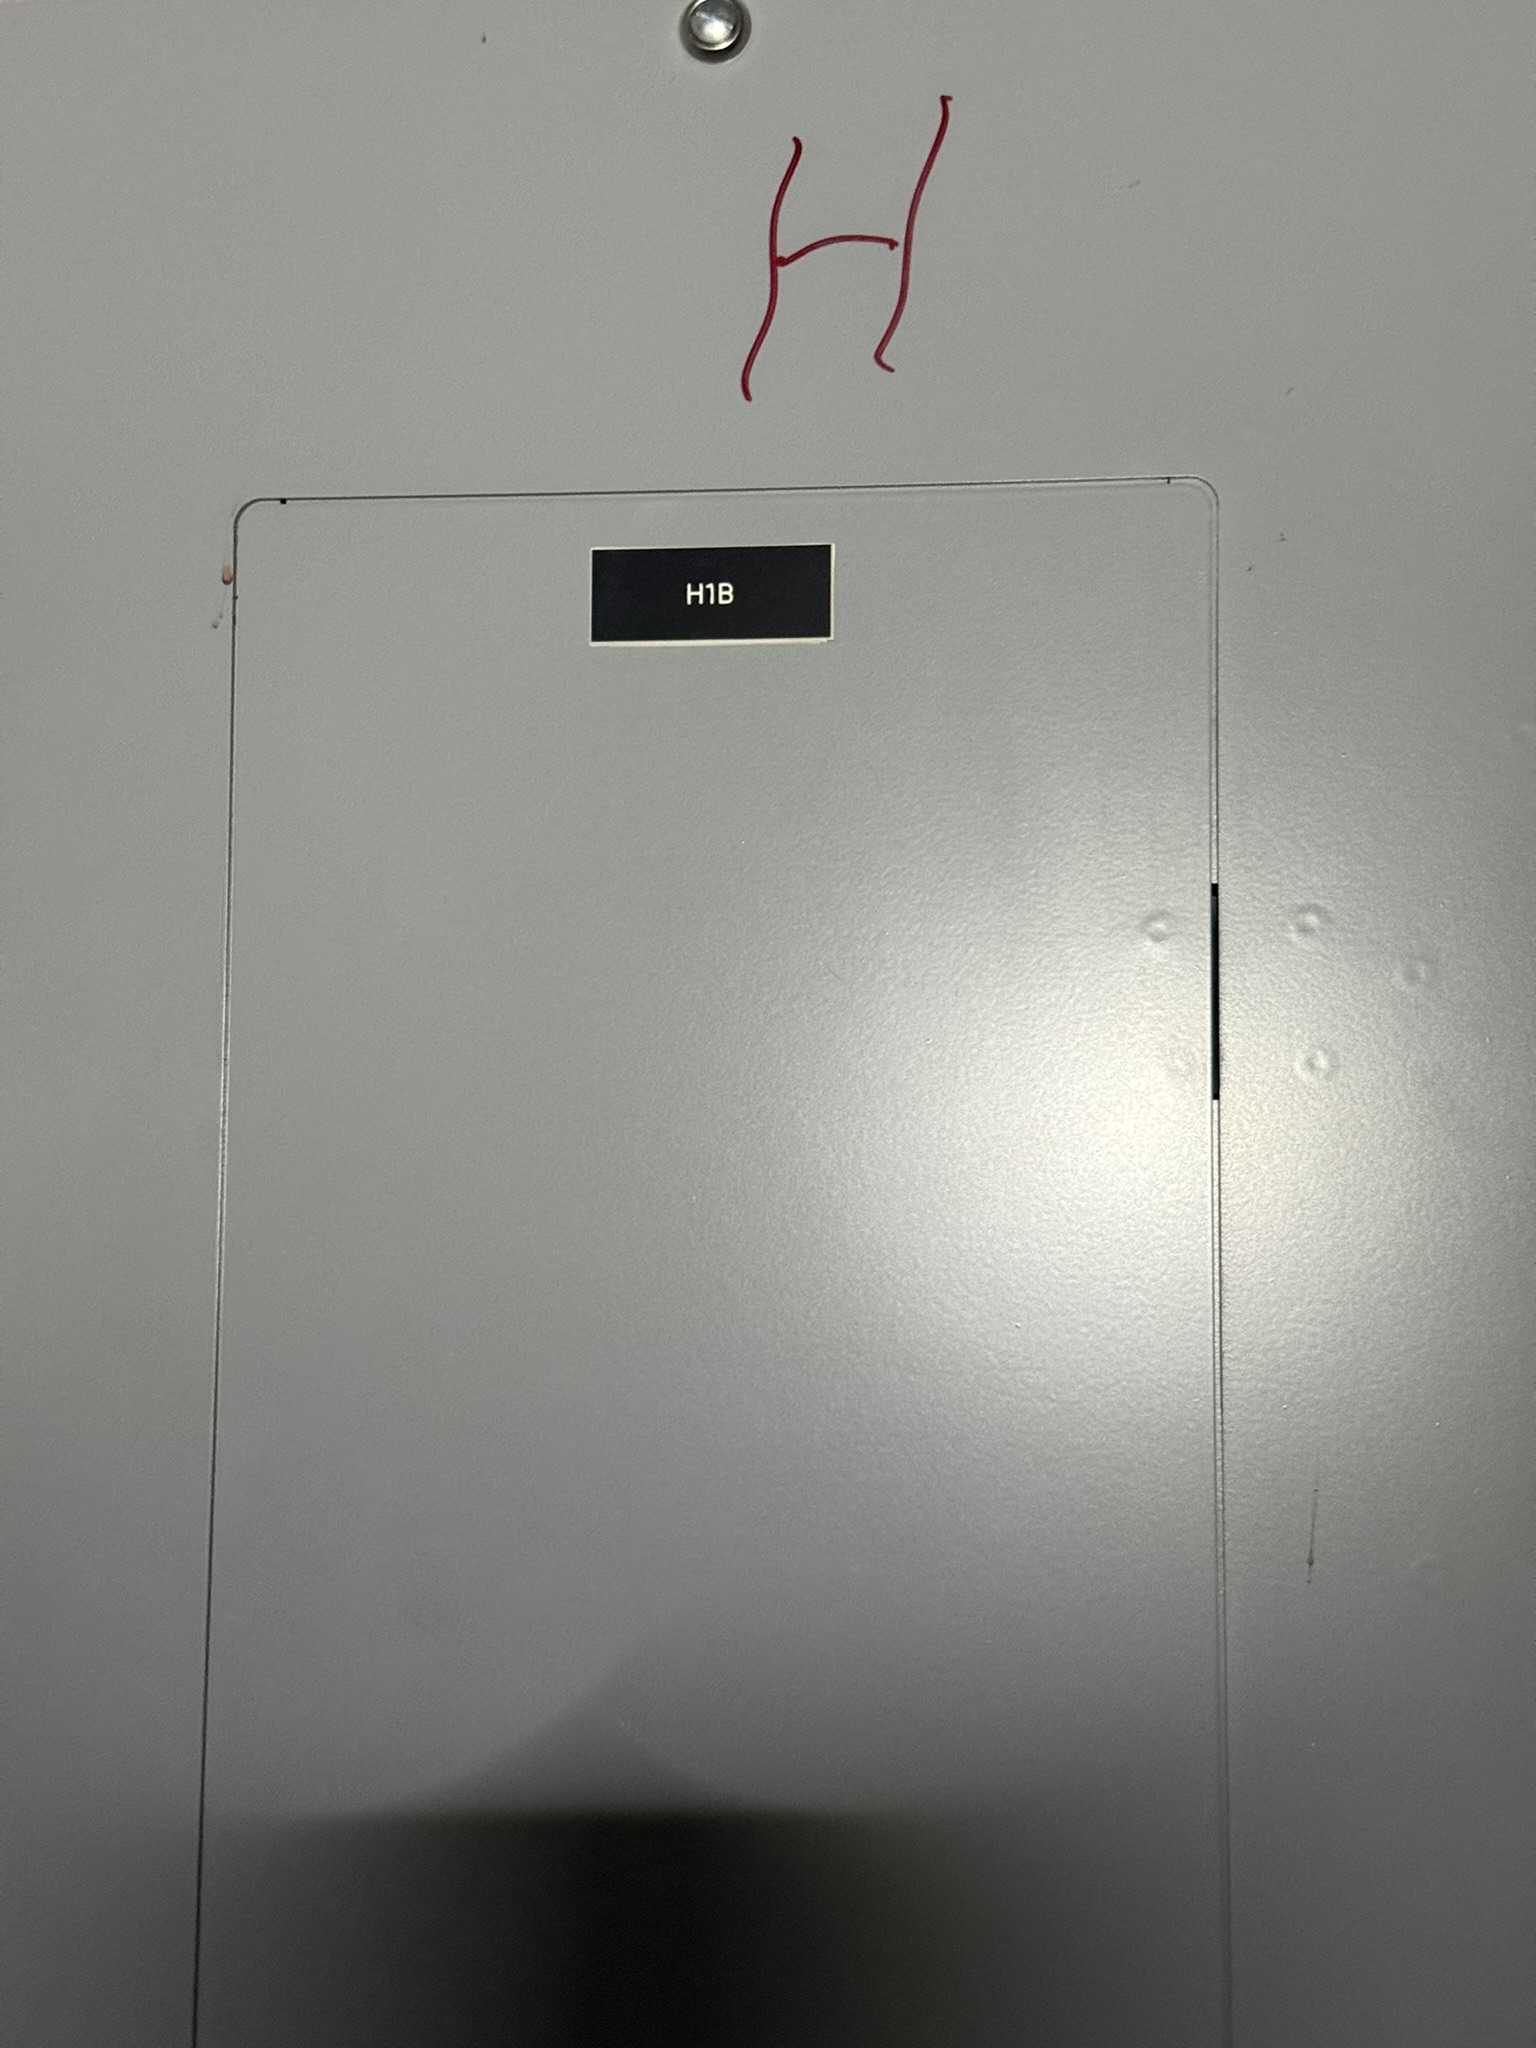
H1B
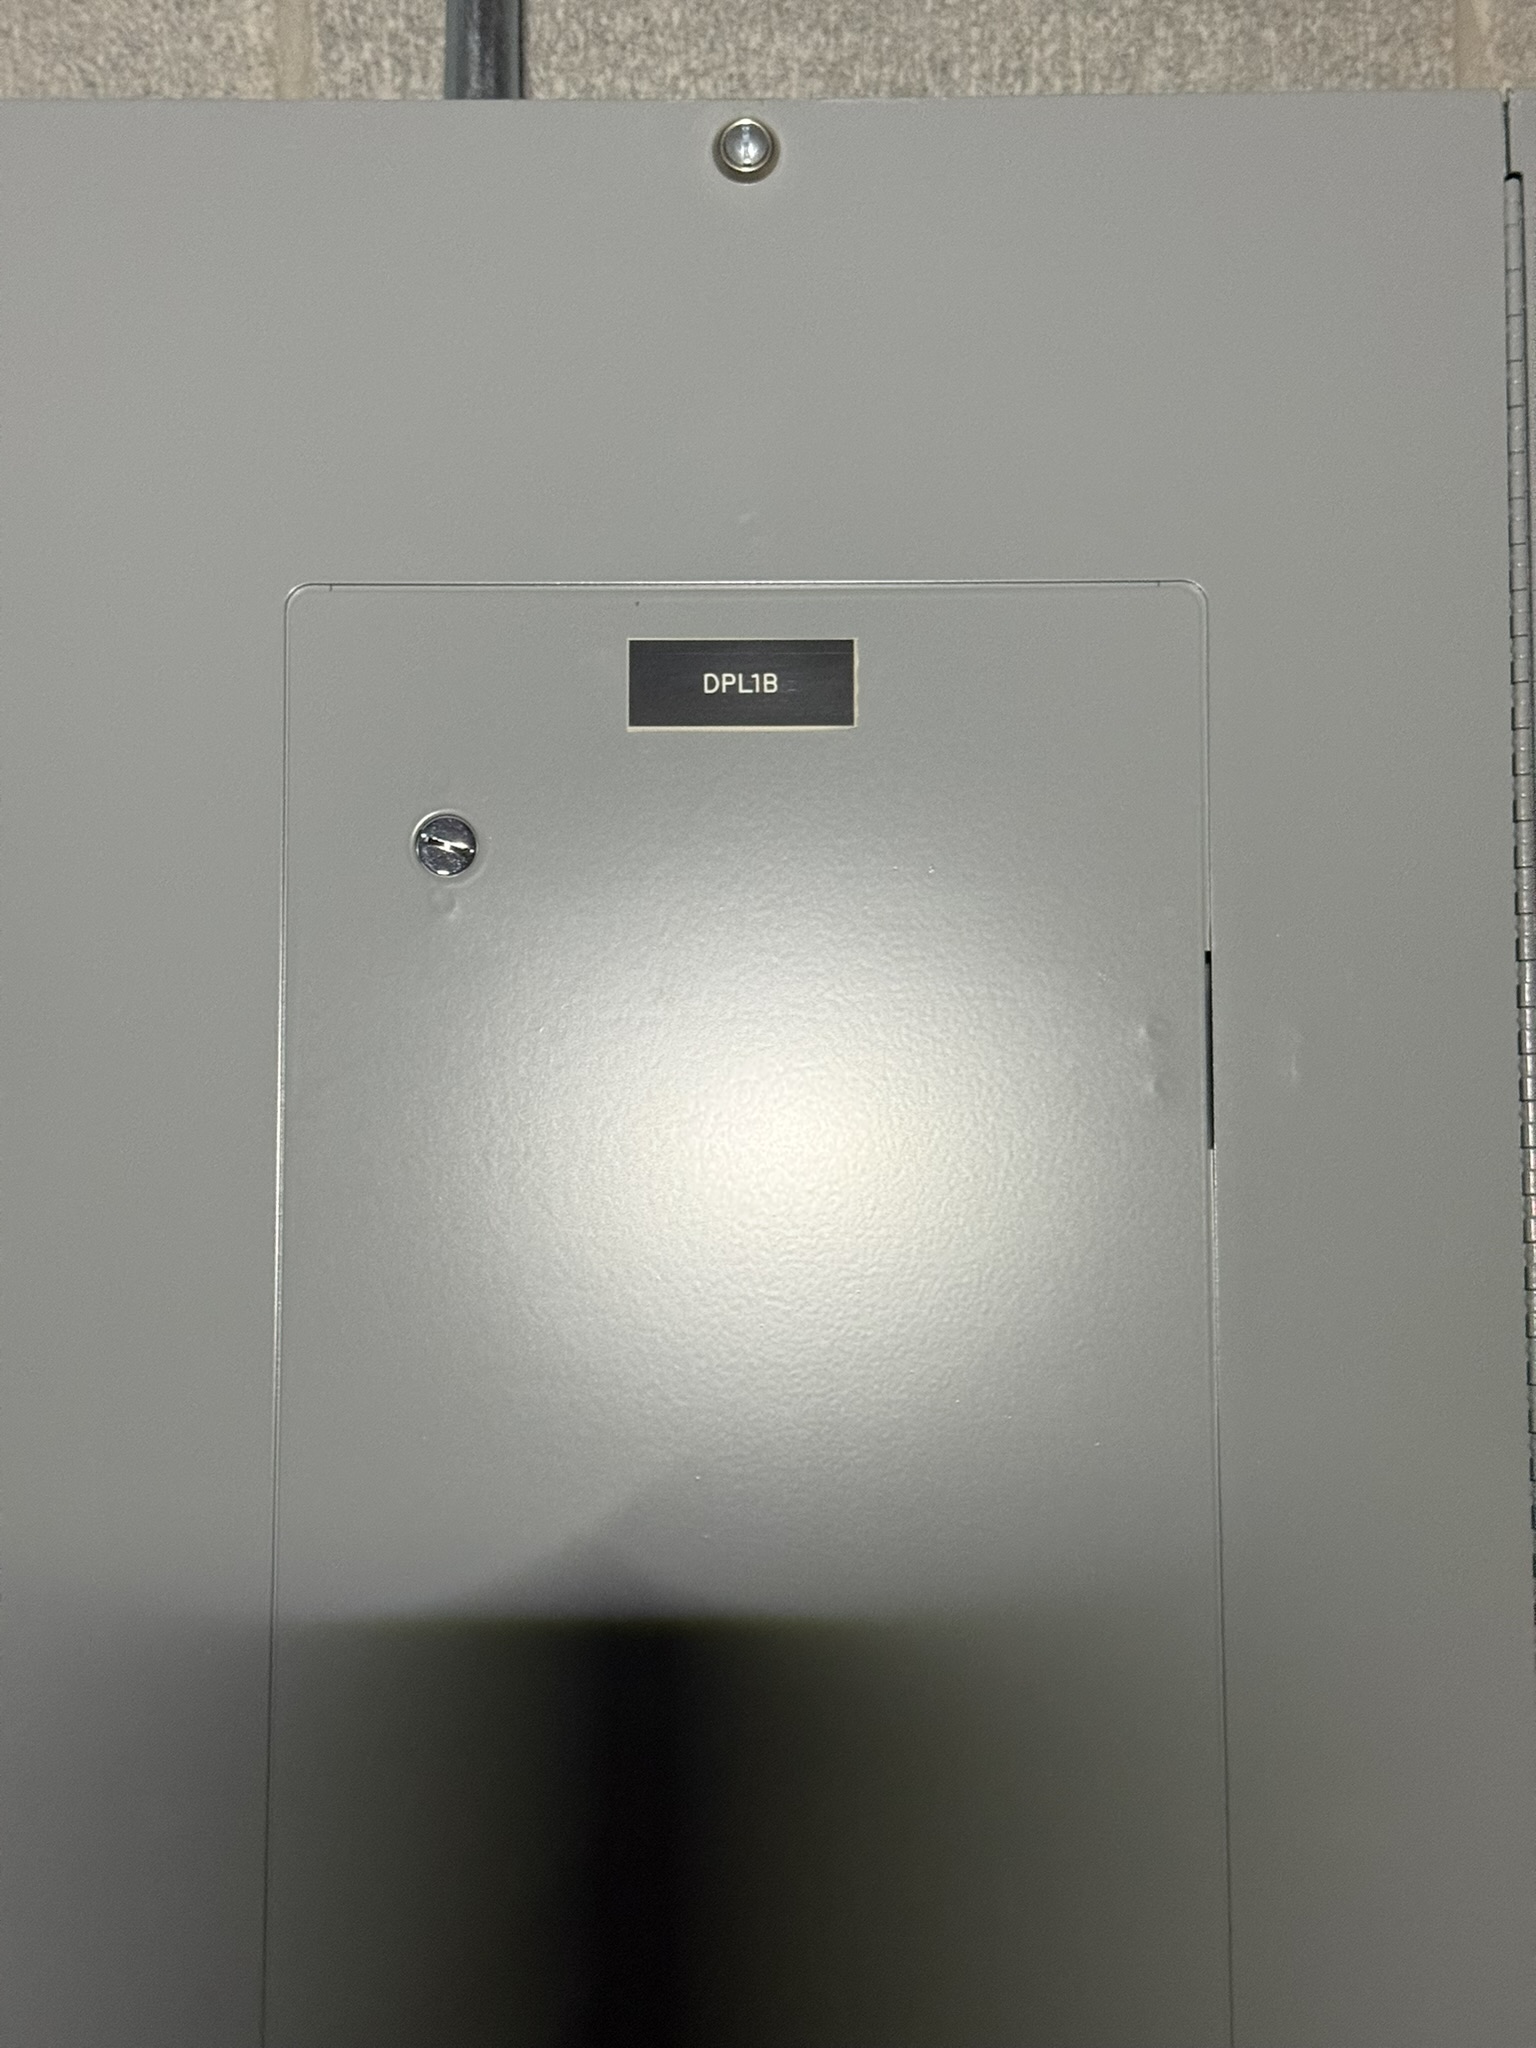
DPL1B
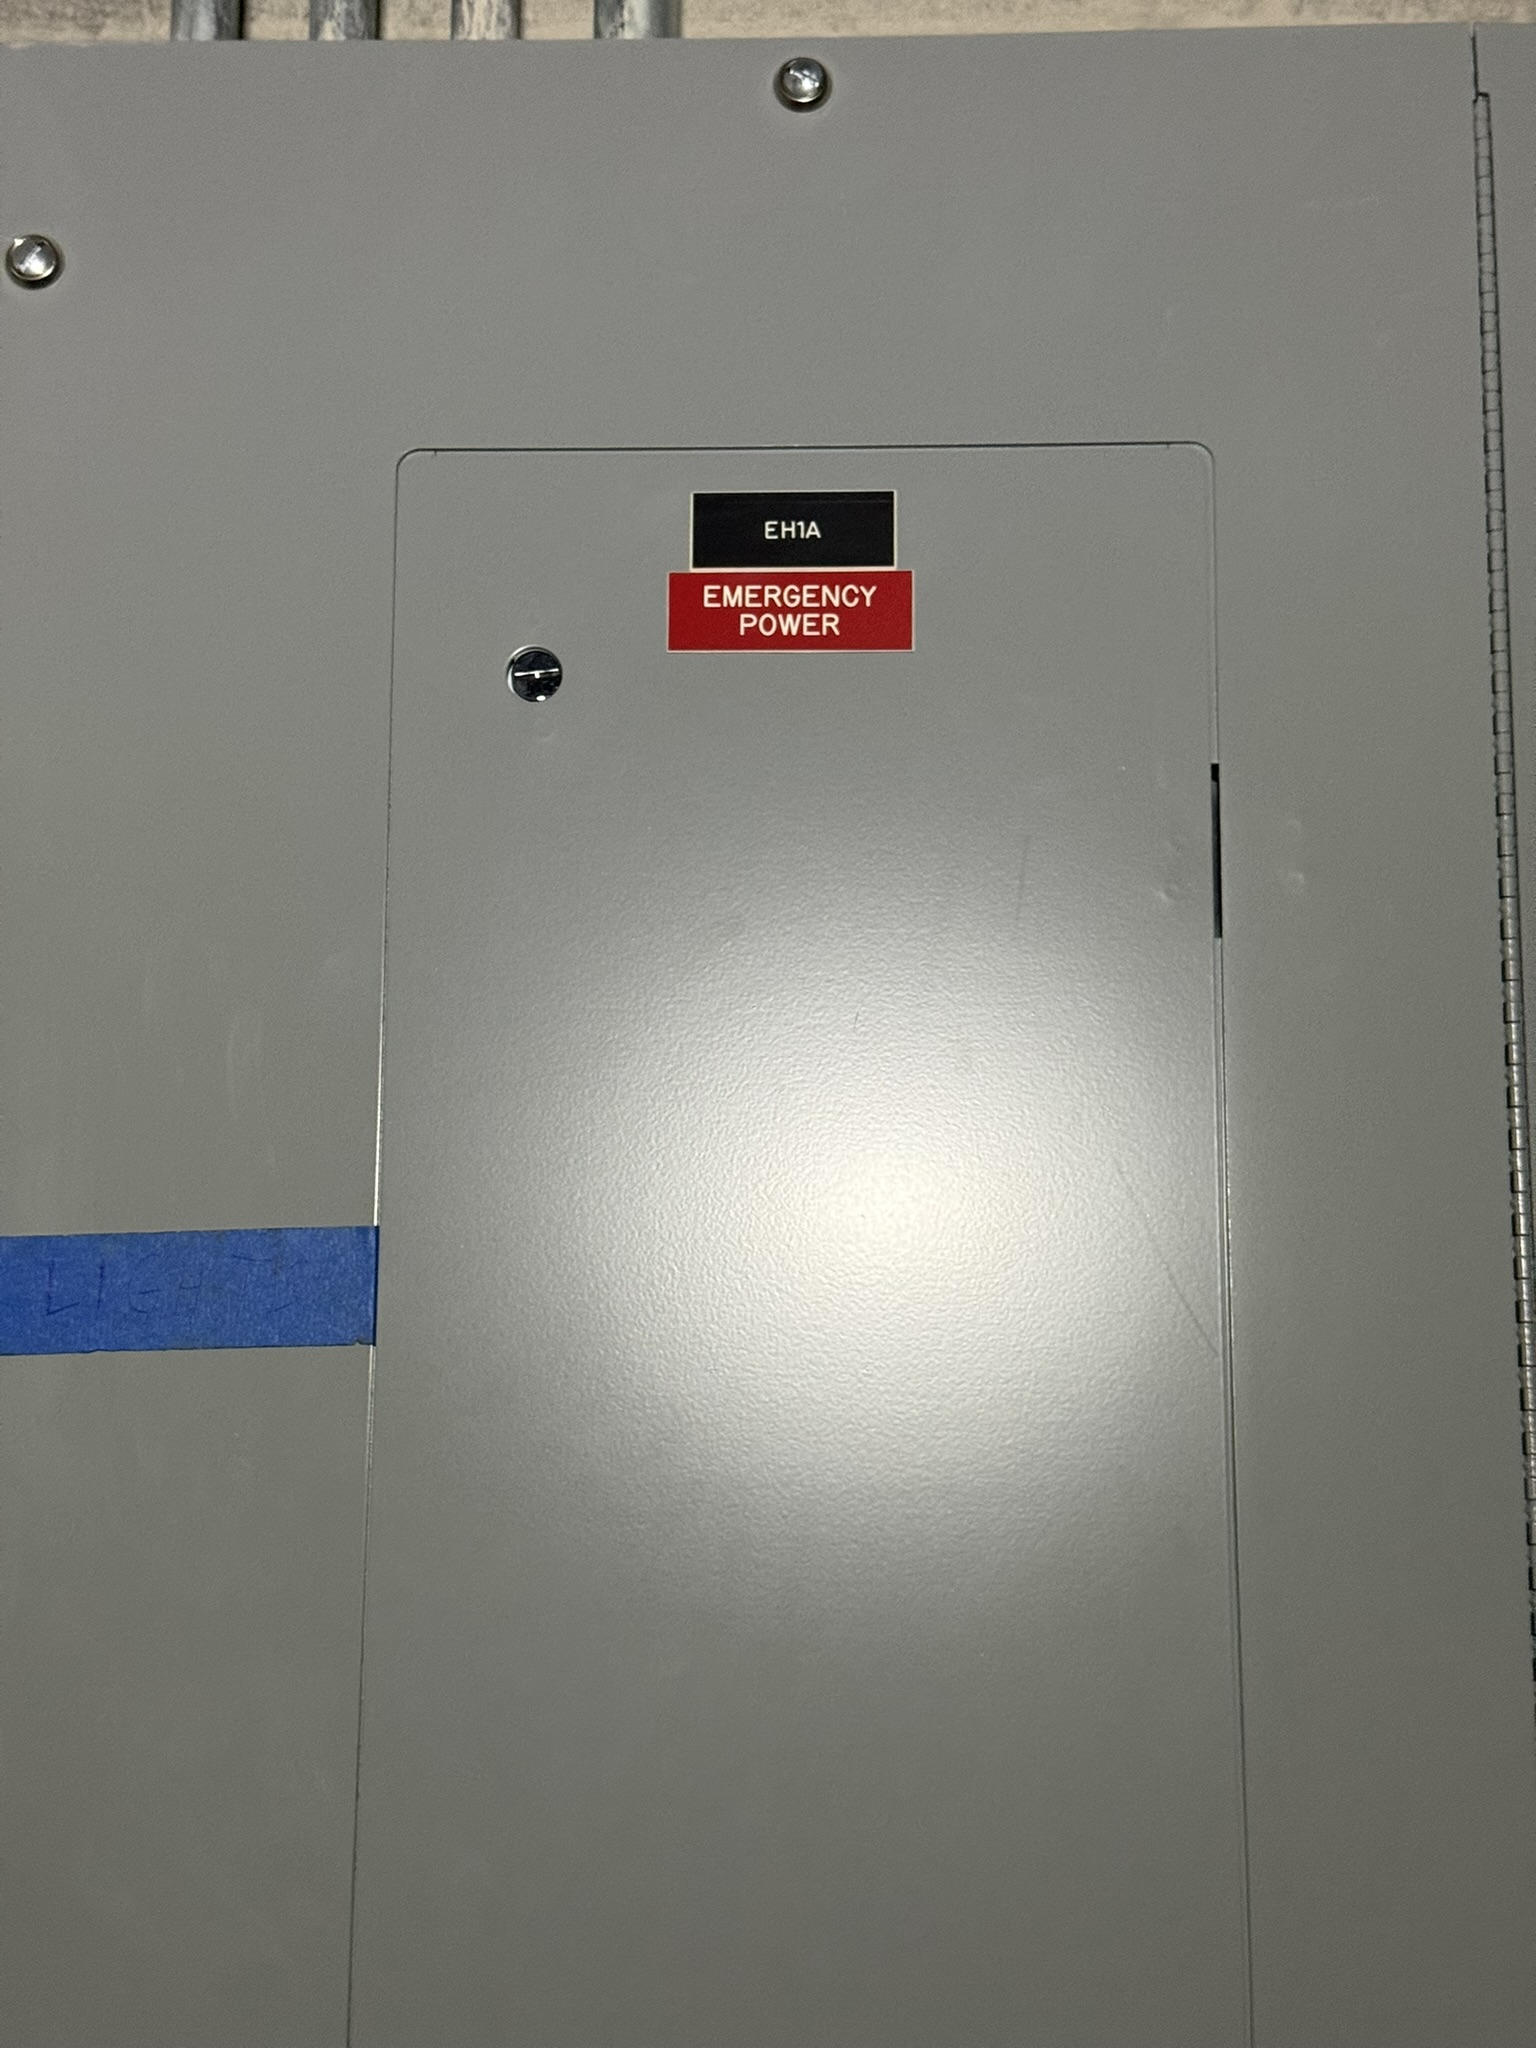
EH1A
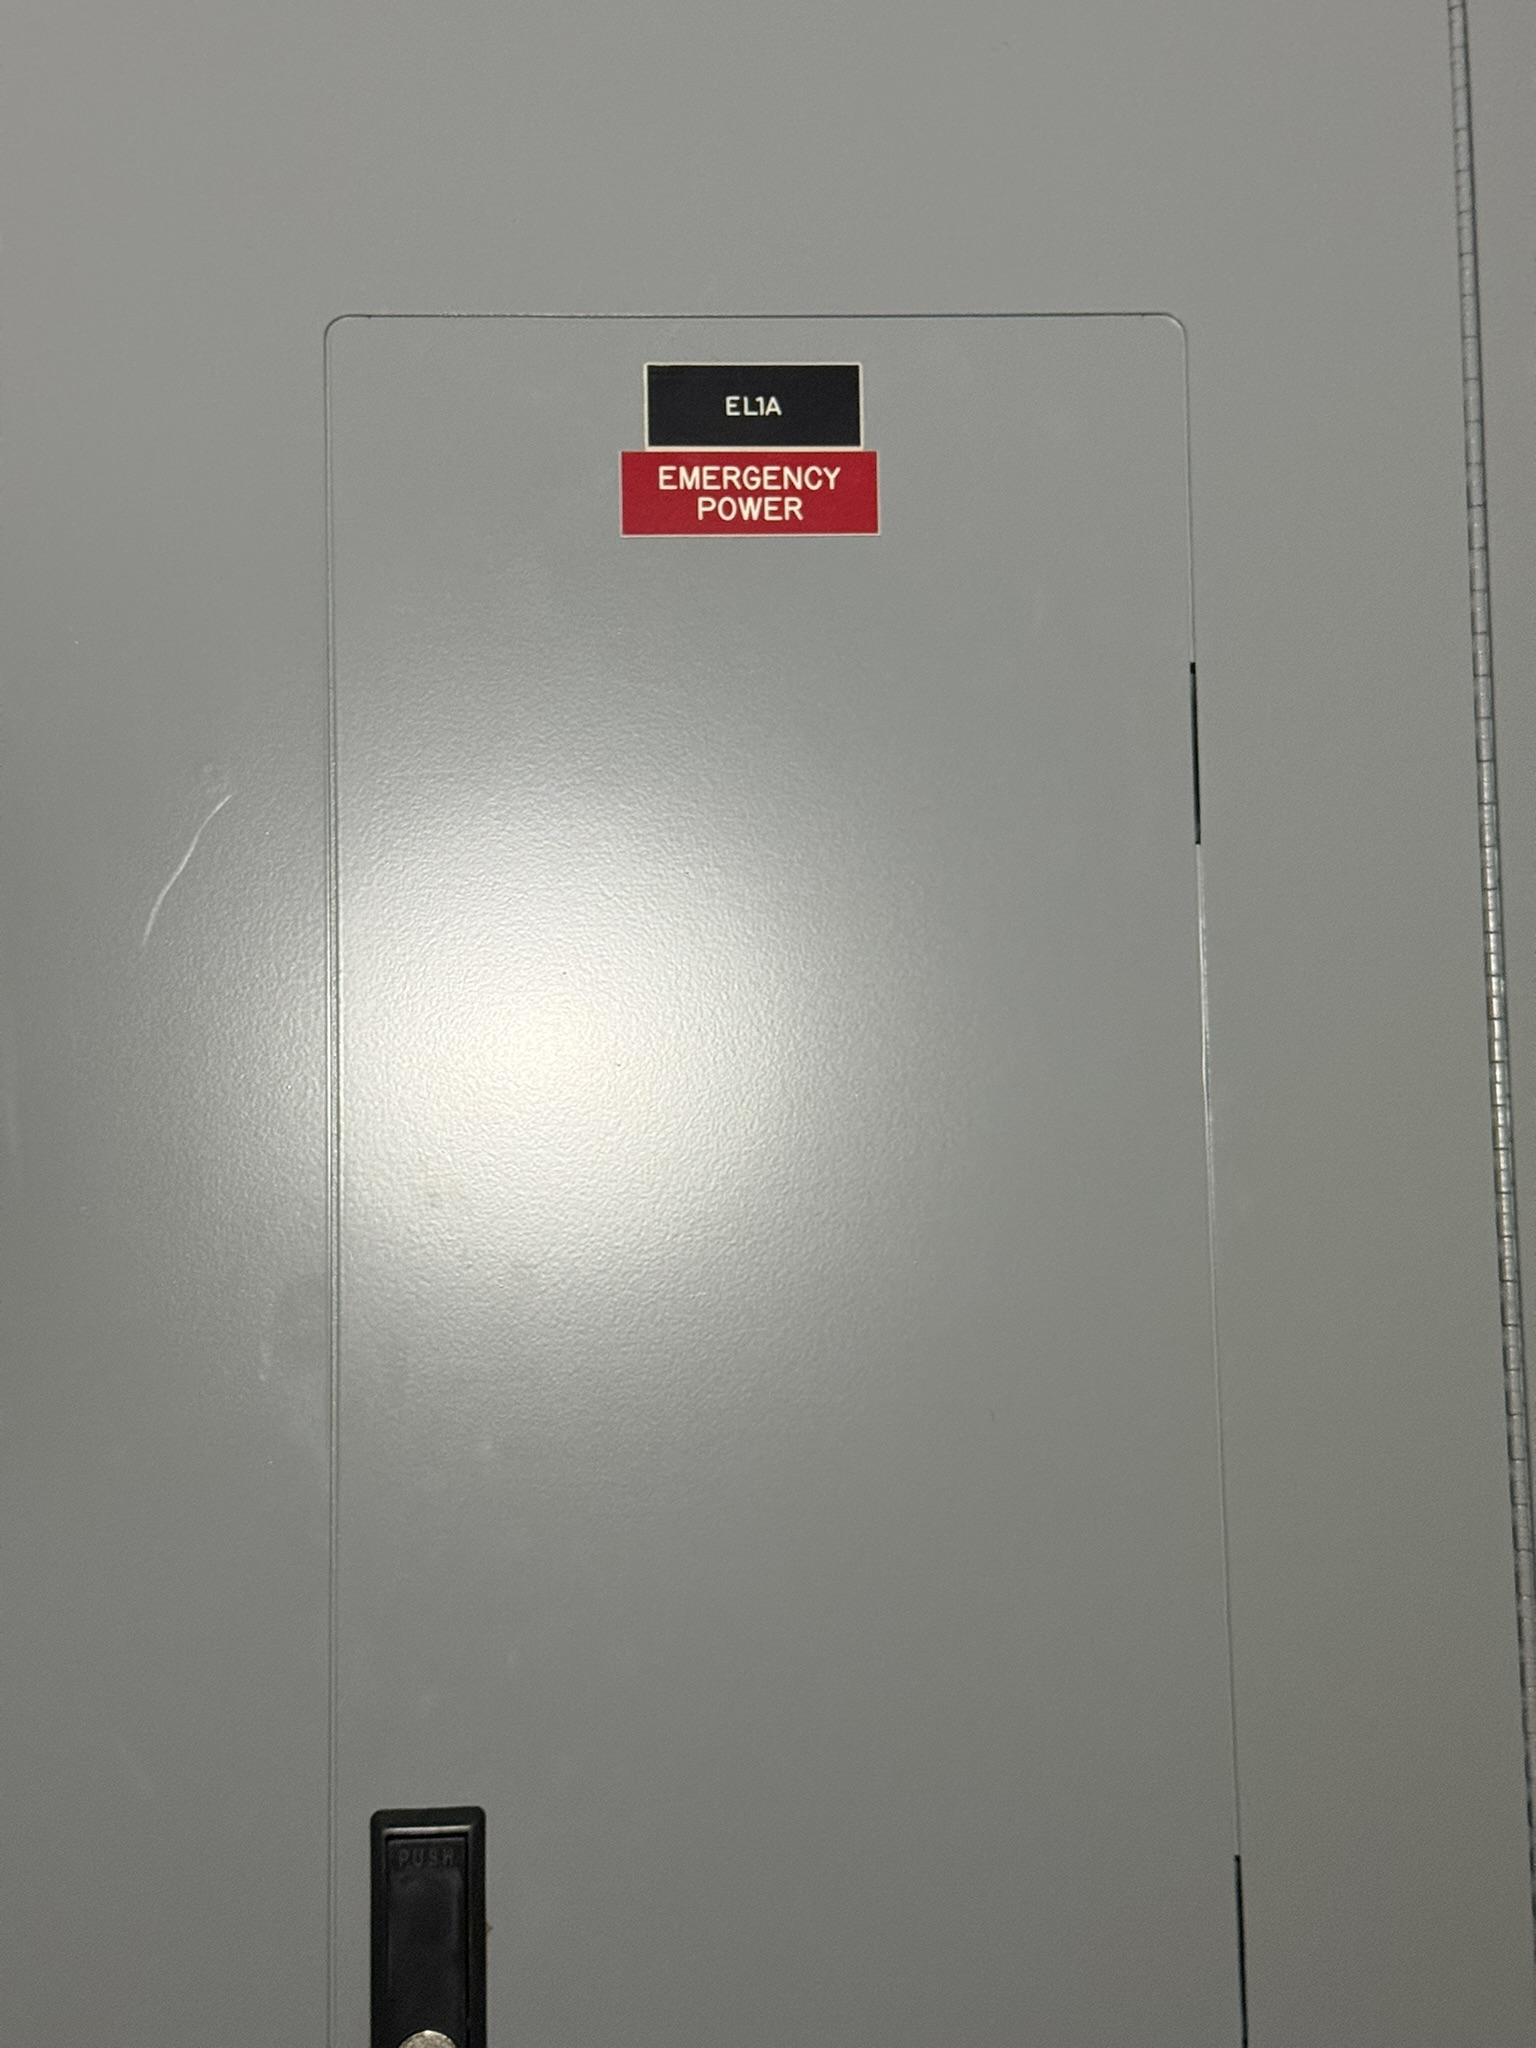
EL1A
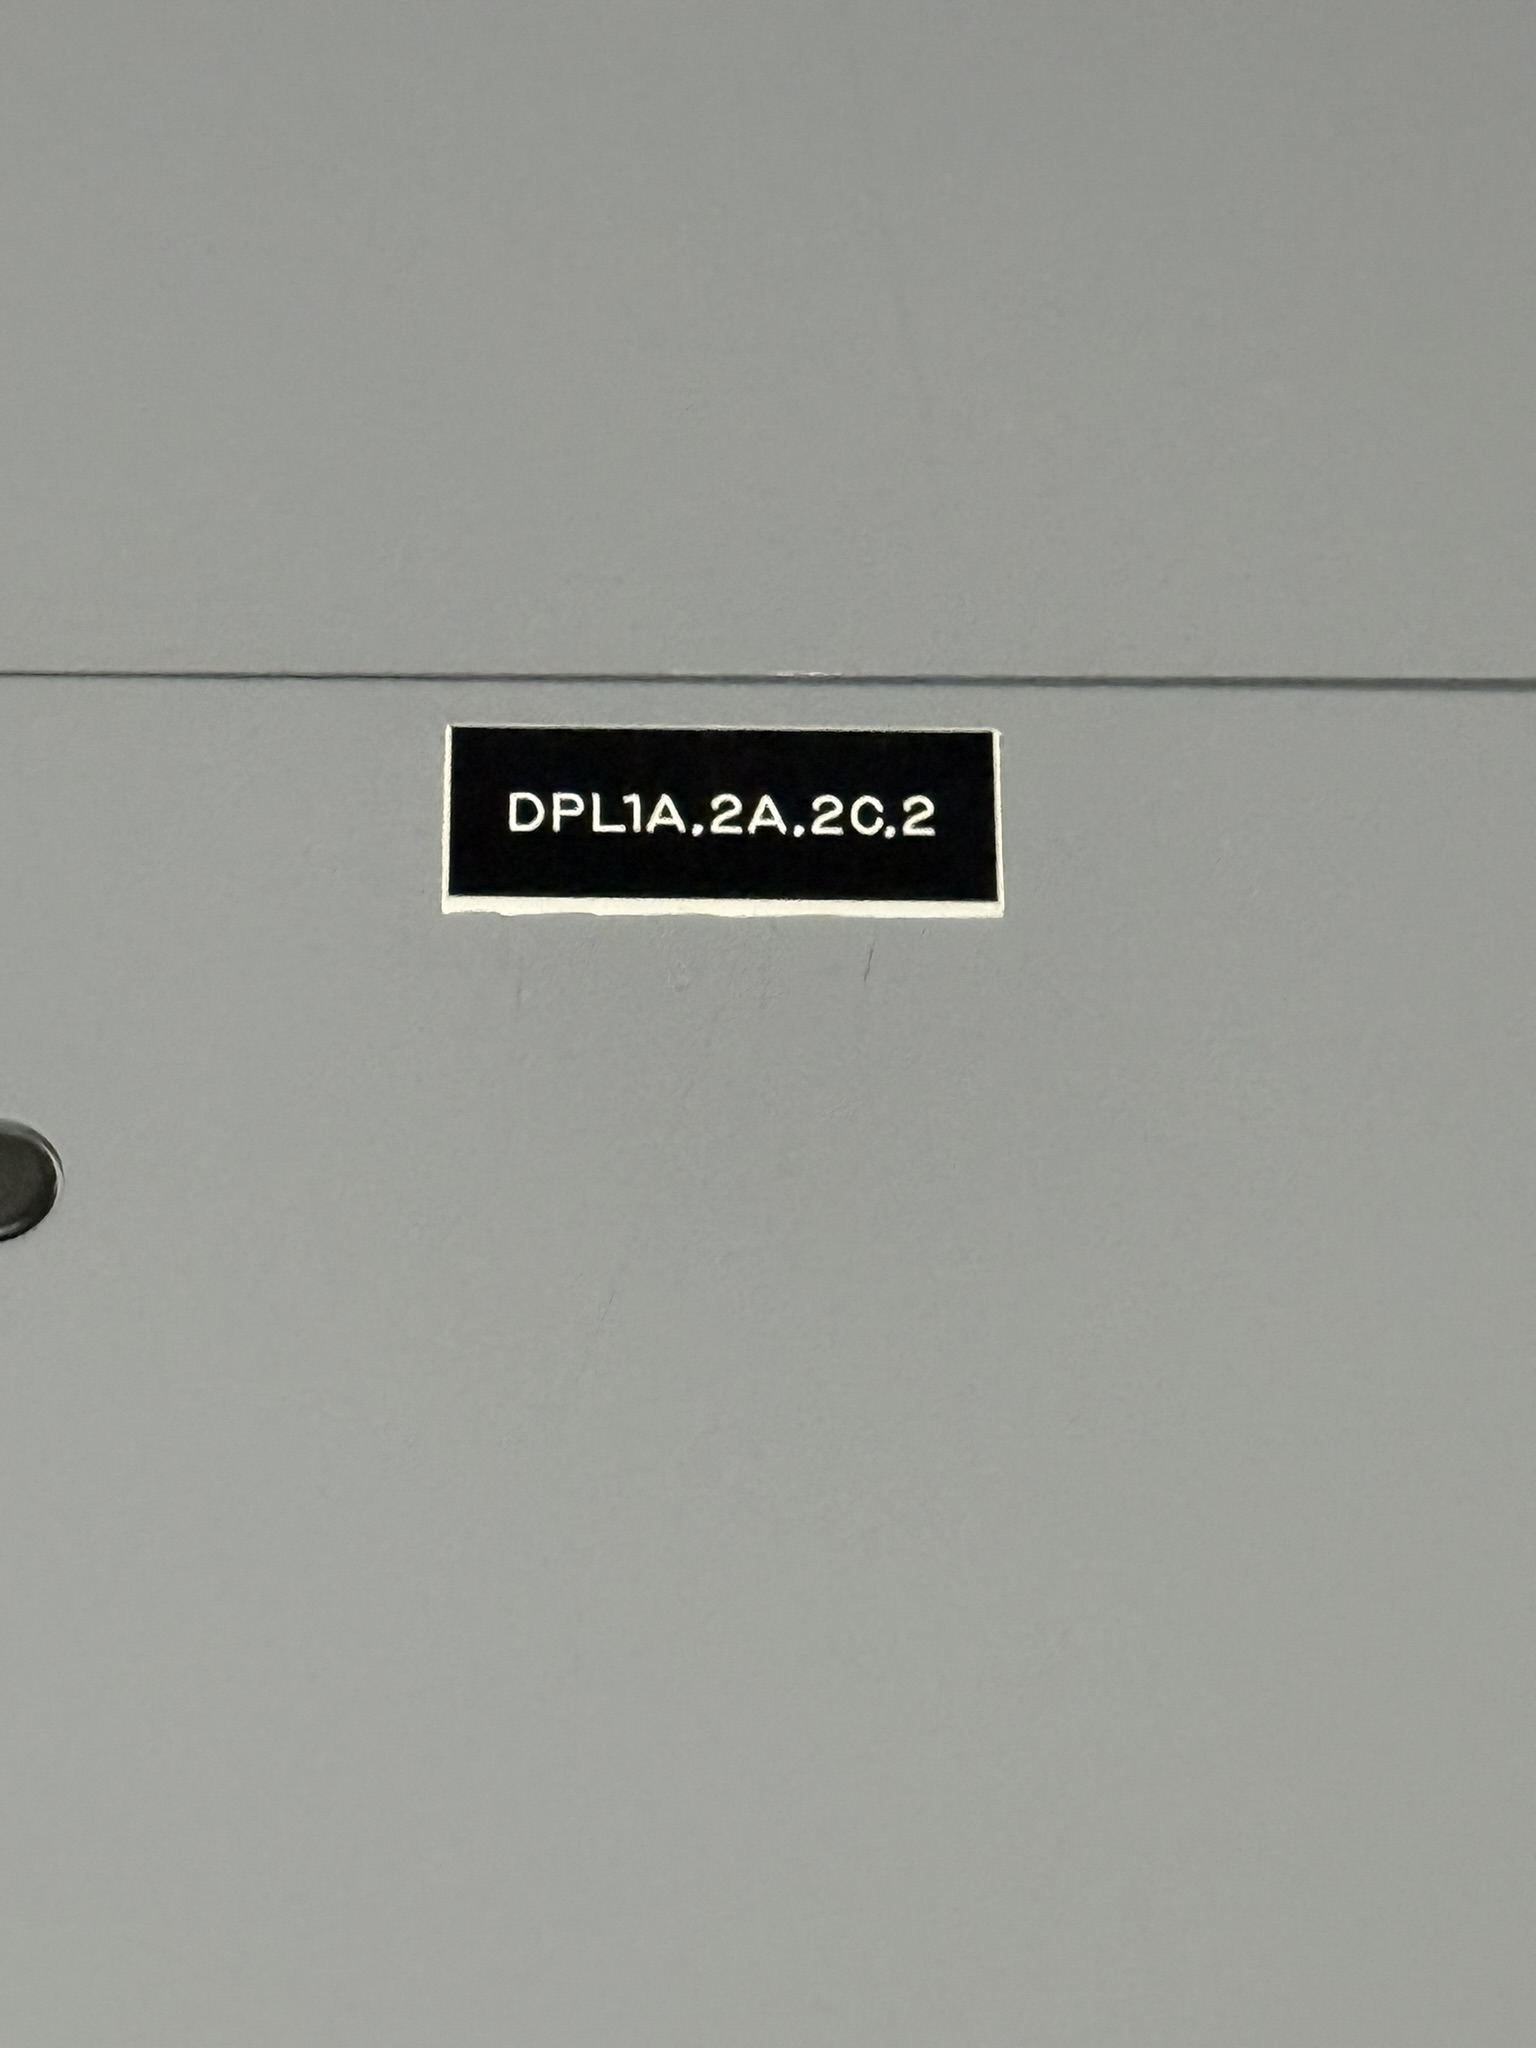
DPL1A,2A,2C,2

L1AA

L1DA
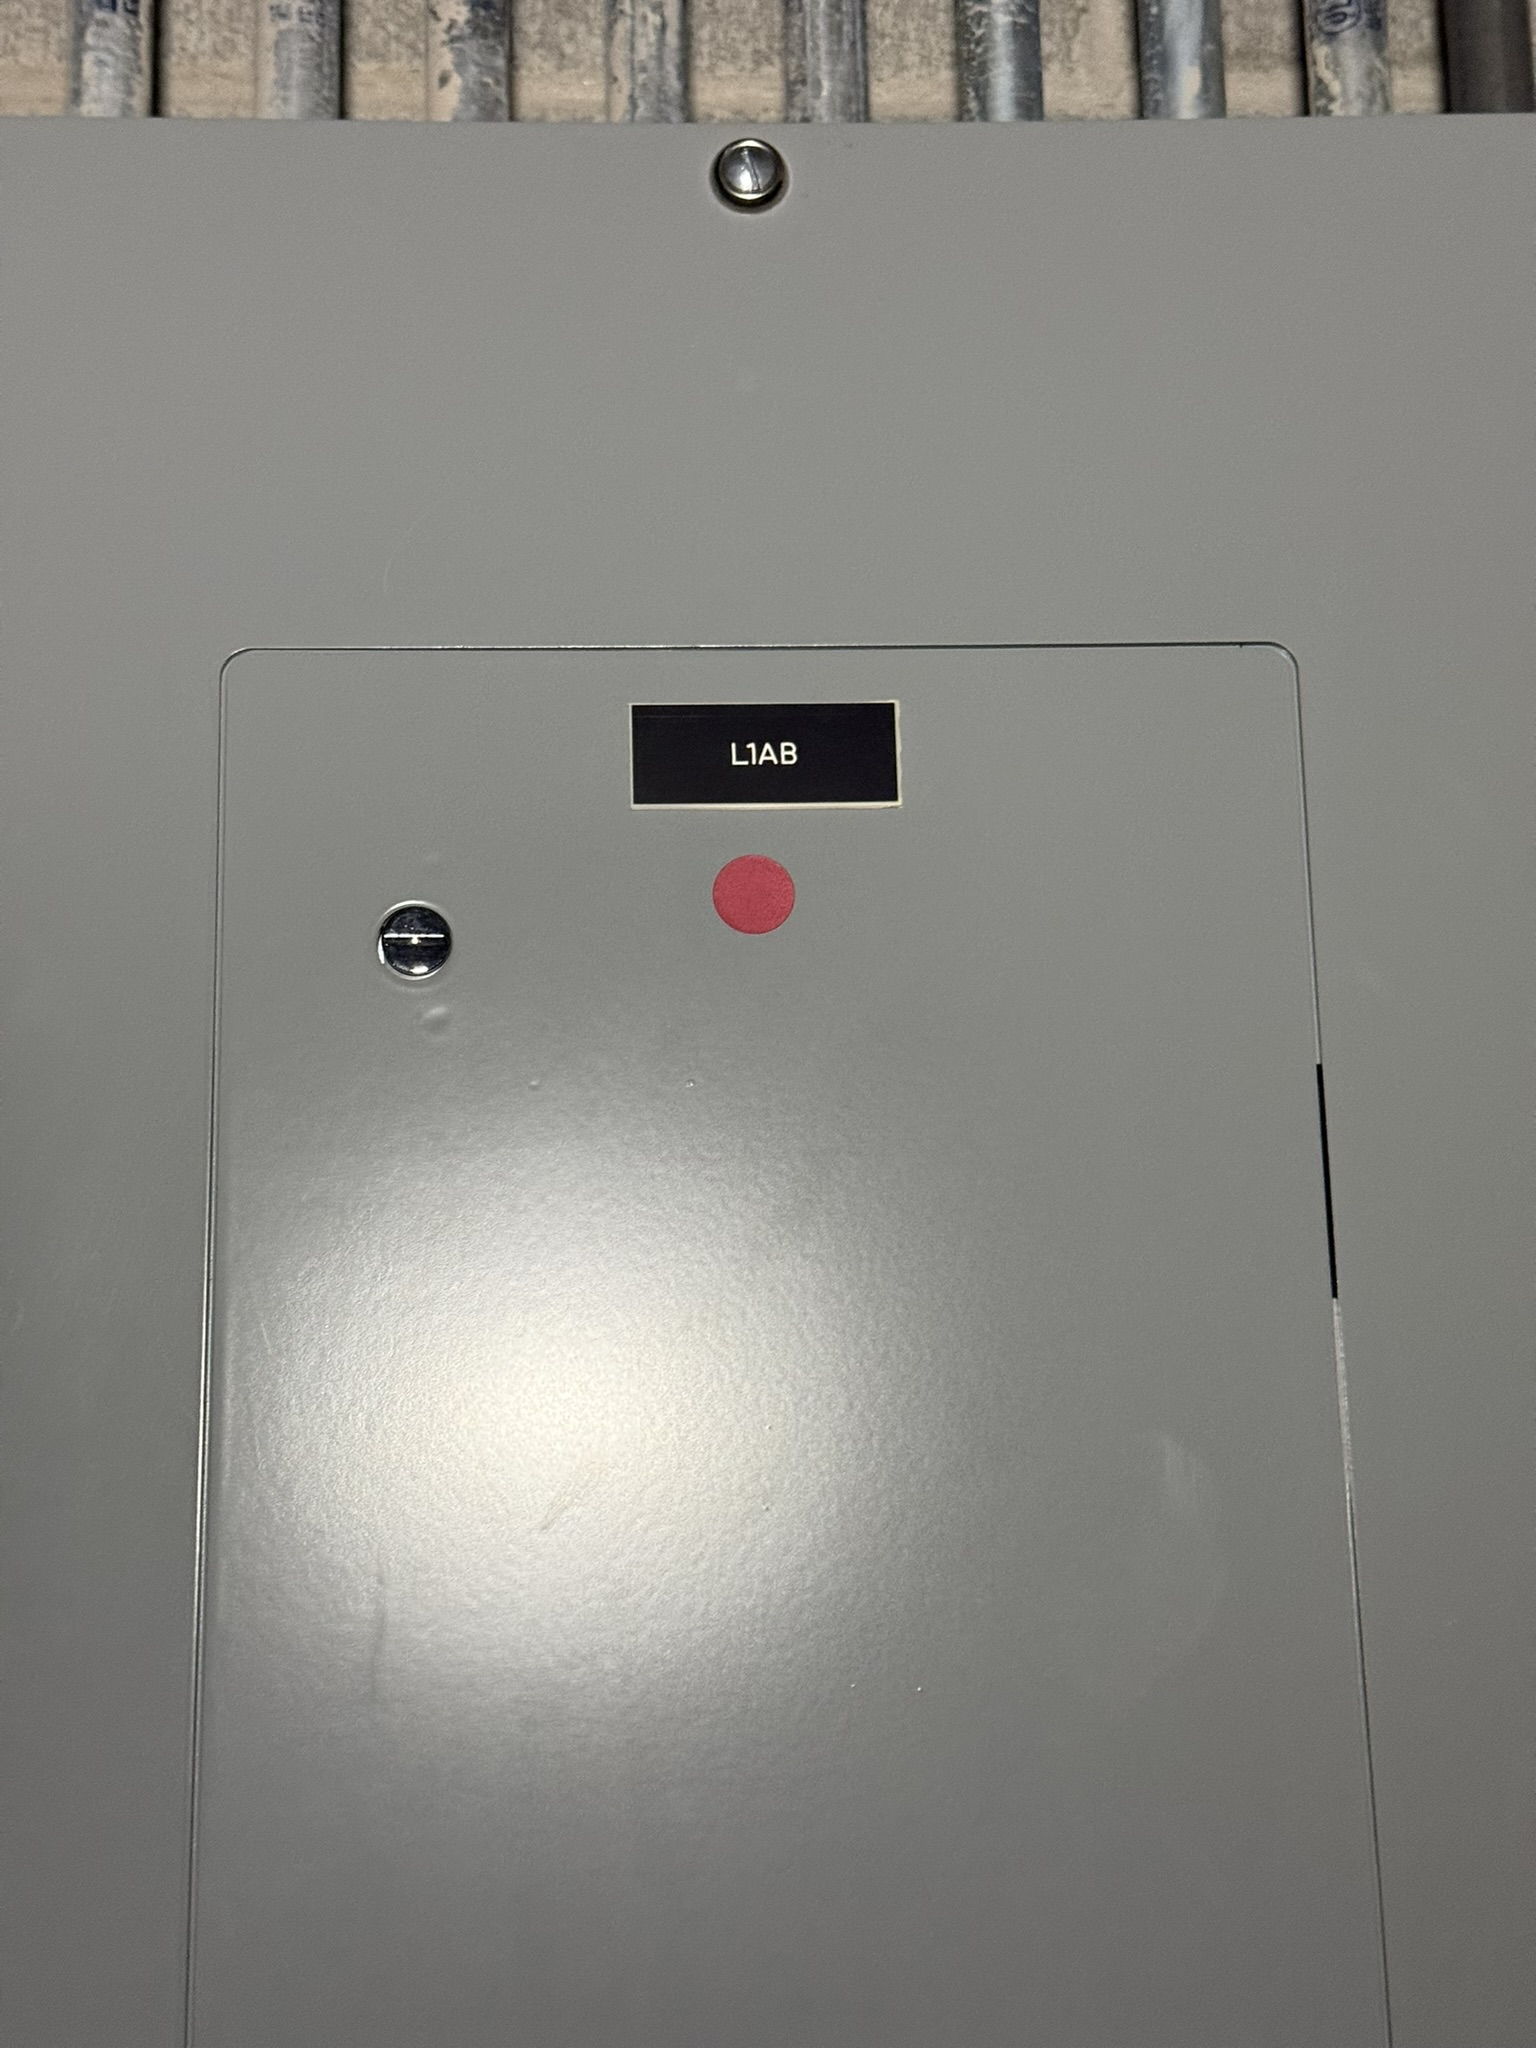
L1AB
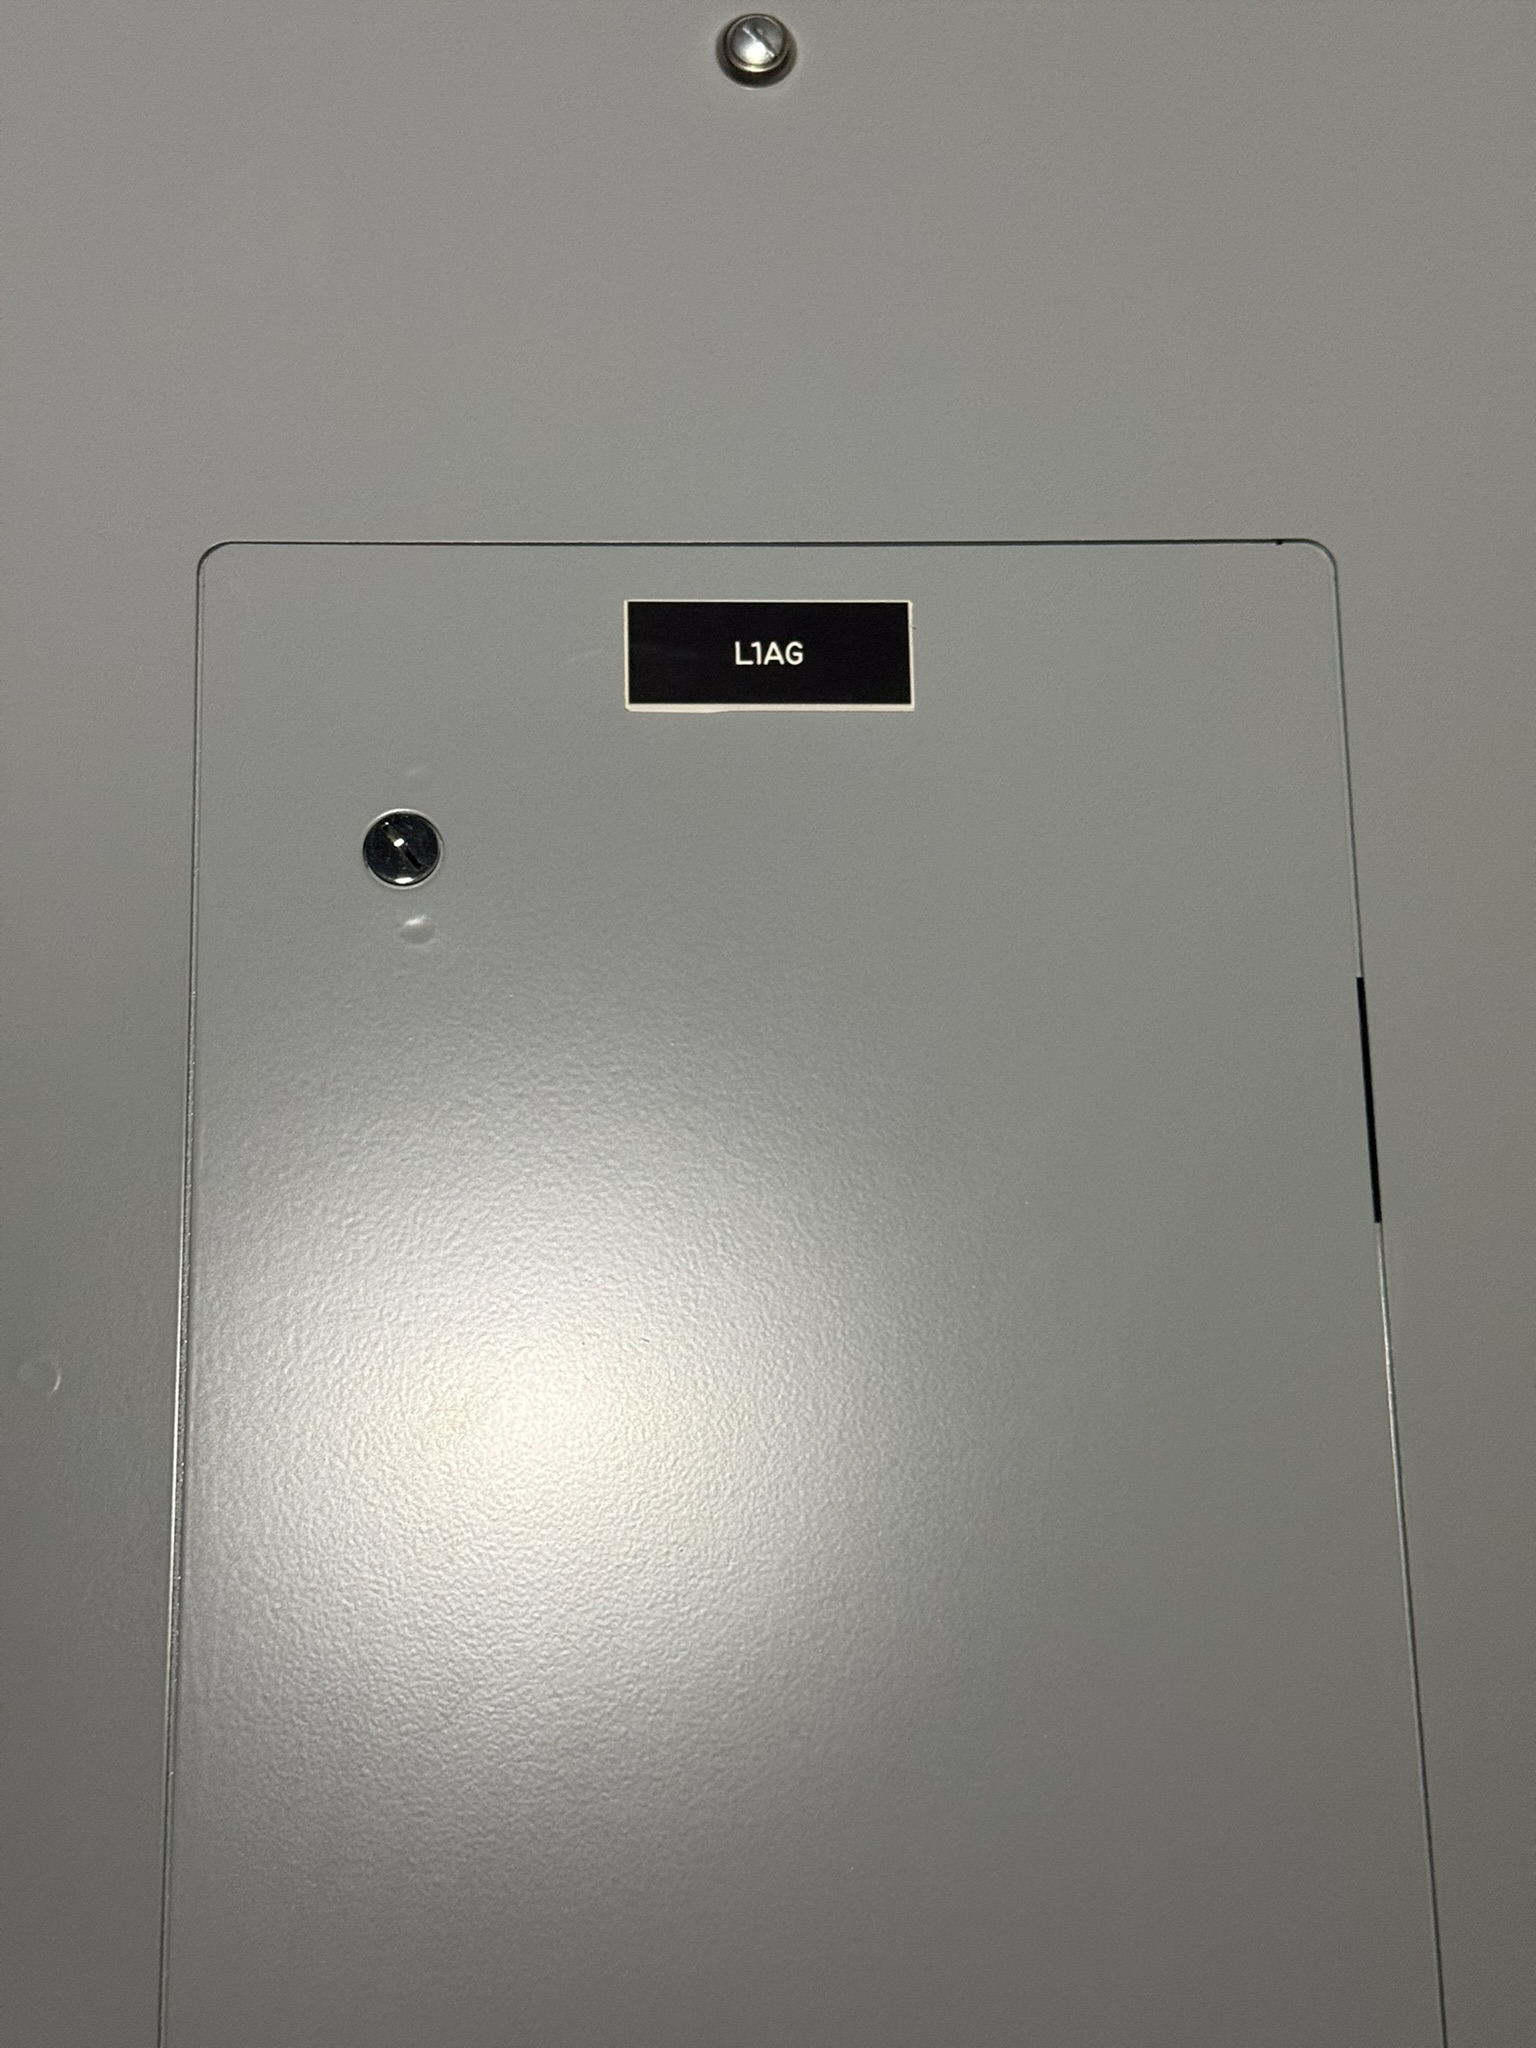
L1AG
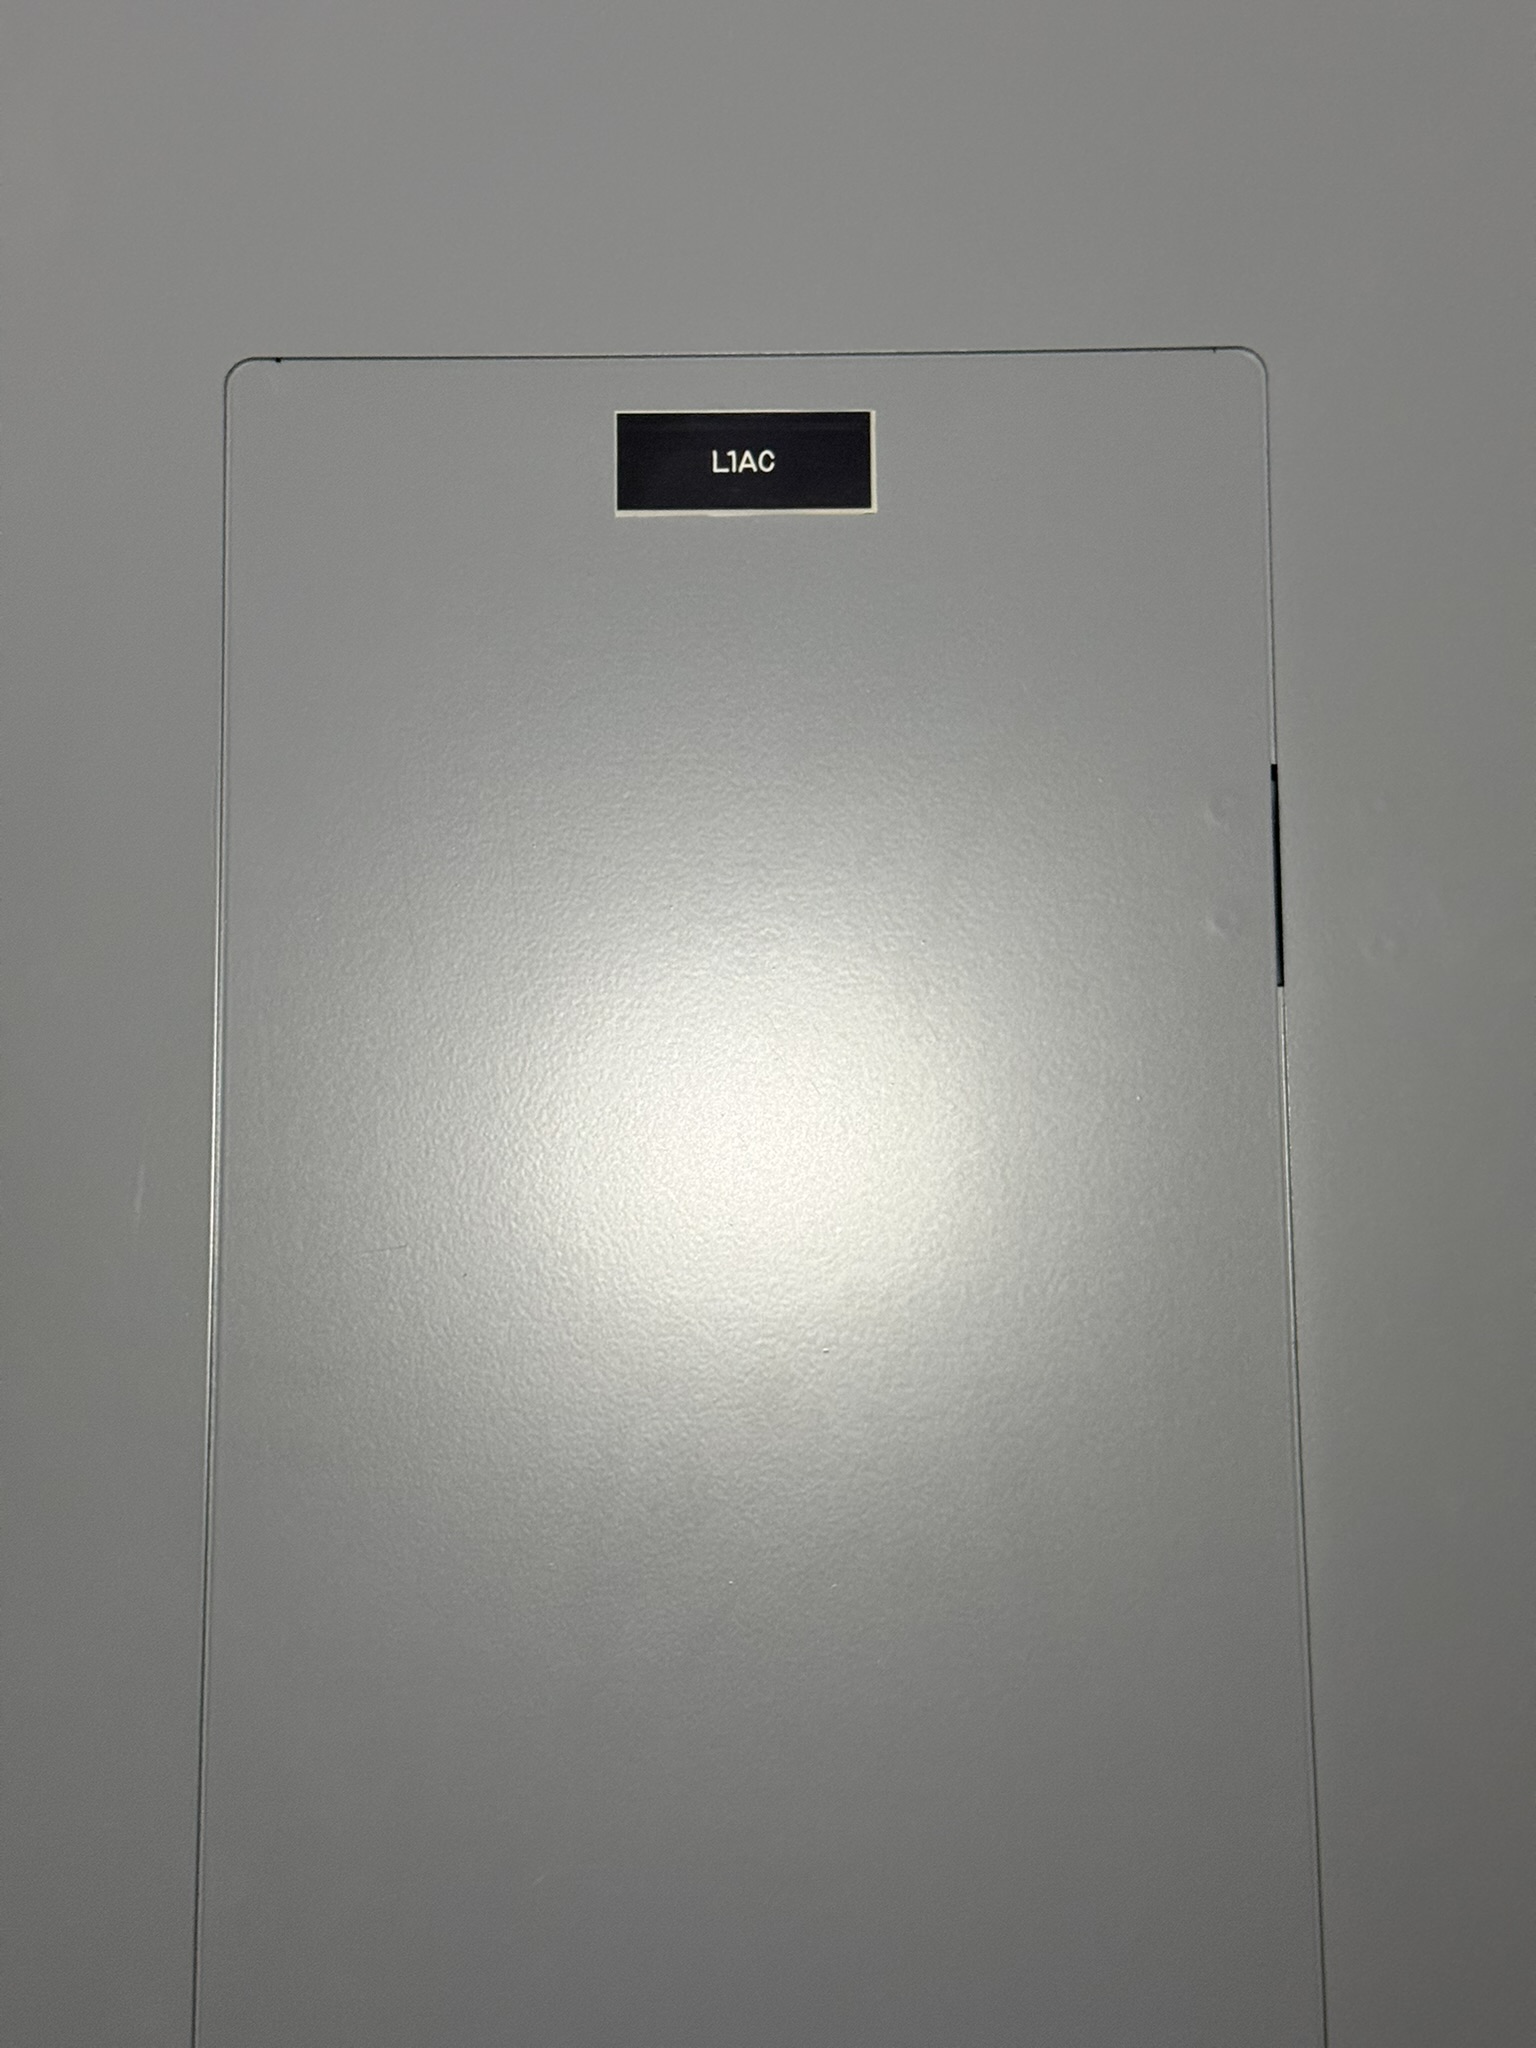
L1AC

H1A
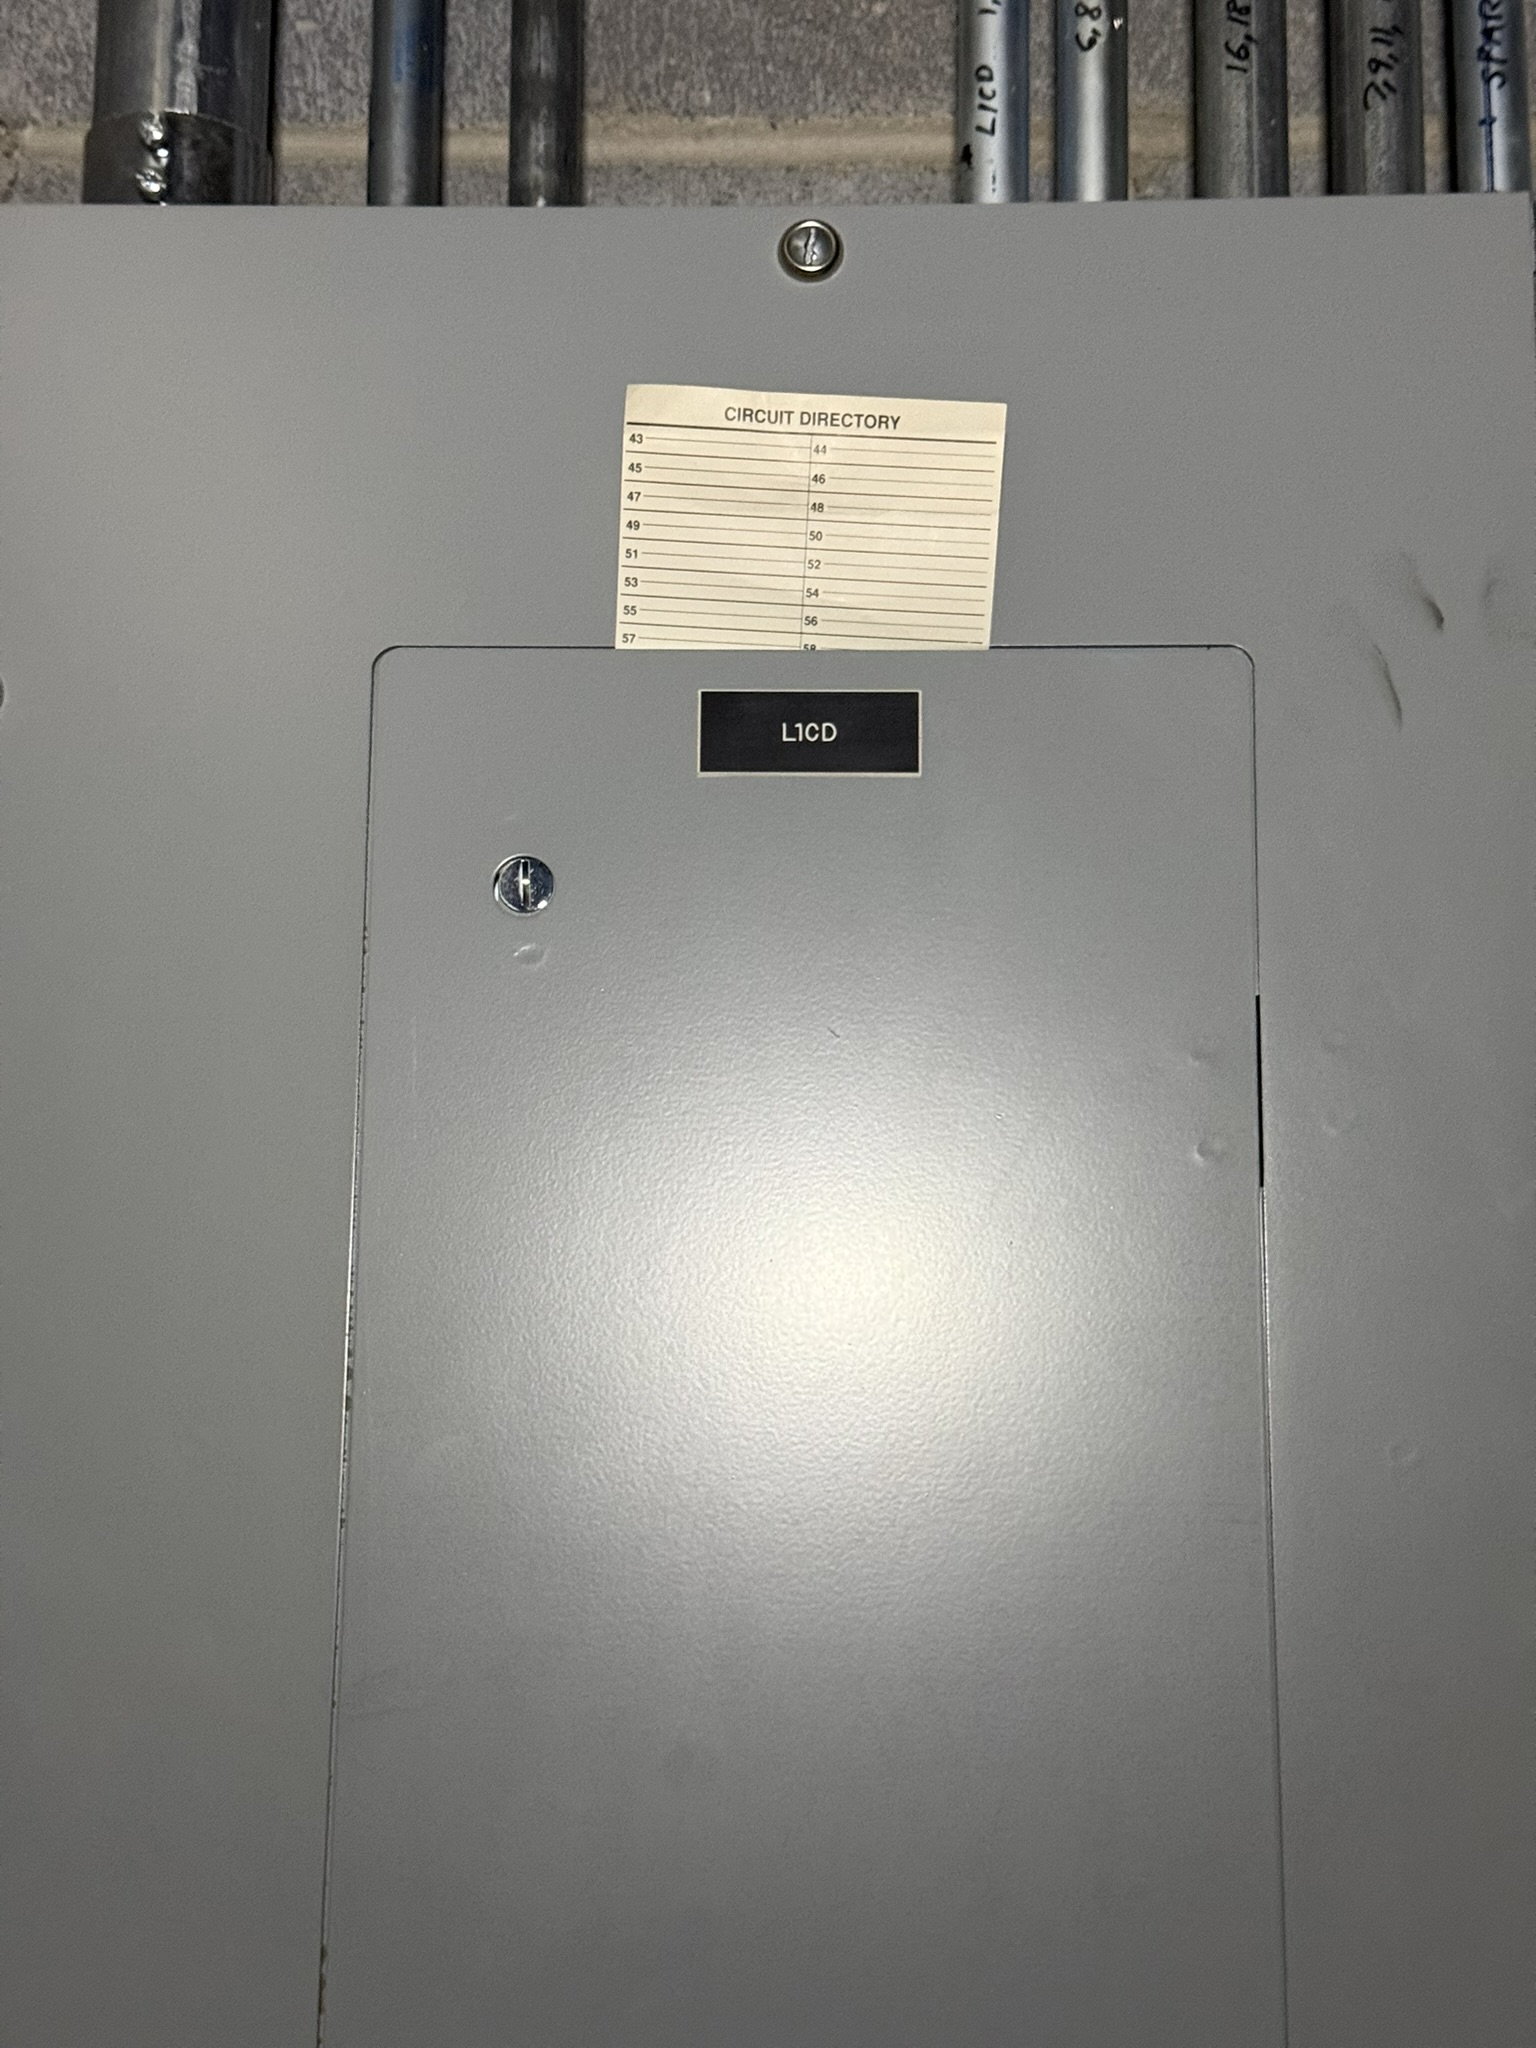
L1CD

L1CE
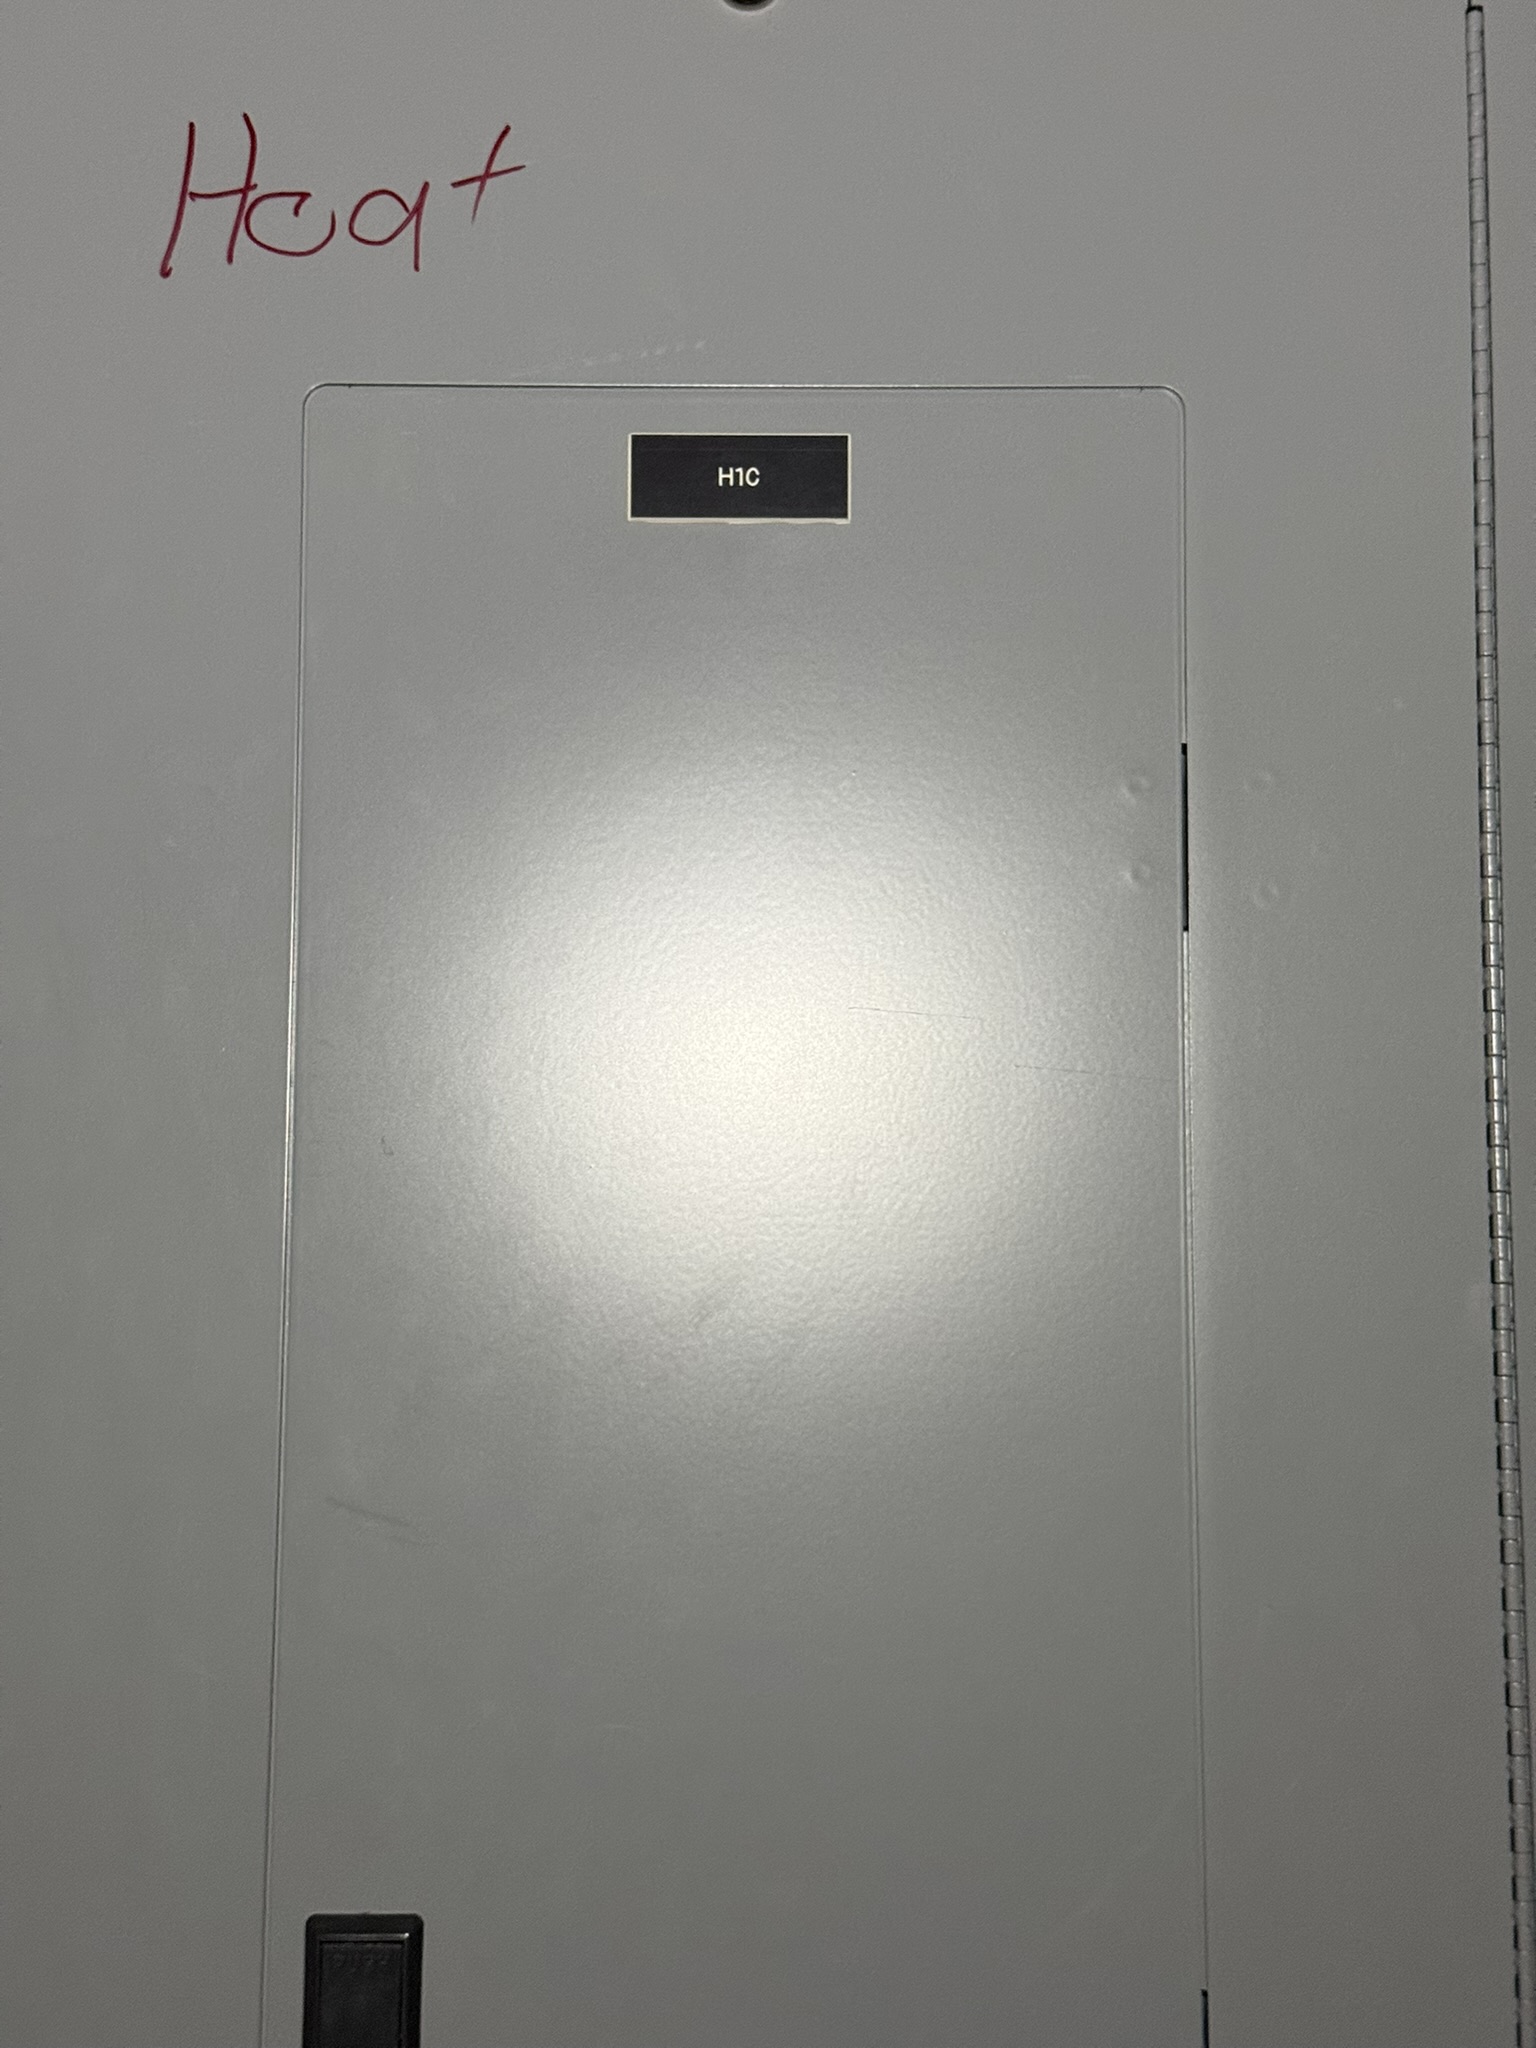
H1C
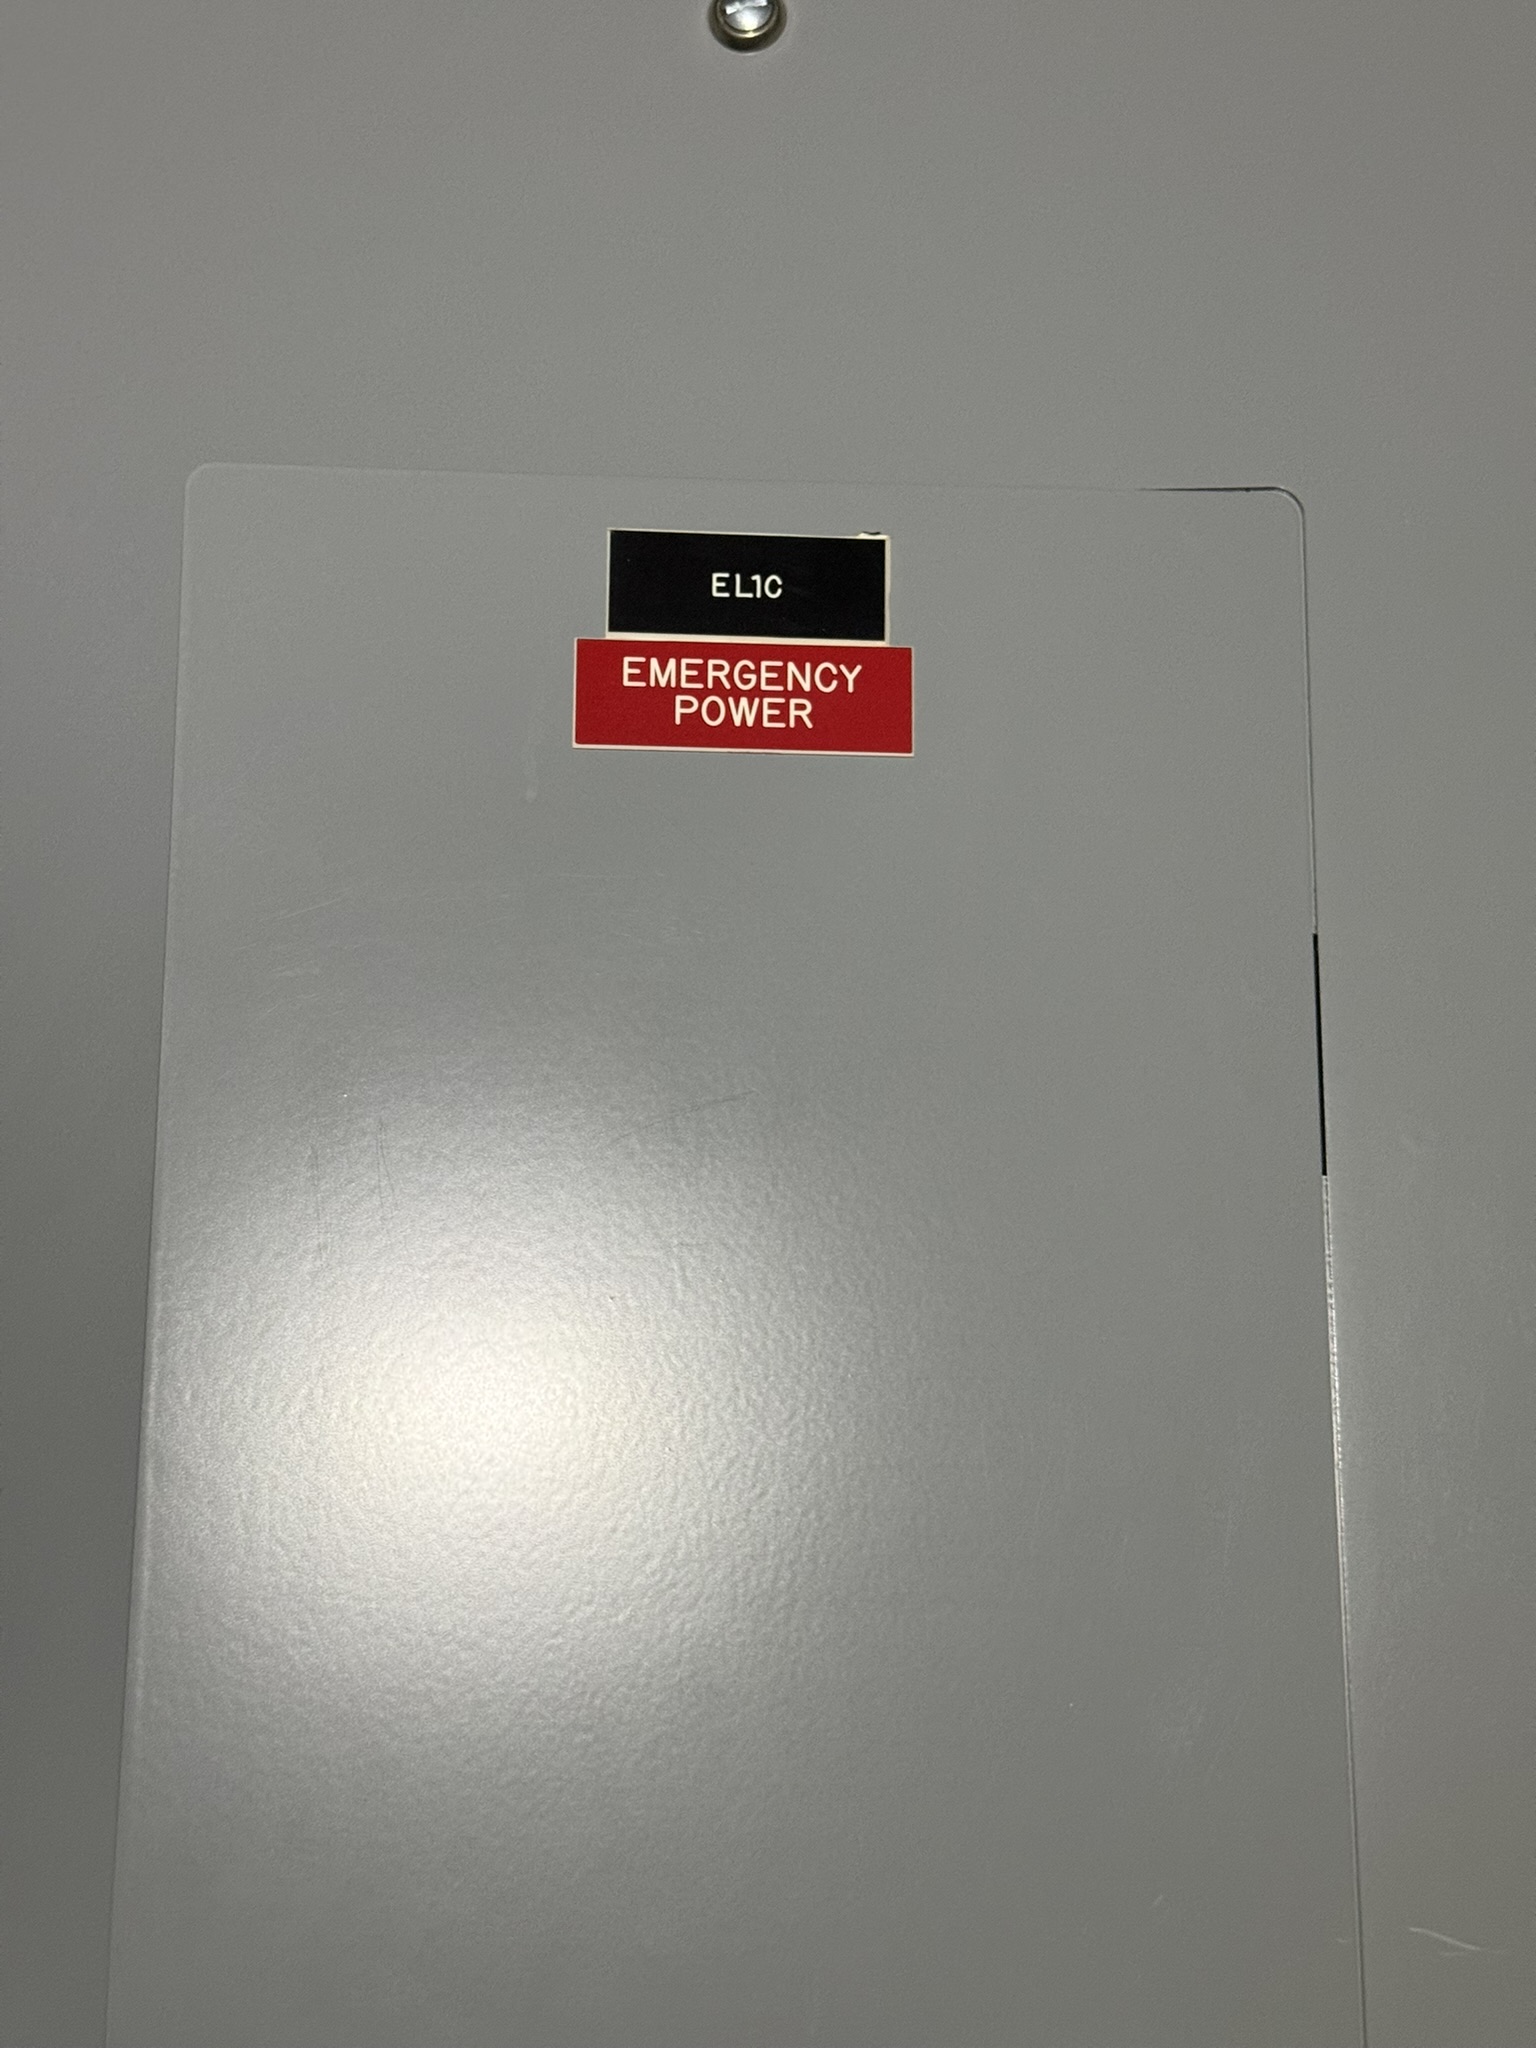
EL1C
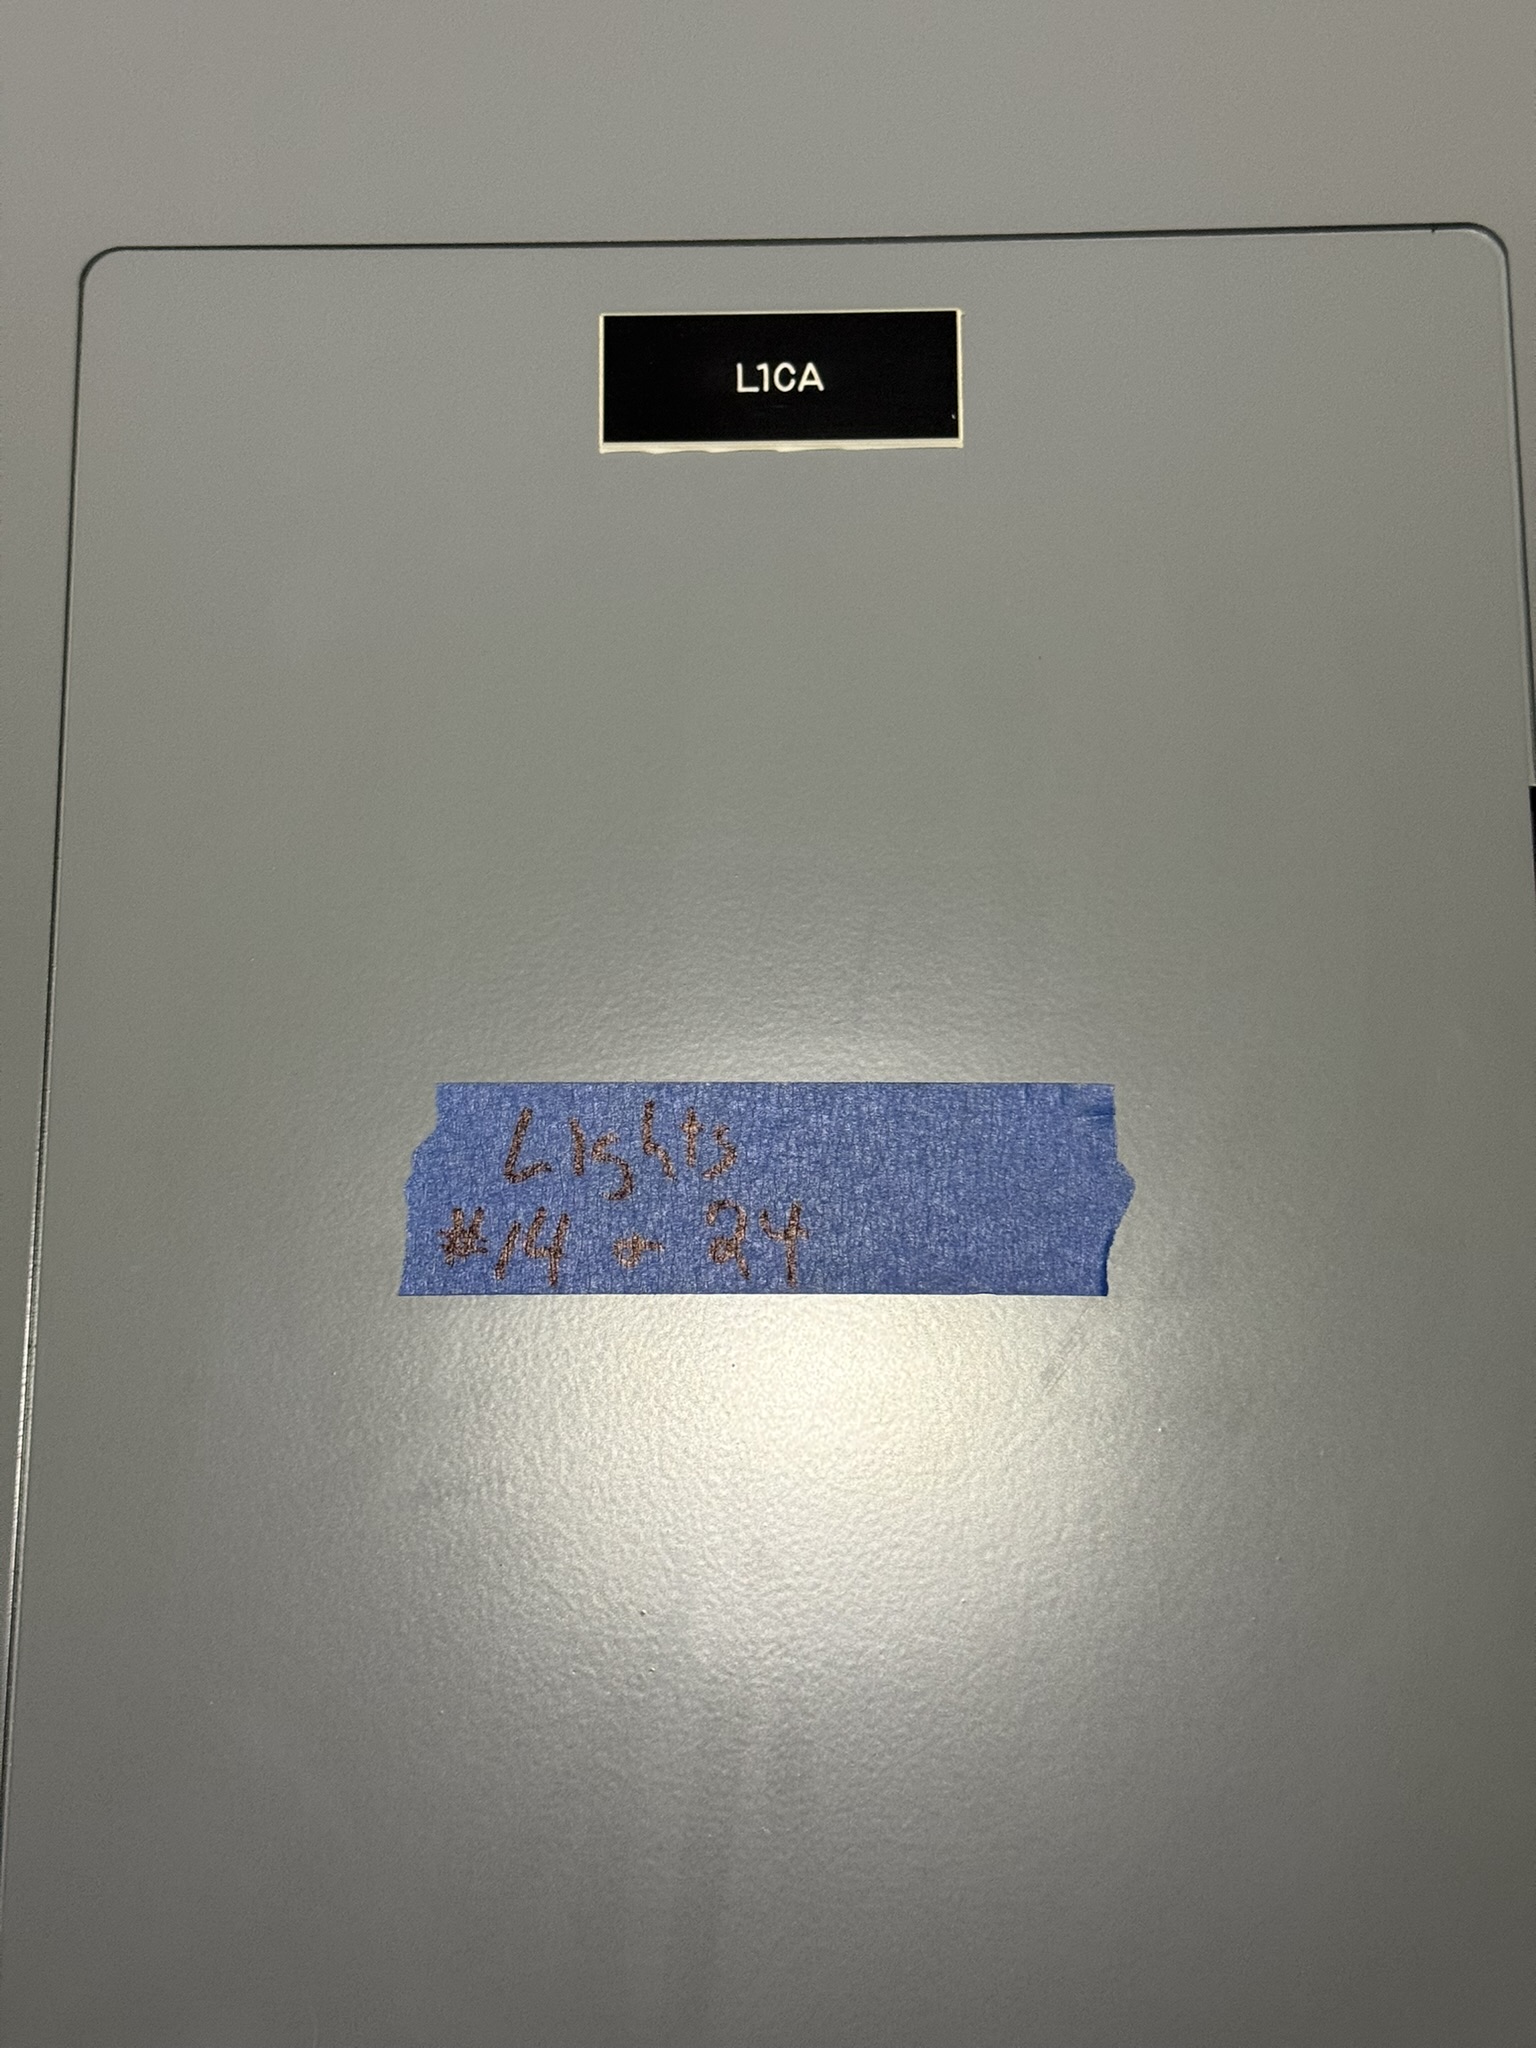
L1CA
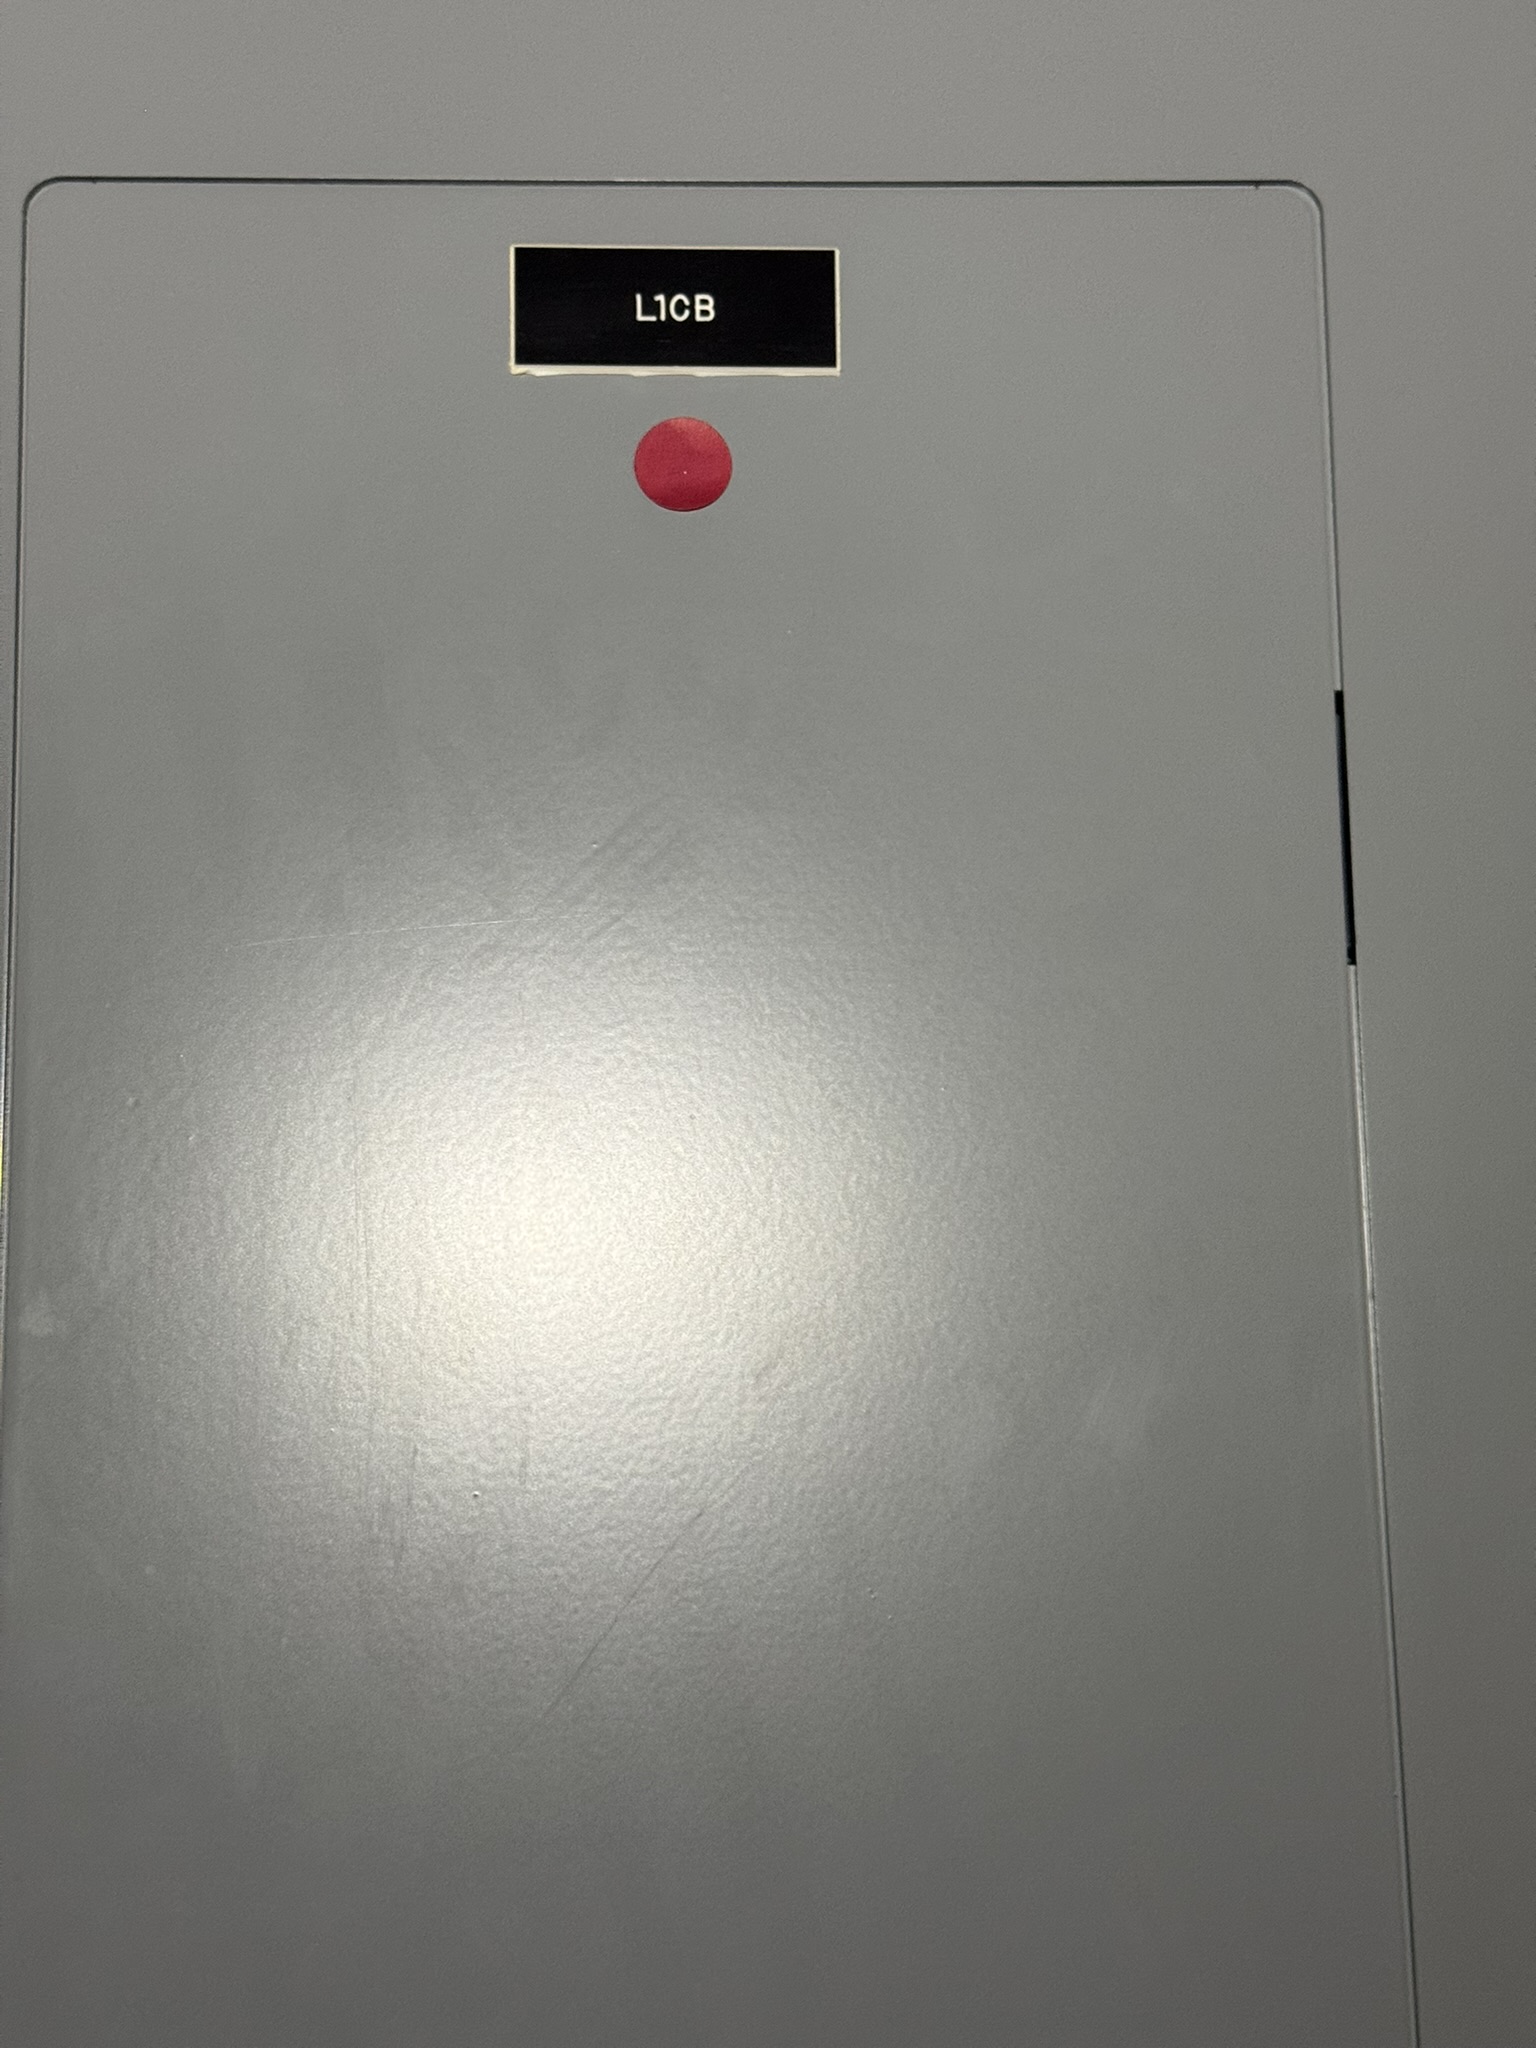
L1CB
DPL1C
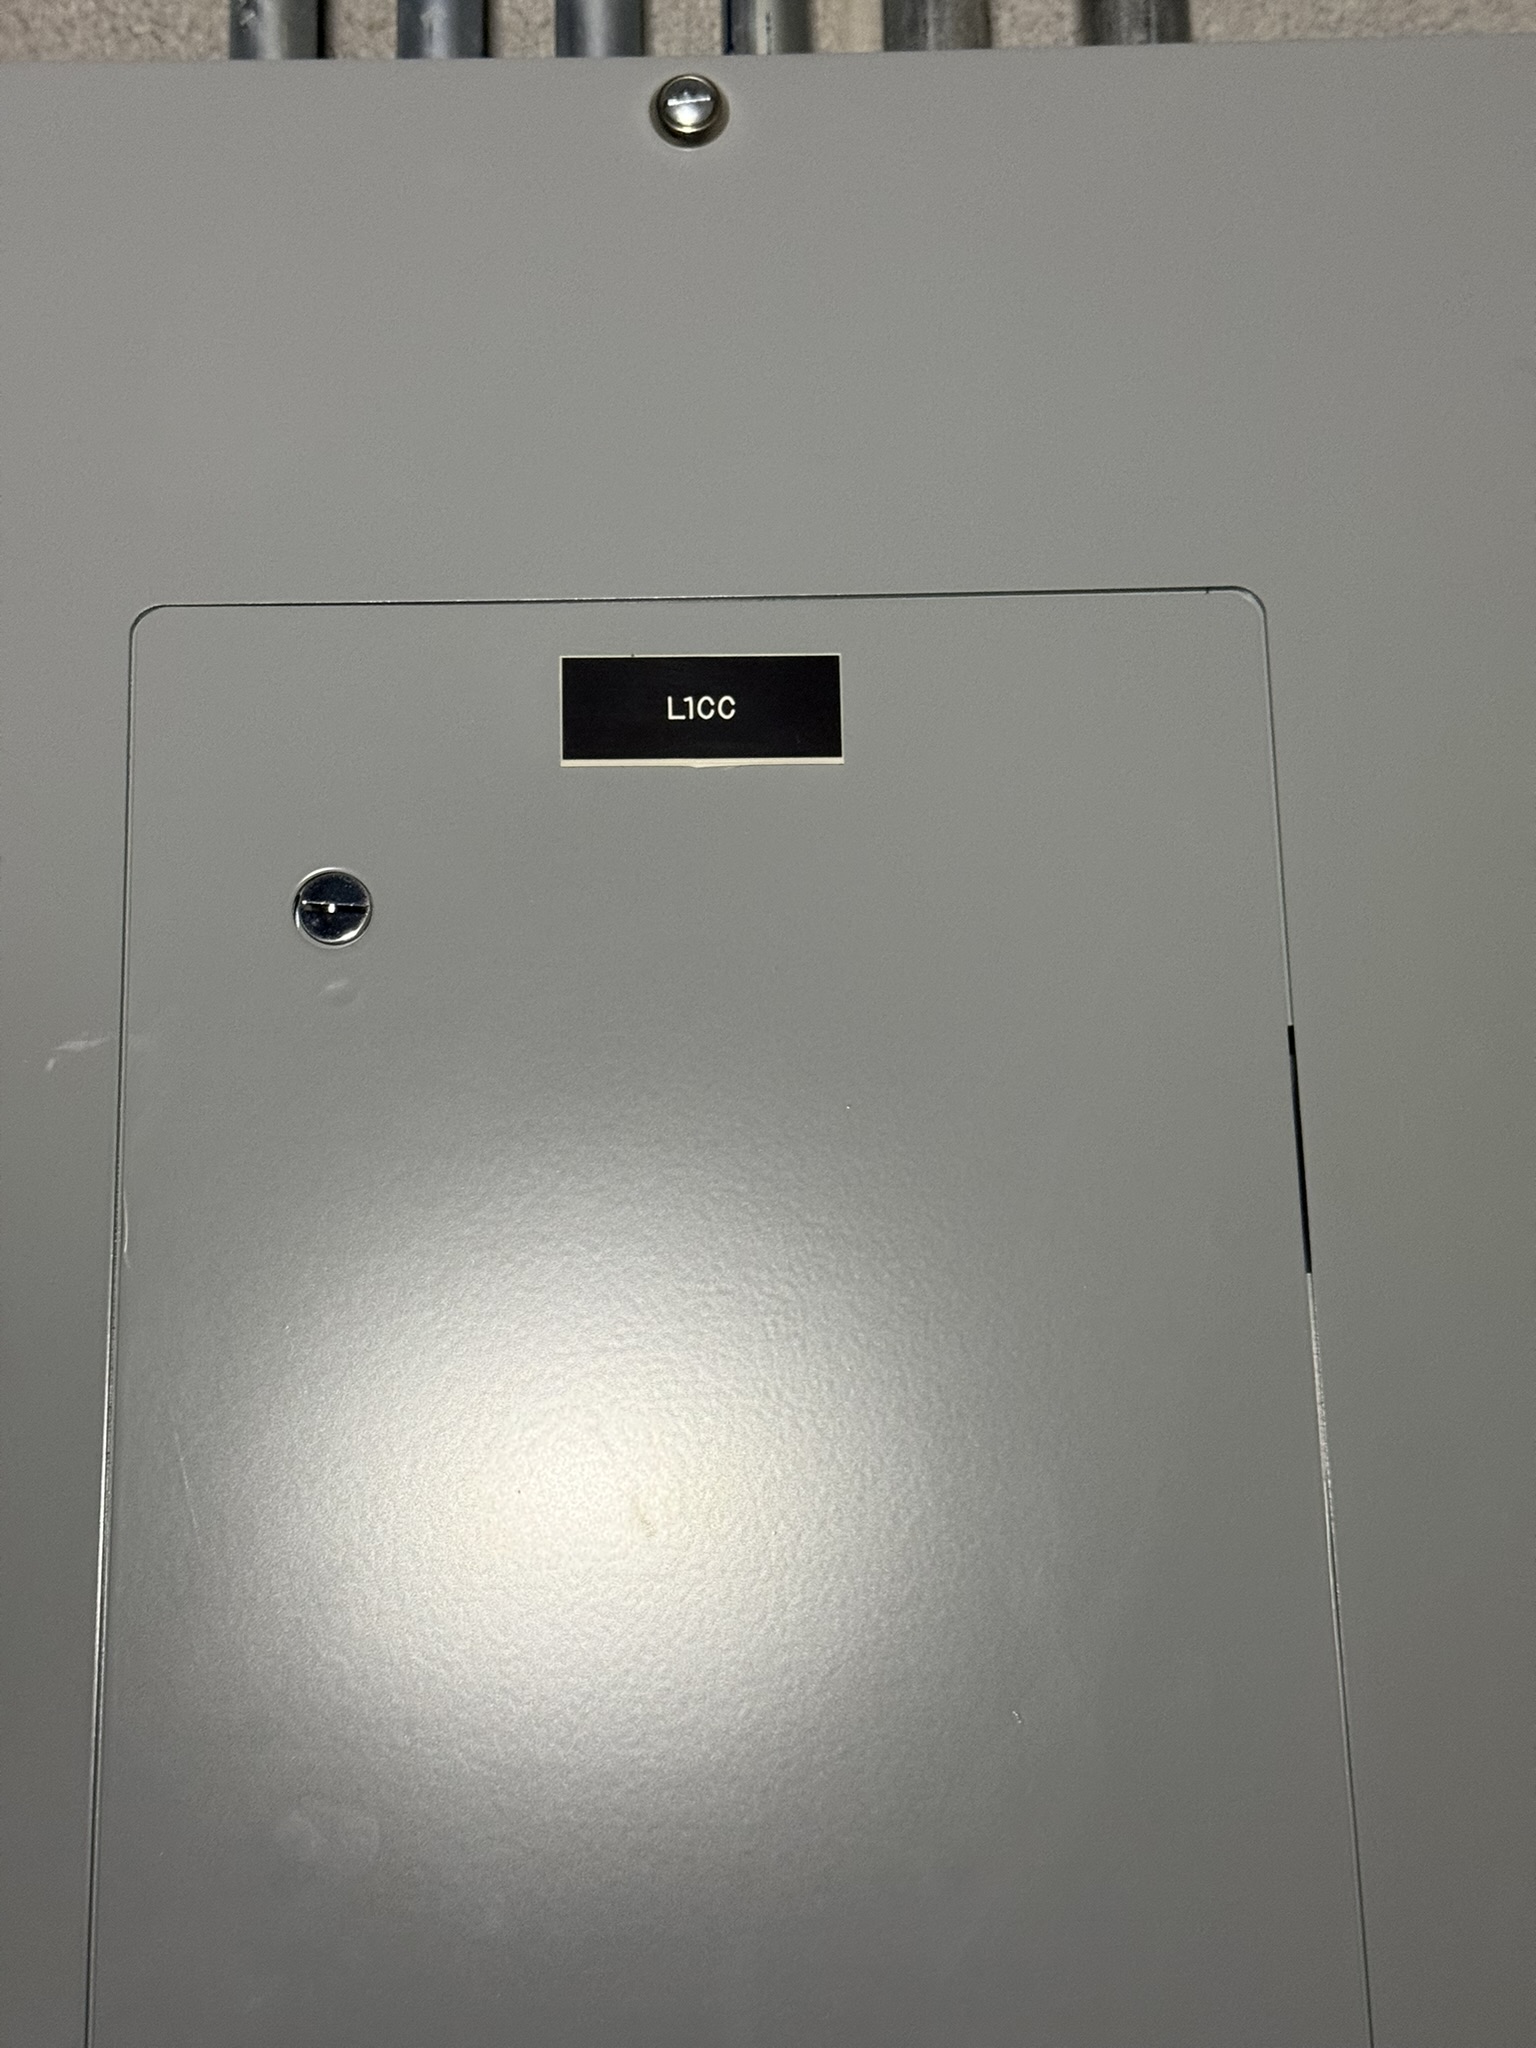
L1CC
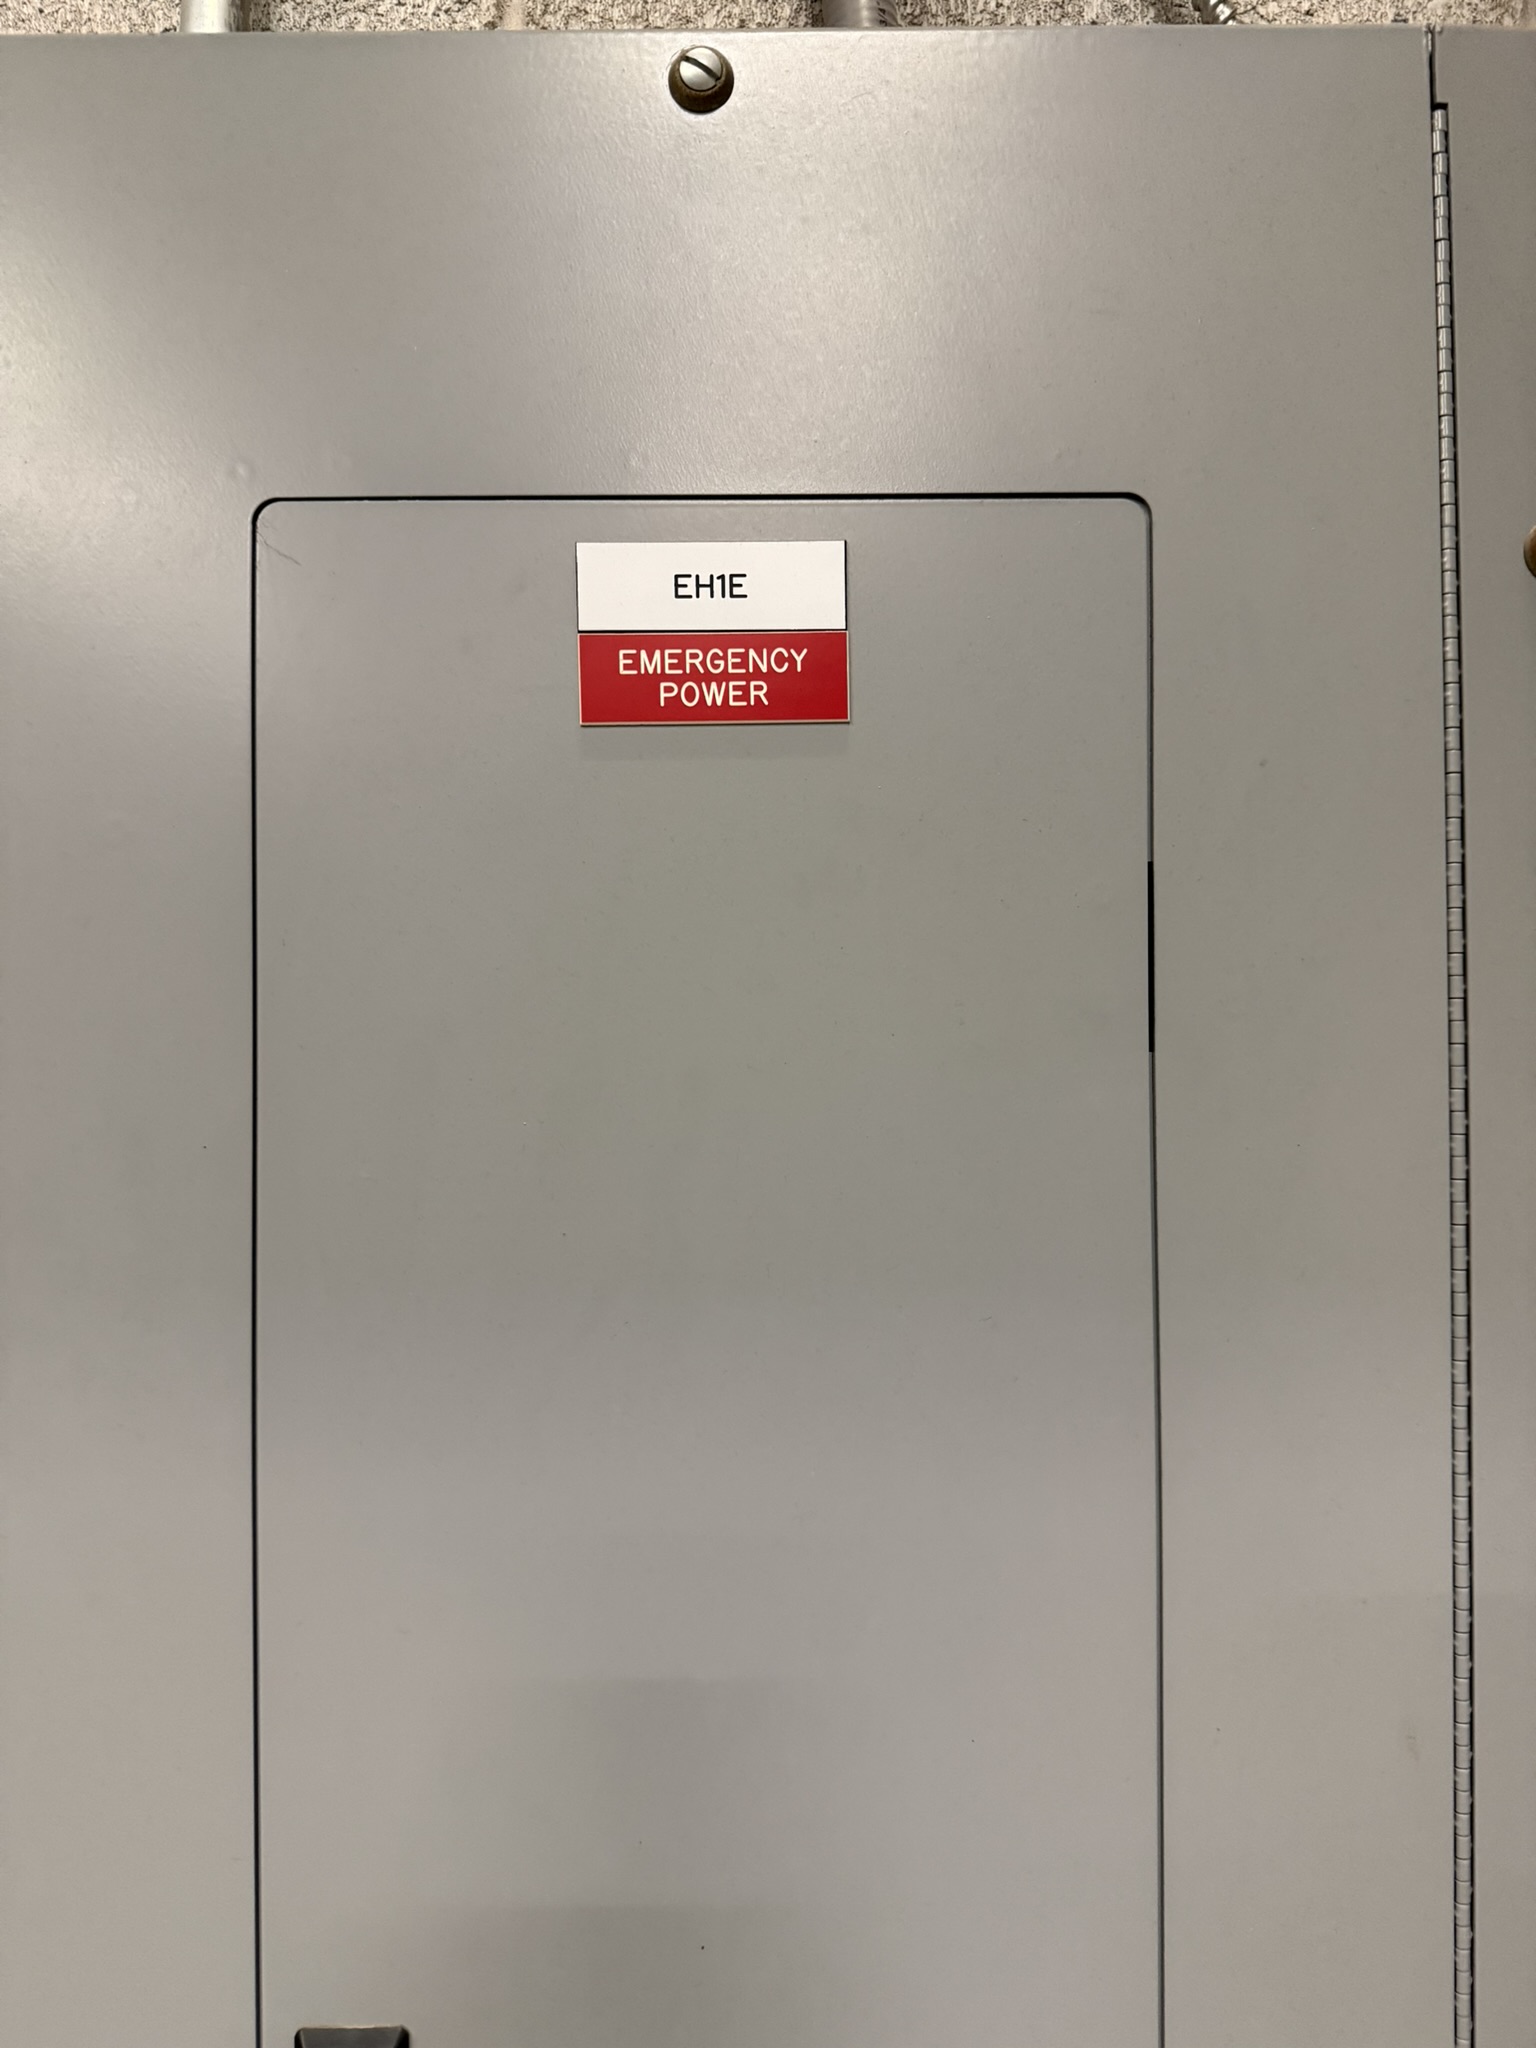
EH1E

EL1E
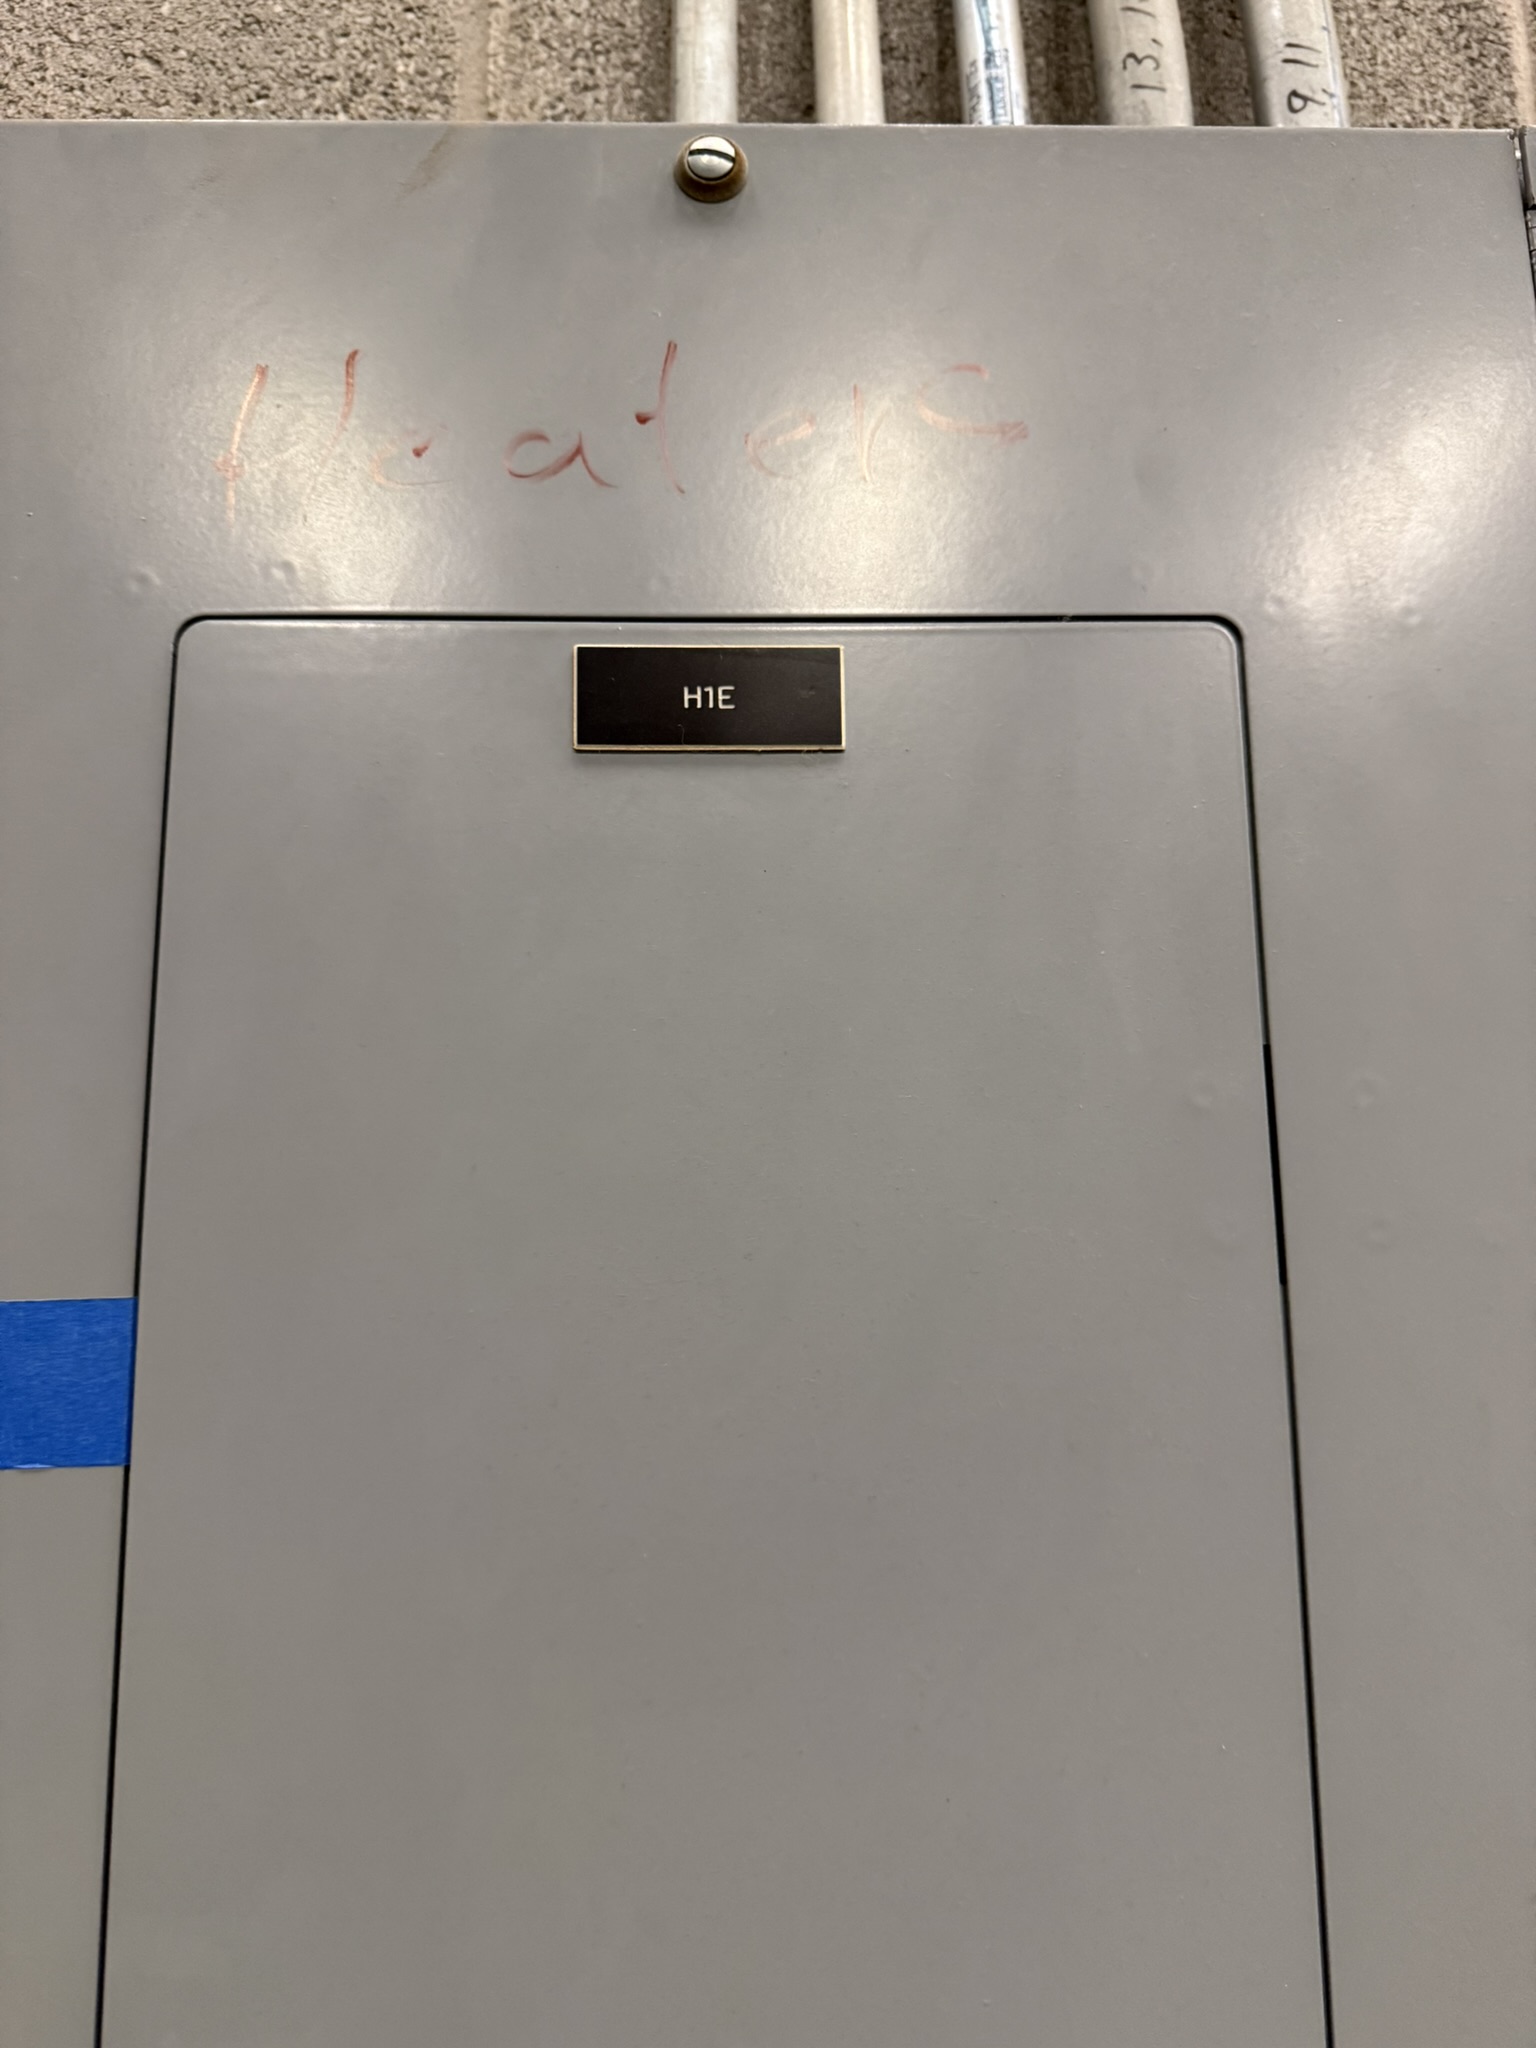
H1E
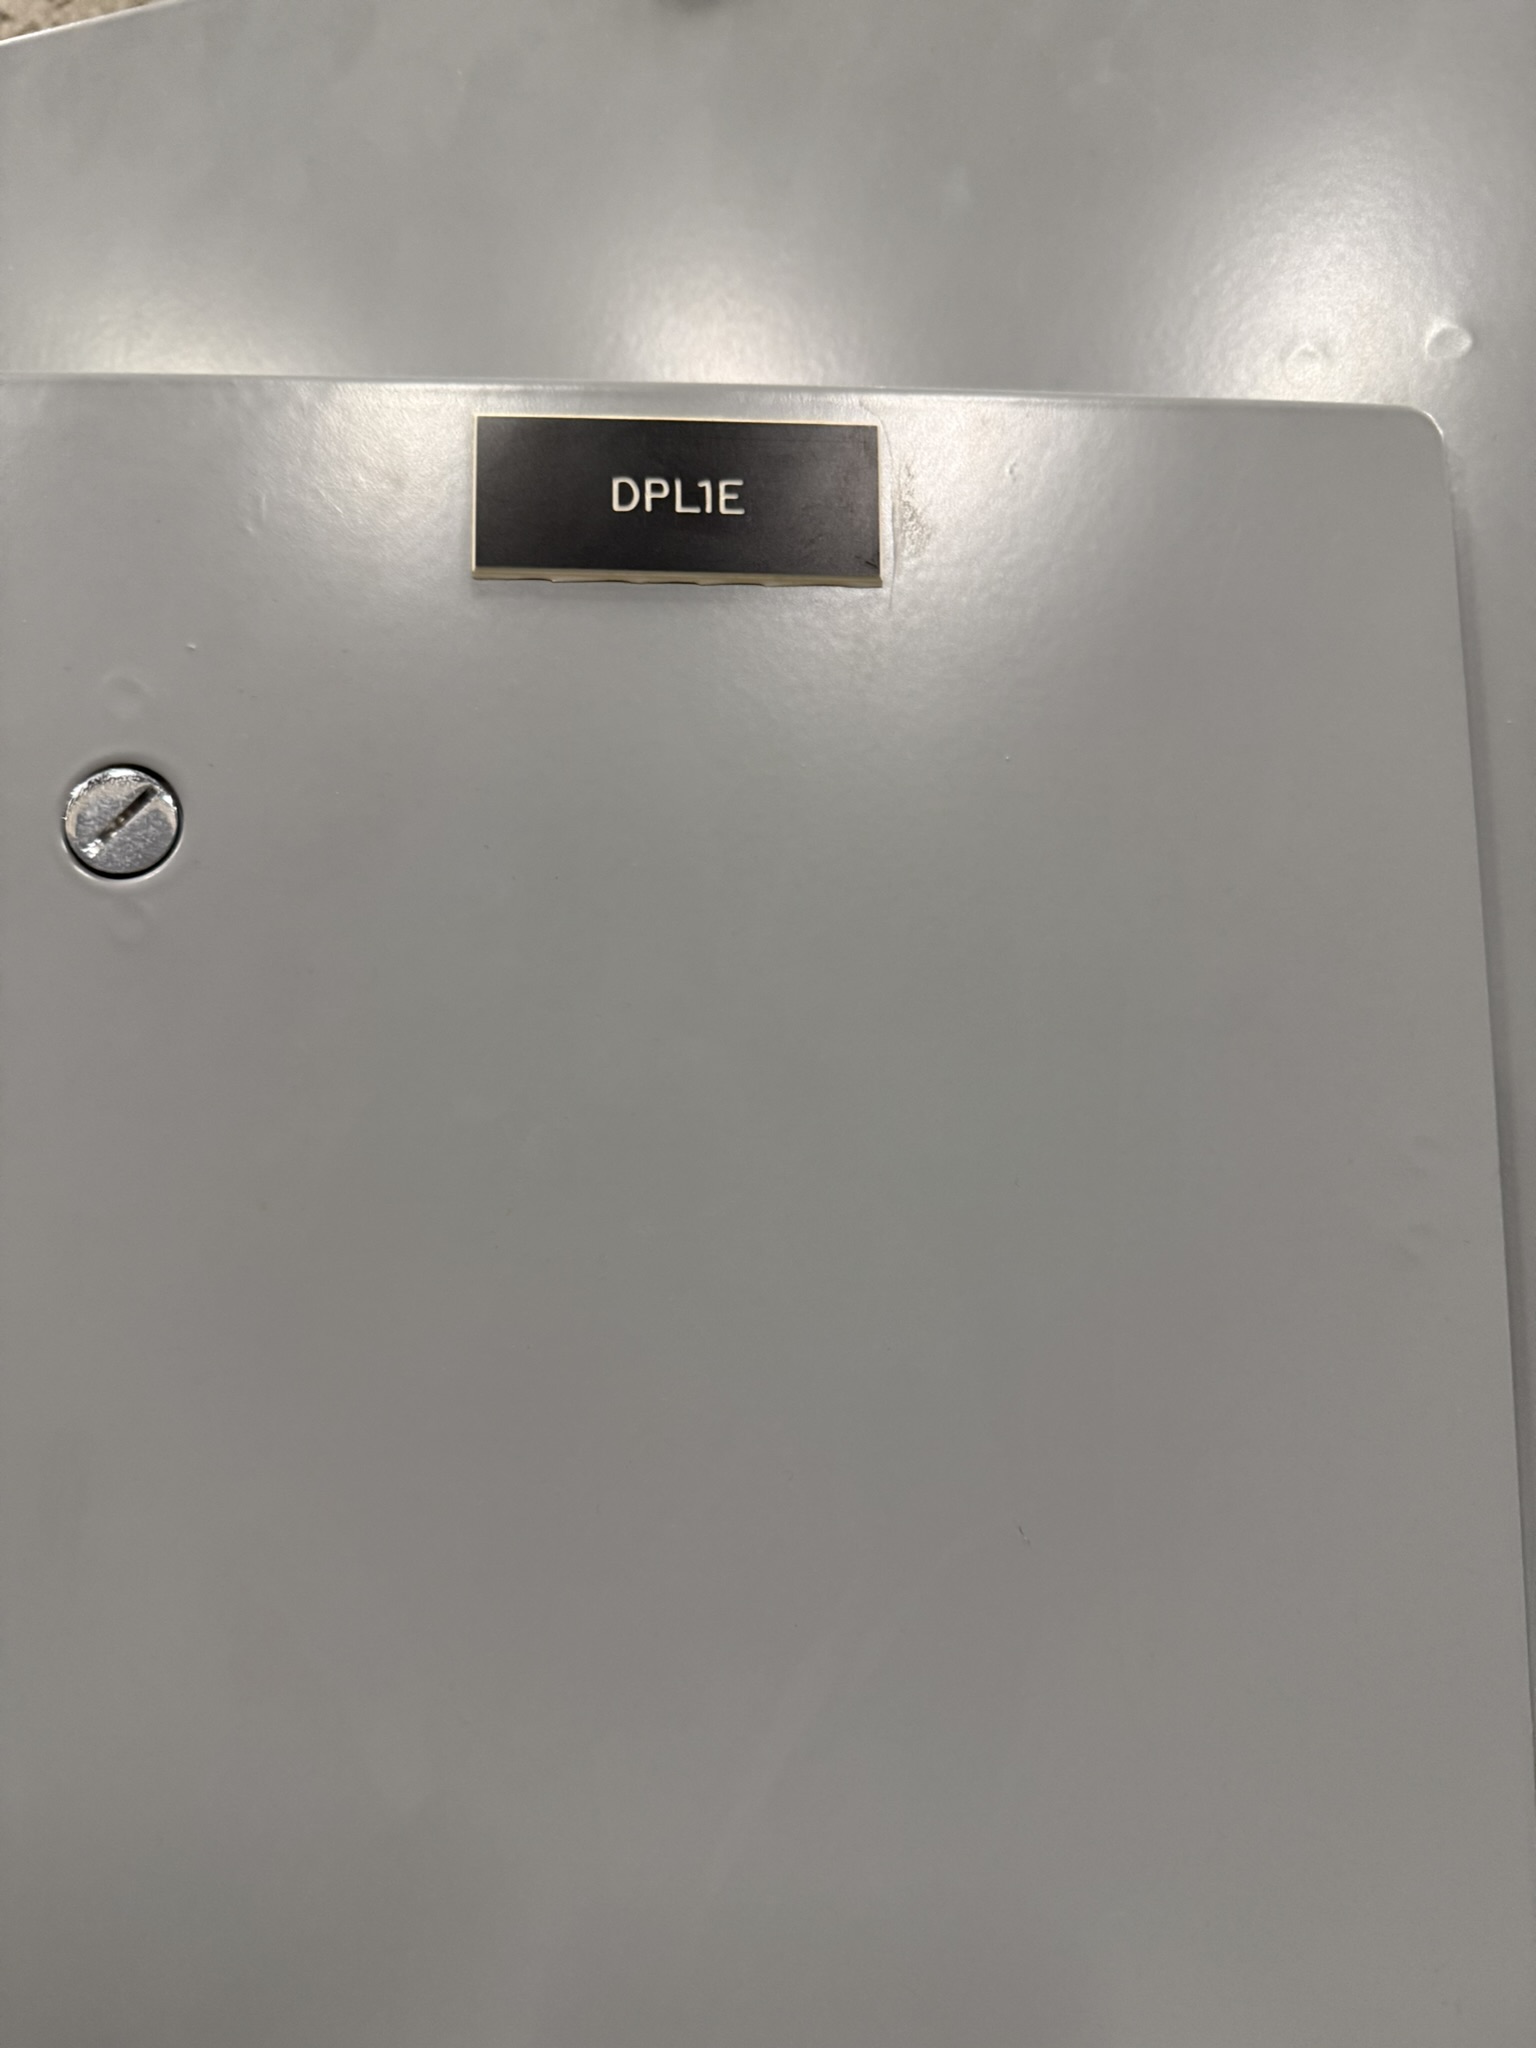
DPL1E
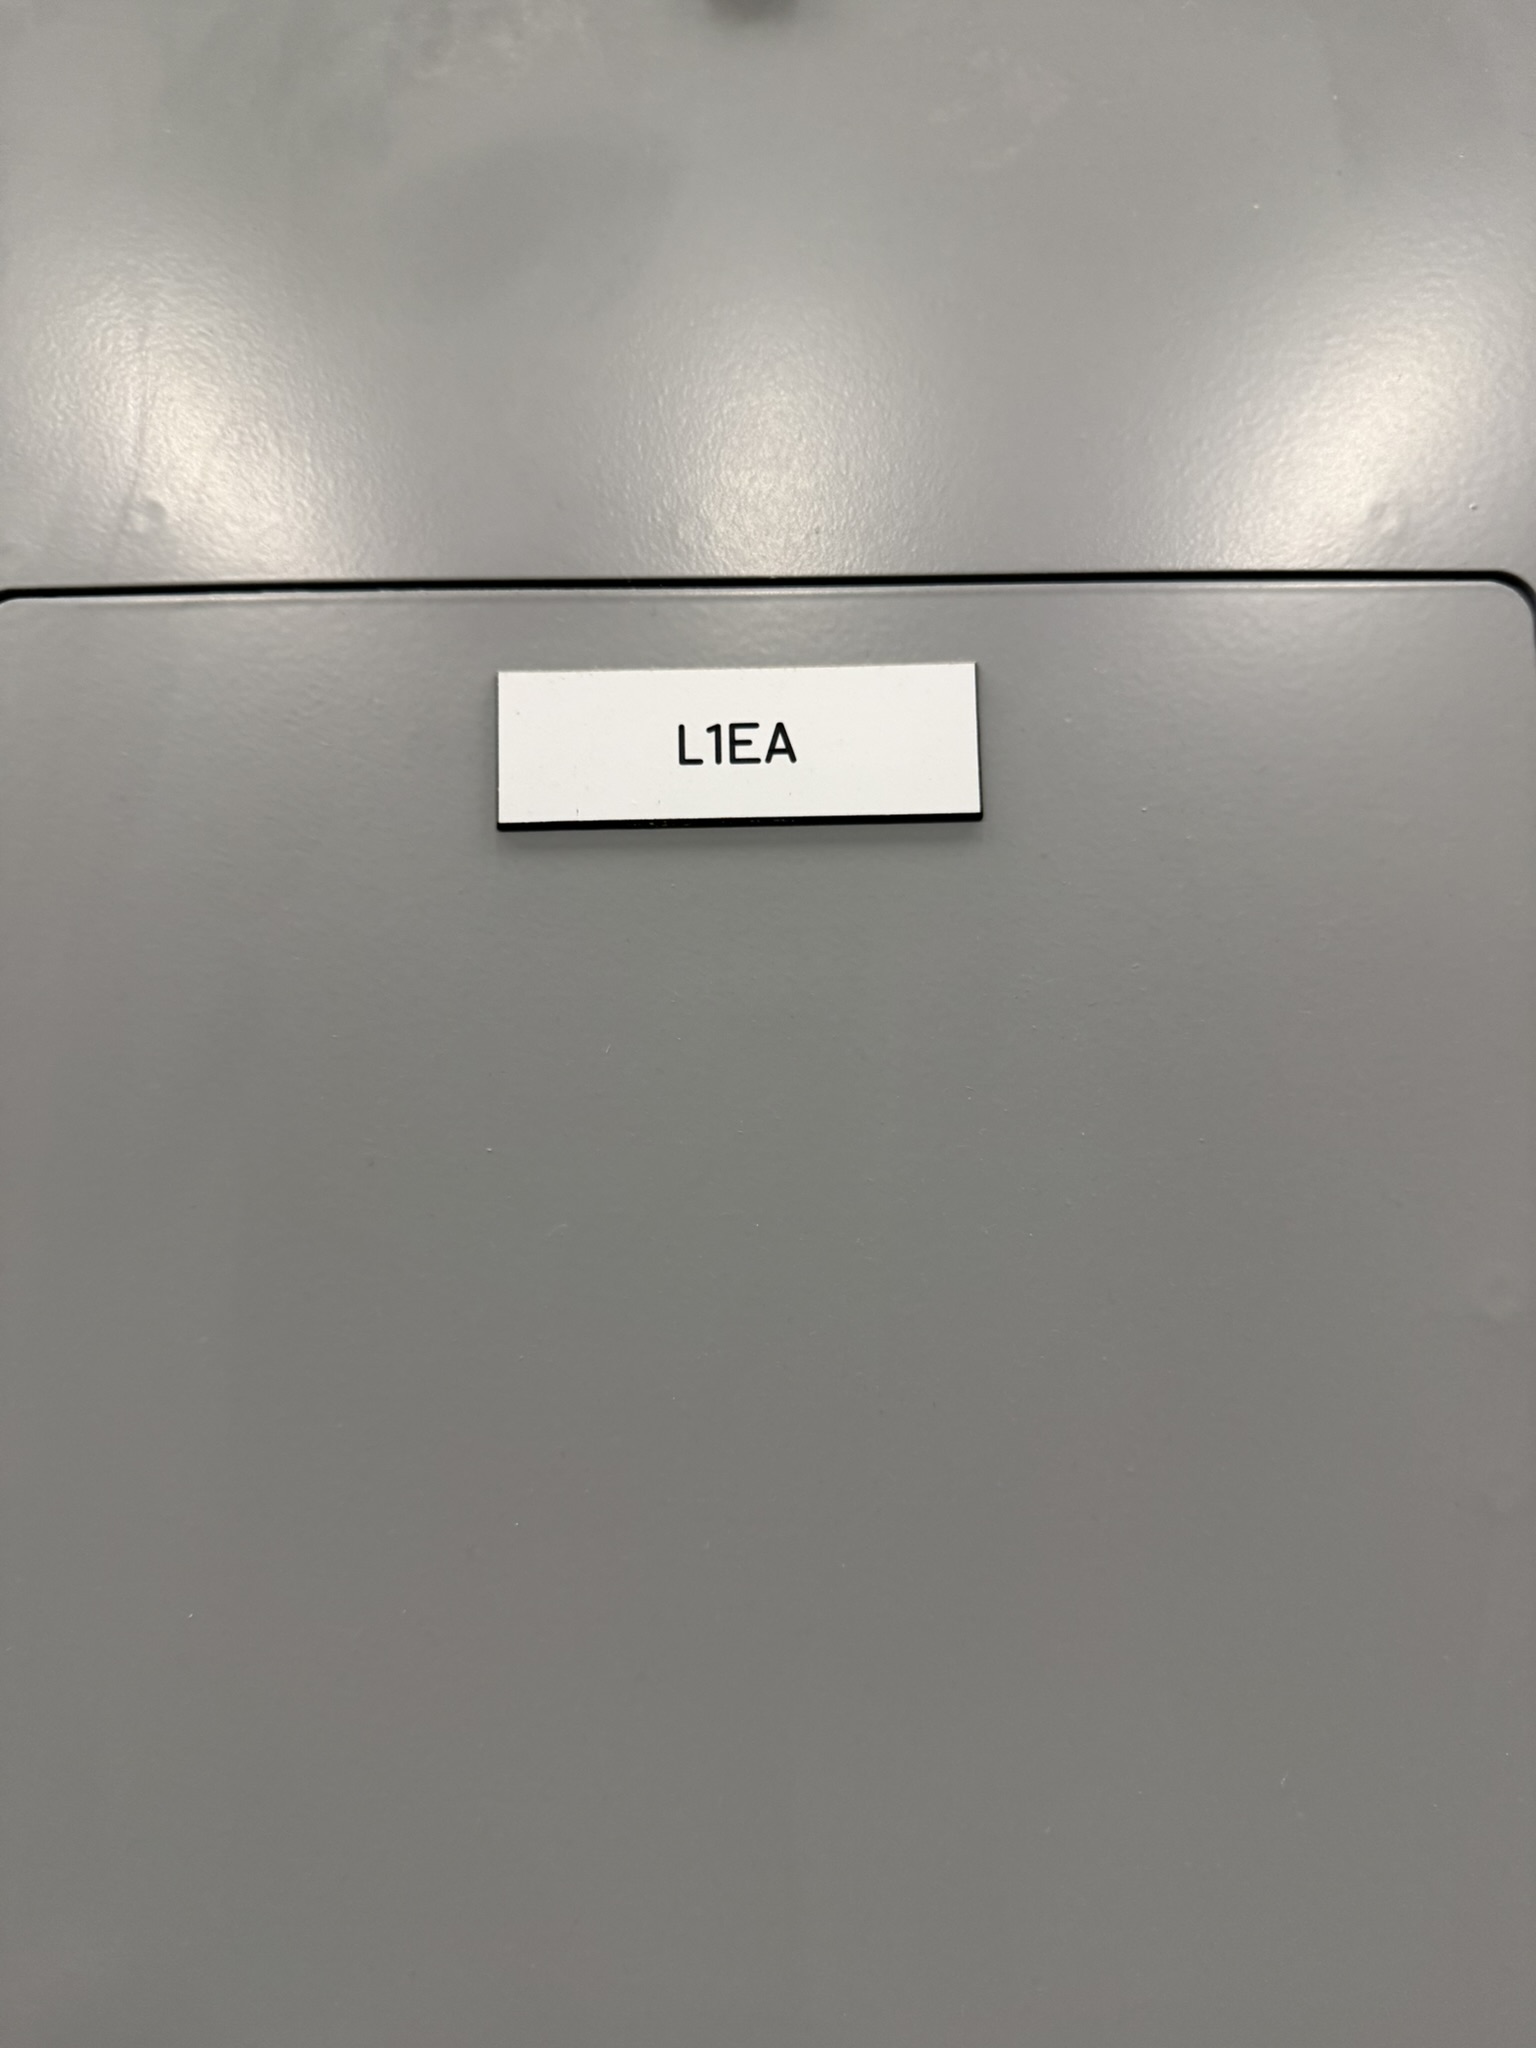
L1EA
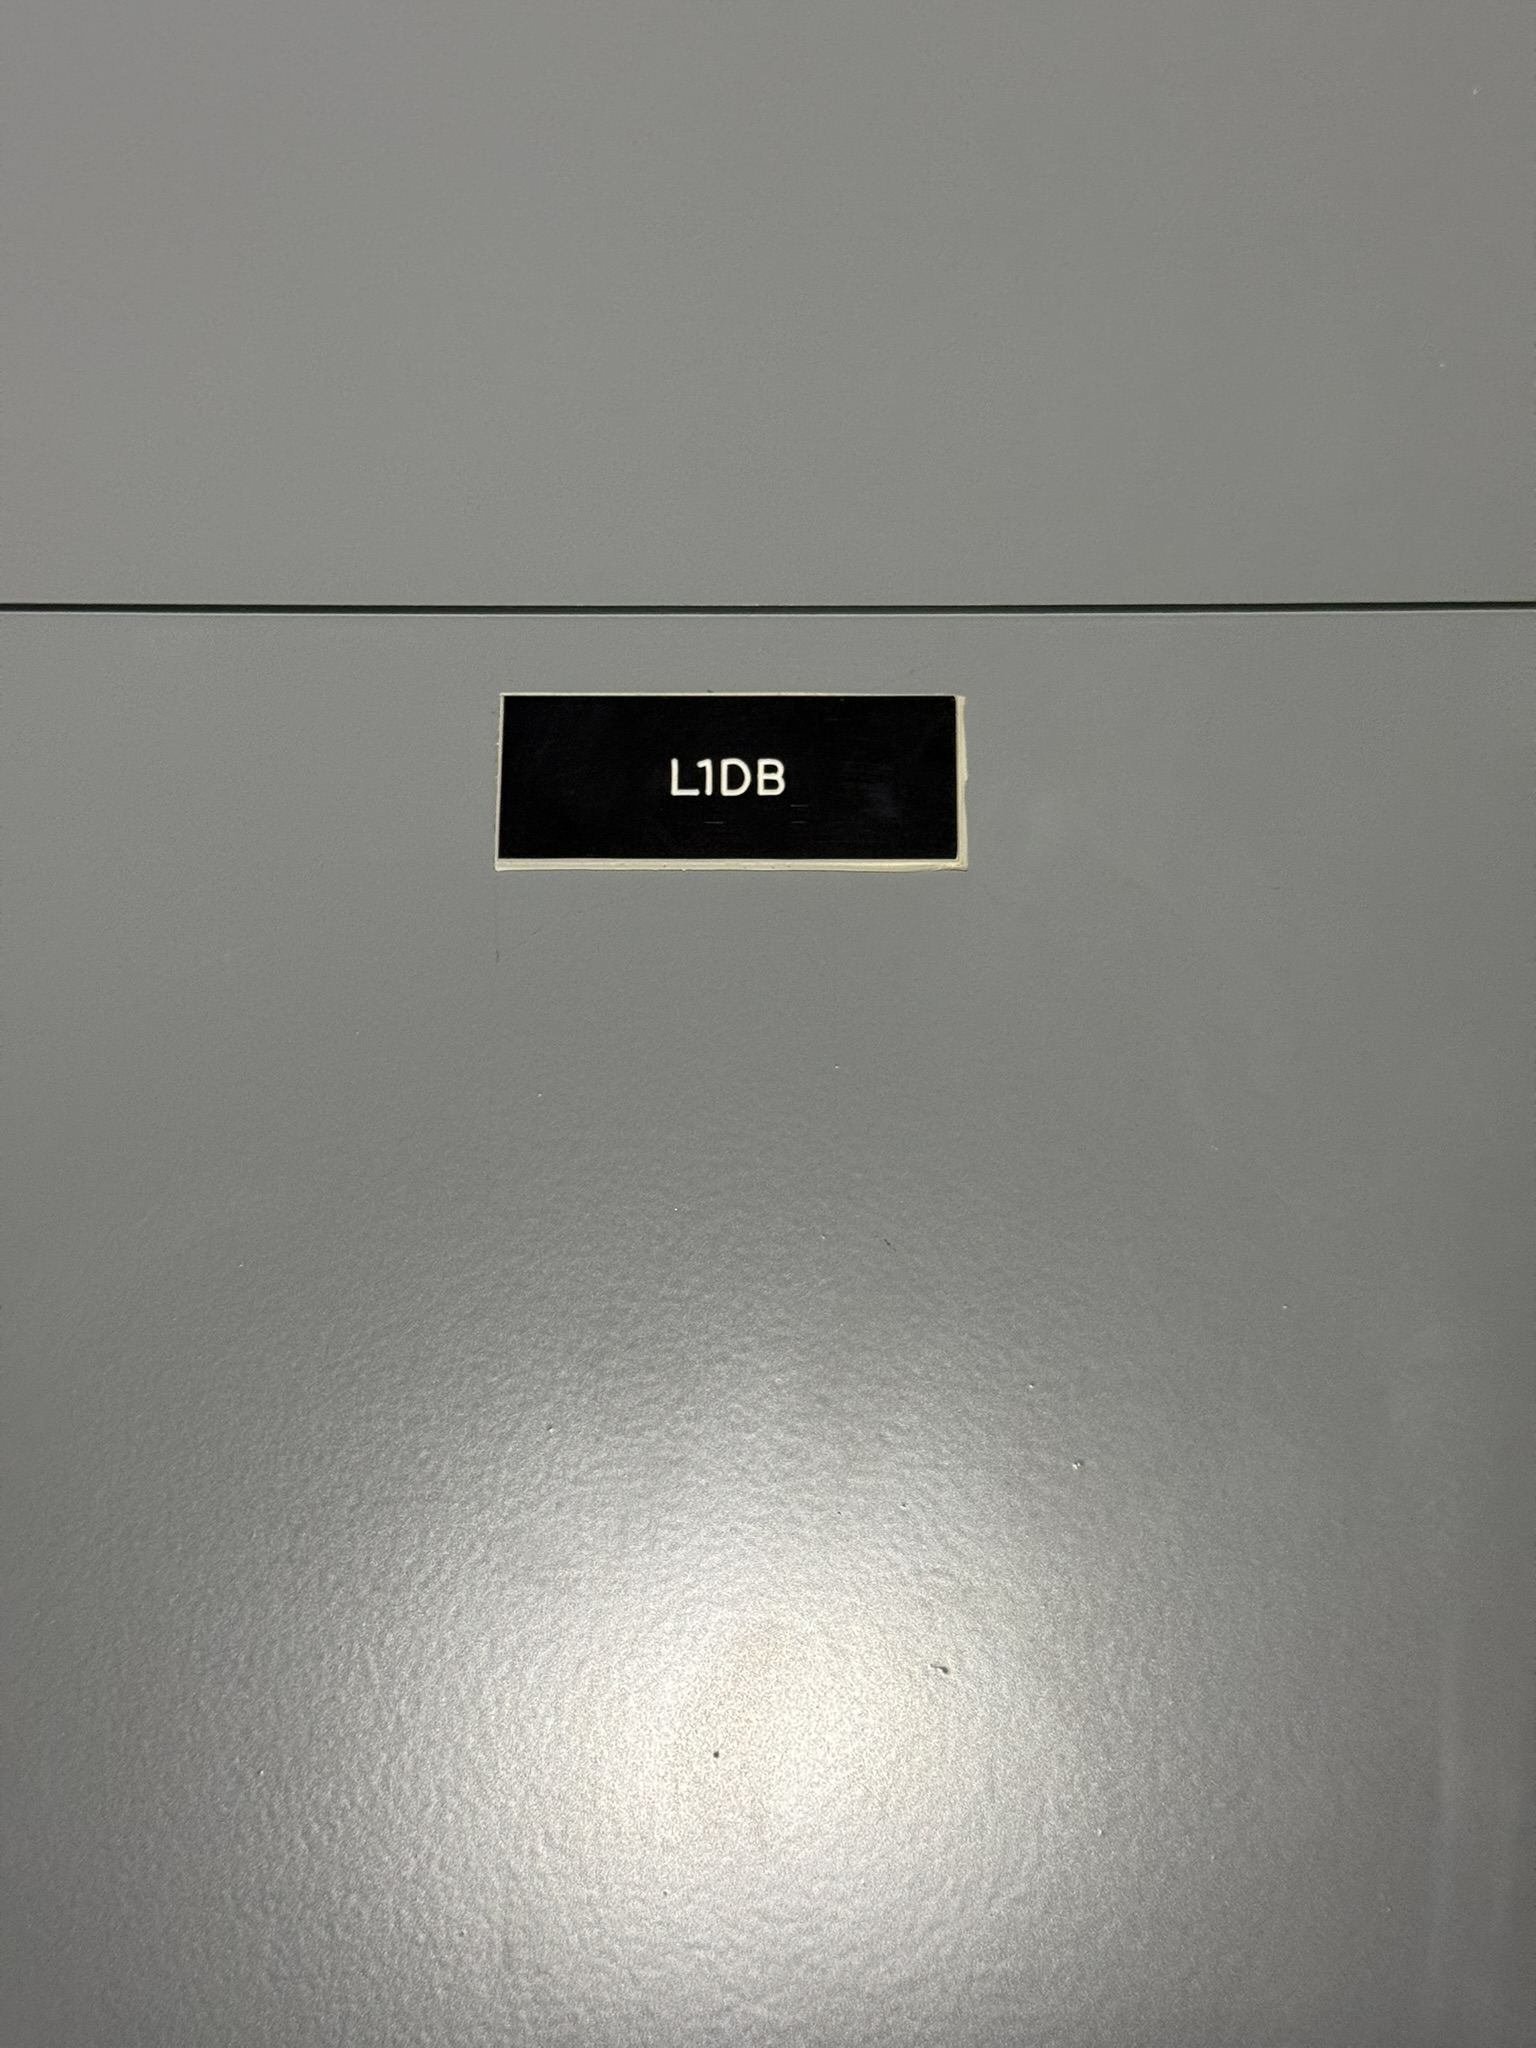
L1DB
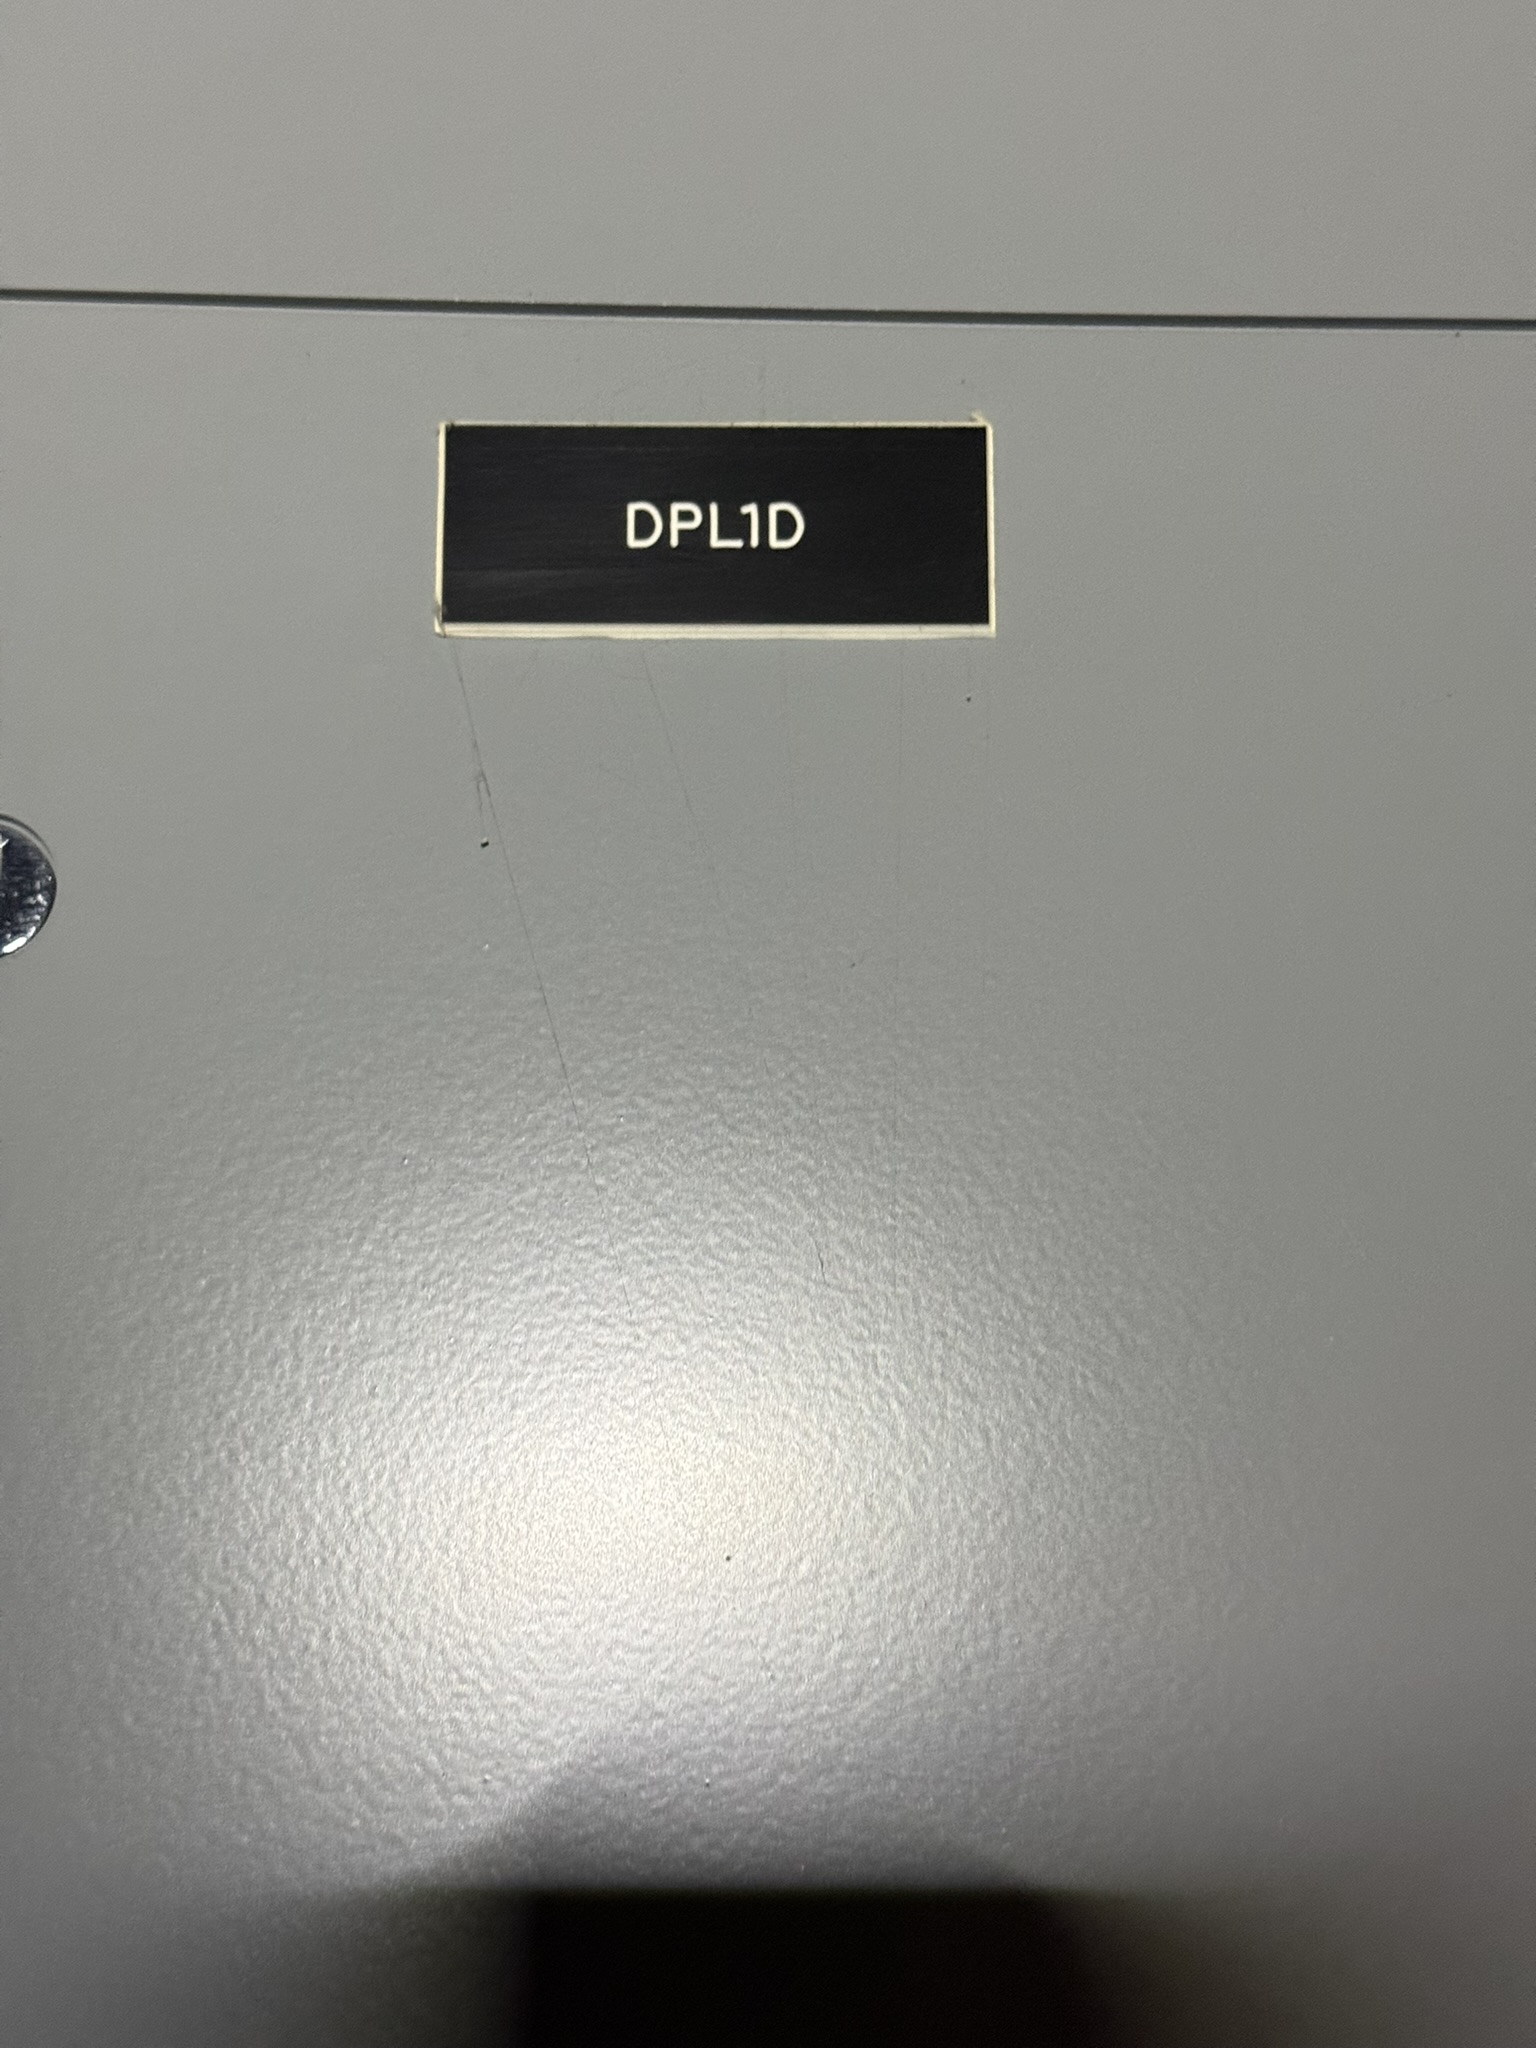
DPL1D

H1D
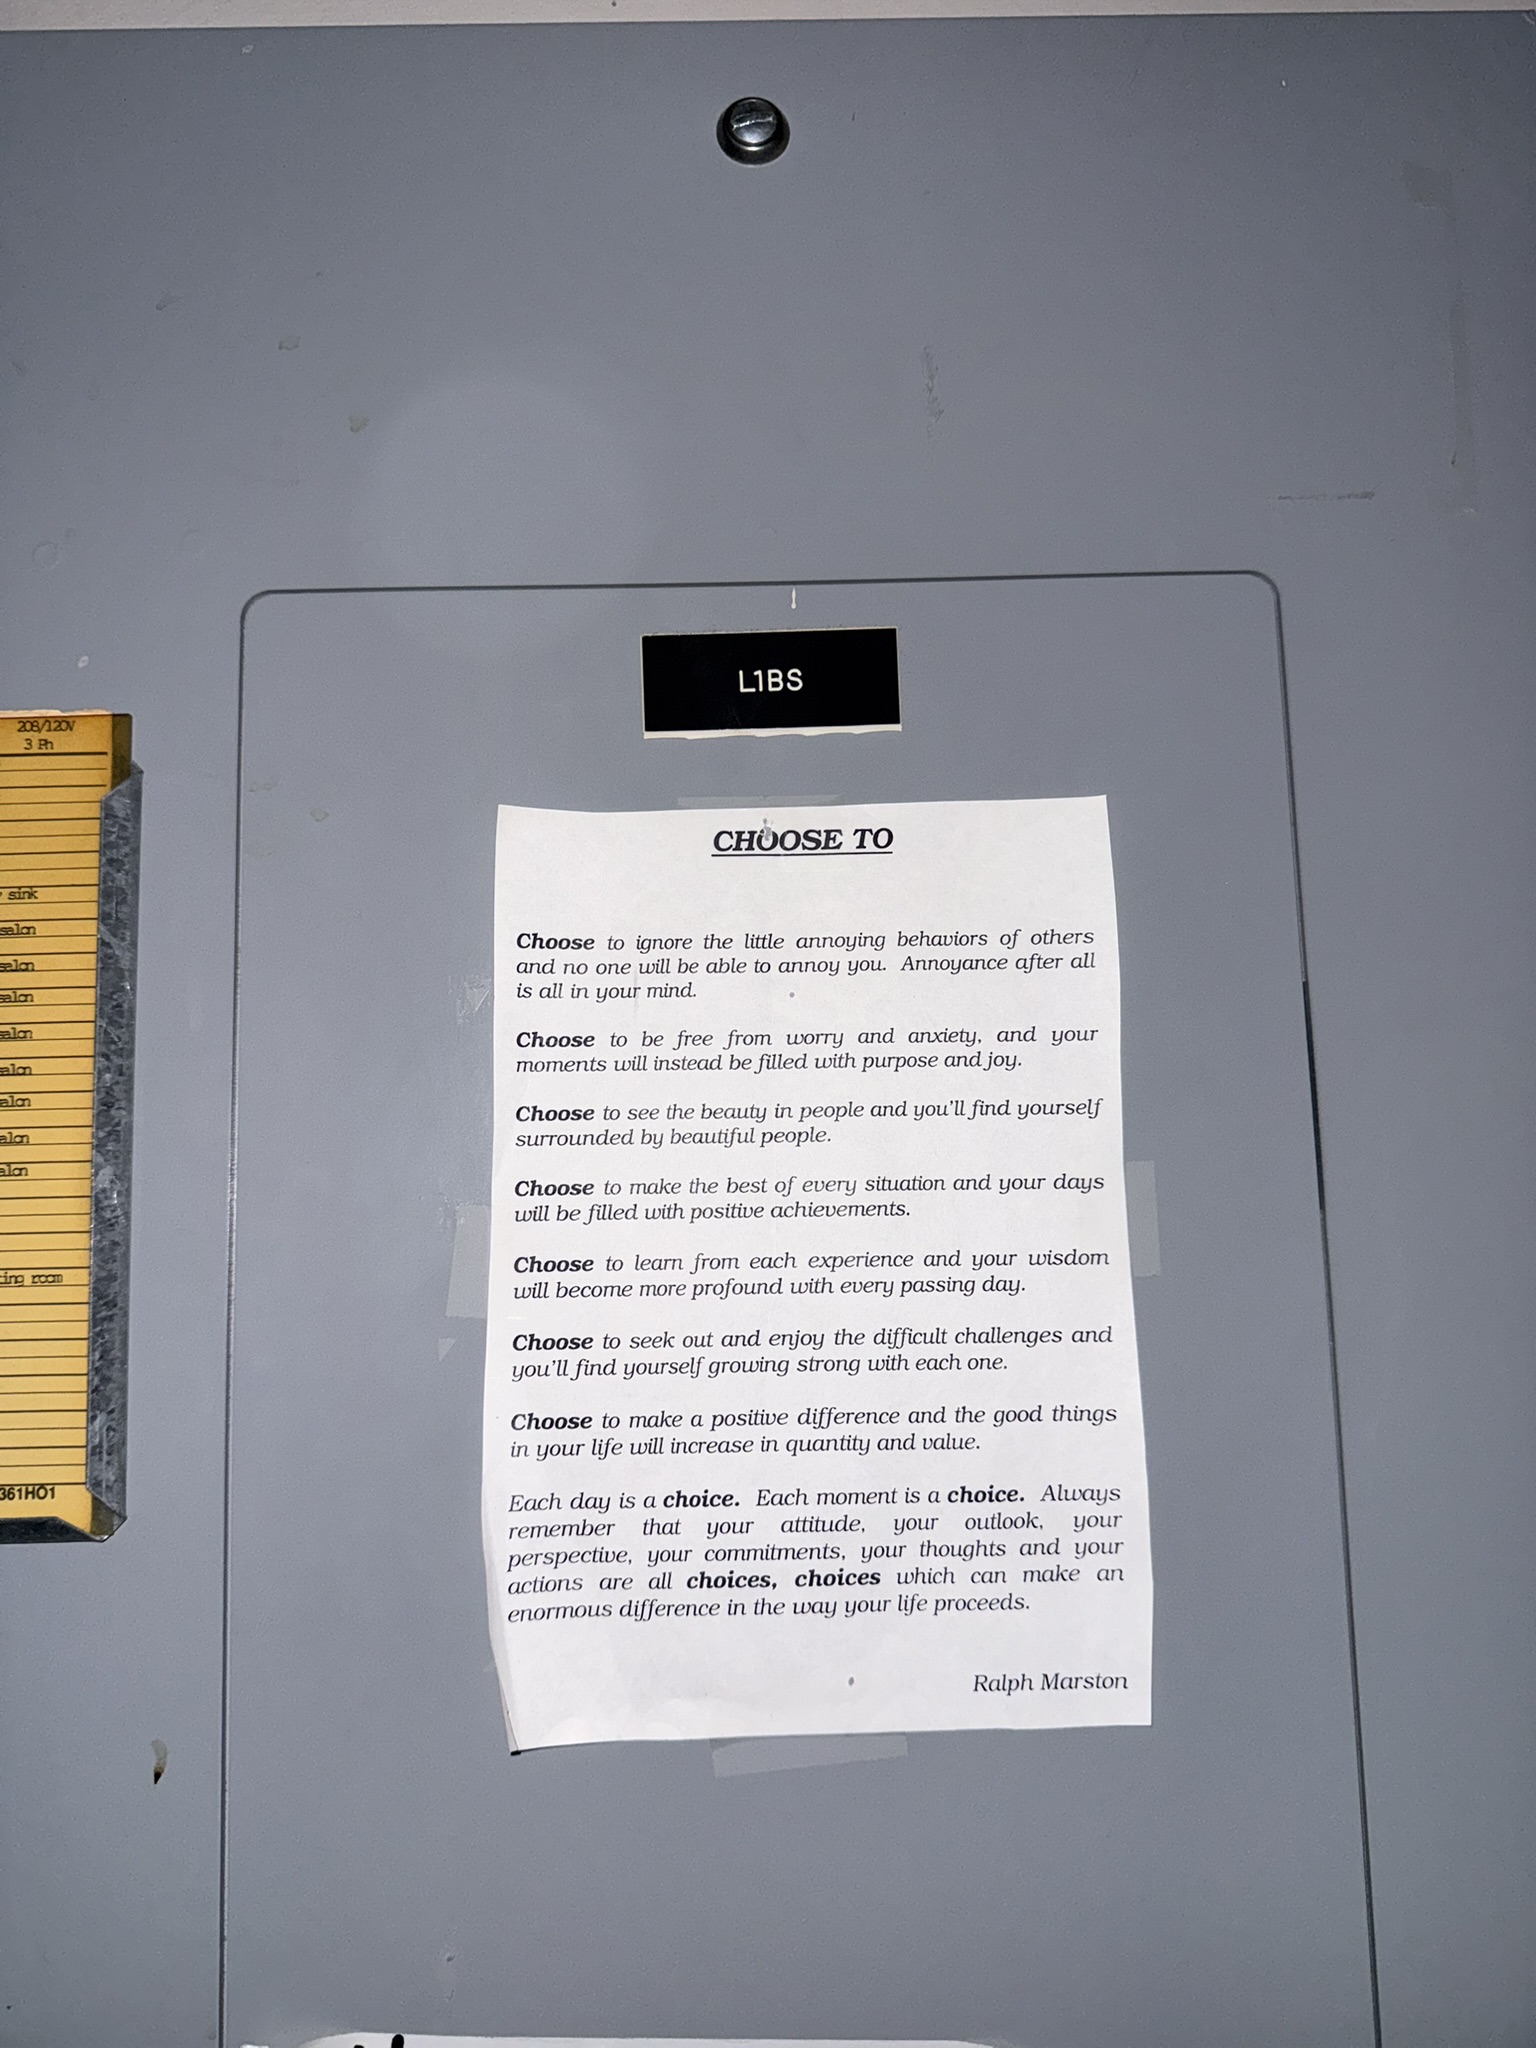
L1BS
Breaker/Label Rating - Breaker Amperage - Corresponding Transformer
| Breaker / Label | Rating / Breaker AMP | Breaker Picture | Corresponding Transformer |
|---|---|---|---|
| H1A | 200 | View Picture | |
| H1B | 200 | View Picture | |
| H1C / H2C | 400 | View Picture | |
| H1D | 200 | View Picture | |
| H1E | 200 | View Picture | |
| H2A | 200 | View Picture | |
| H2B | 200 | View Picture | |
| H2D | 200 | View Picture | |
| Trans L1A / L2A | 400 | View Picture | TRANS. L1A |
| Trans L1B | 200 | View Picture | TRANS. L1B |
| Trans L1C | 200 | View Picture | TRANS. L1C |
| Trans L1D / L2D | 200 | View Picture | TRANS. L1D |
| Trans L1E | 200 | View Picture | TRANS. L1E |
| Trans L2B | 400 | View Picture | |
| Trans L2C | 200 | View Picture | |
| Trans EL1A | TRANS. EL1A | ||
| Trans EL1B | TRANS. EL1B | ||
| Trans EL1C | TRANS. EL1C |